はじめに
今回はBlenderでウエイトペイントするボーンの変更方法を紹介します。
基本的なモデルとボーンの作り方はこちらをご覧ください。
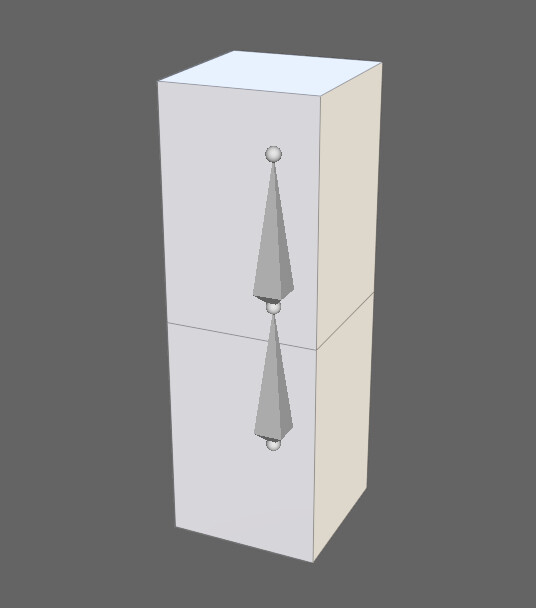
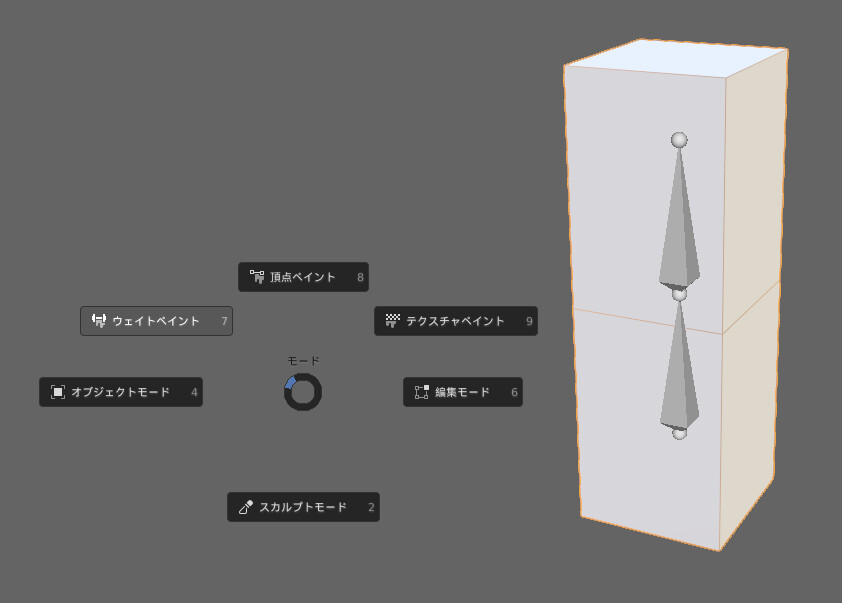
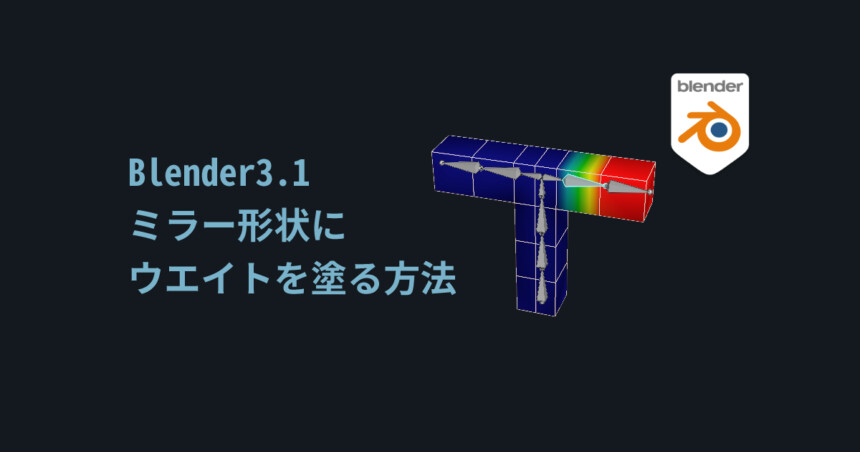
今回はこのようなモデルとボーンがある状態からスタートします。
ボーンの変更方法
ボーンを選択。
Ctrl+Tabキーでポーズモード。
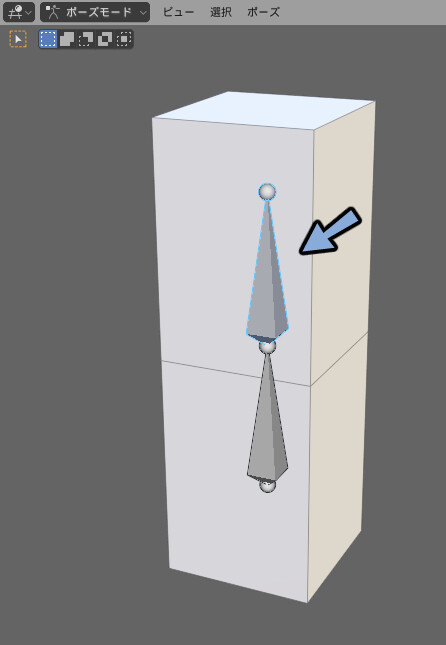
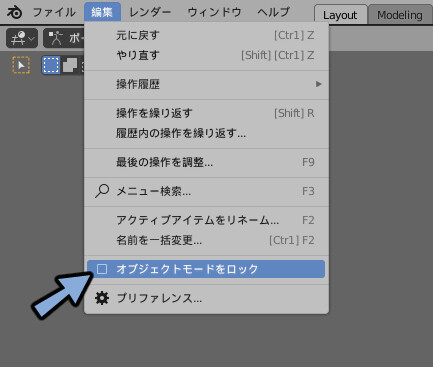
編集 → オプジェクトモードをロックにチェックが入って無いかを確認。
クリックでモデルを選択。
Ctrl+Tabキーでウエイトペイントモード。
変更したいボーンをCtrl+クリックします。
通常のクリックではウエイトを塗ったと勘違いされます。
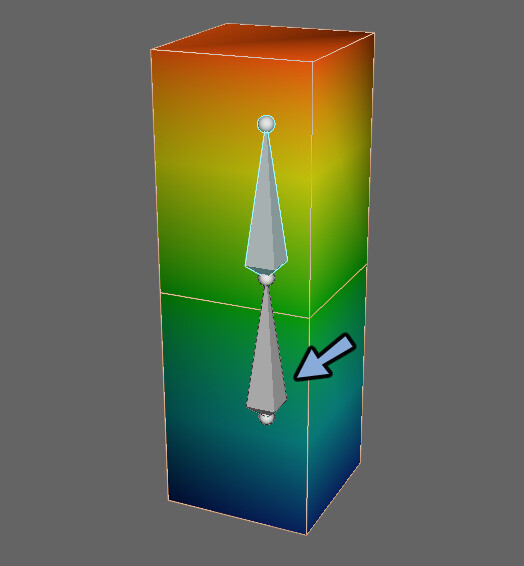
これでウエイトを塗りたいボーンの切り替えが出来ます。

まとめ
今回はウエイトペイントするボーンの変更方法を紹介しました。
ウエイトペイントの方法についての全容はこちらで解説中。
【Blender3.1】ウエイトペイントの方法(まとめ)
ウエイトの操作に必要になる記事をまとめました。
まとめ記事になりますのでブックマークなどで保存してご活用ください。
signyamo.blog
2022.01.28
ぜひこちらもご覧ください。
コメント