はじめに
今回はSimply Wrap Proの使い方を紹介します。
購入~アドオンのインストールまでを解説します。
Simply Wrap Proの購入
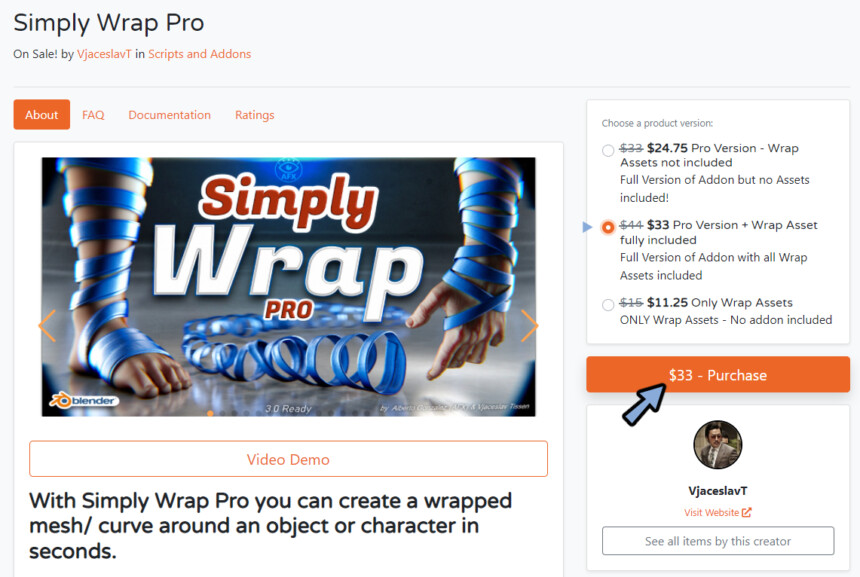
Blender MarketでSimply Wrap Proのページにアクセスします。

301 Moved Permanently
blendermarket.com
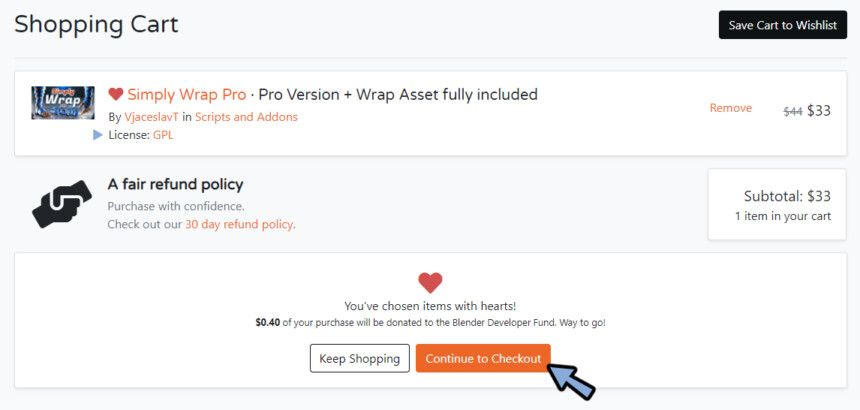
Pro Version + Wrap Asset fully includedを選択してPurechase。
※筆者はセールの時に買ってます。
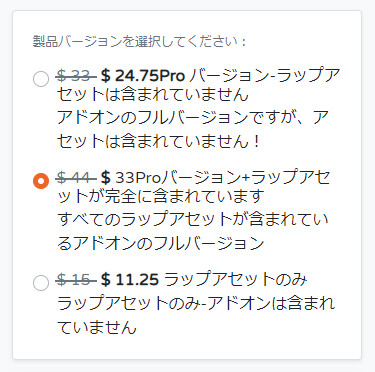
こちらは巻き付ける仕組みと素材集がセットか別で買うかという選択肢になります。
別で買っても1$ぐらいしか差が無いので気にしなくても大丈夫ですが、ビデオのデモで見たアセットのクォリティが高そうなのでセットで買いました。
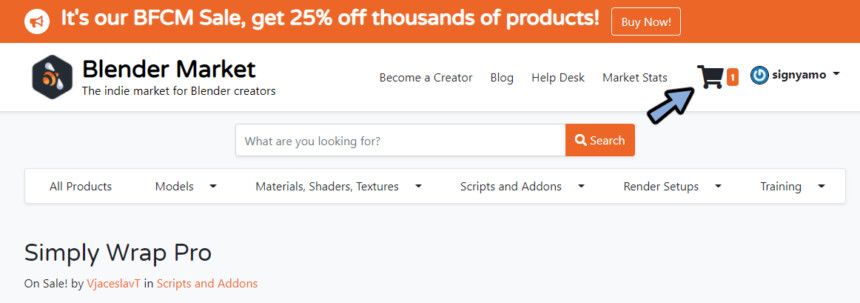
画面左上のカートボタンを押します。
licenseがGPLなのを確認。
Continue to Checkoutを押します。
そしてカード等の情報を入れて支払ってください。
これで購入が完了です。
Simply Wrap Proの導入
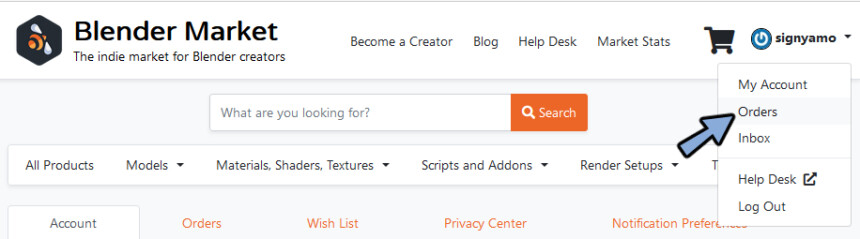
購入が完了したらBlender Market右上のアカウントをクリック。
Ordersを選択。
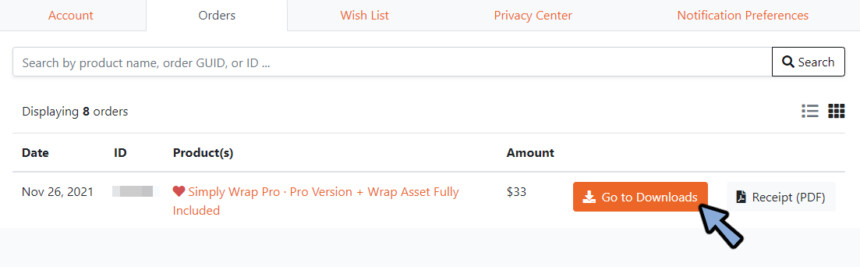
Simply Wrap ProのGo To Downloadsをクリック。
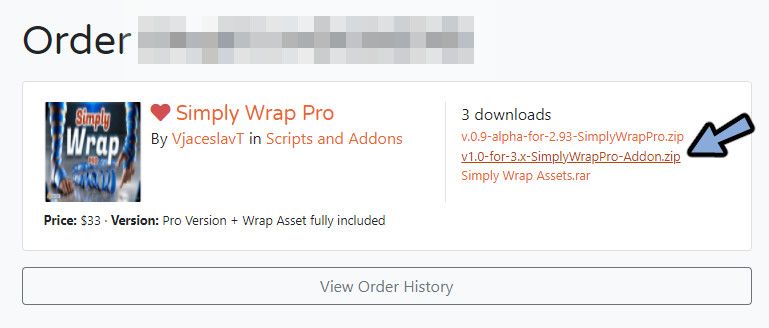
最新版のSimply Wrap Pro.zipを選択してダウンロード。
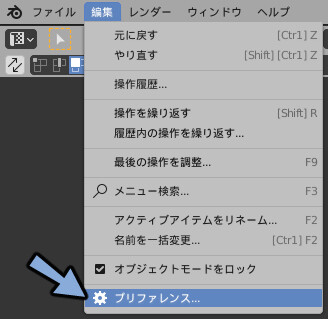
Blenderを開き、編集→プリファレンスを開きます。
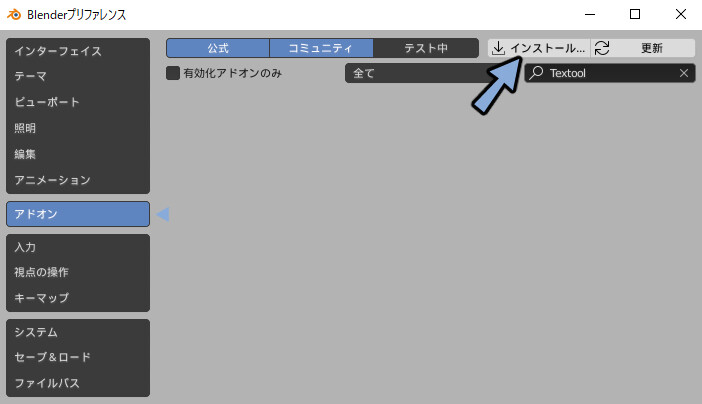
アドオンを選択して右上のインストールを選択。
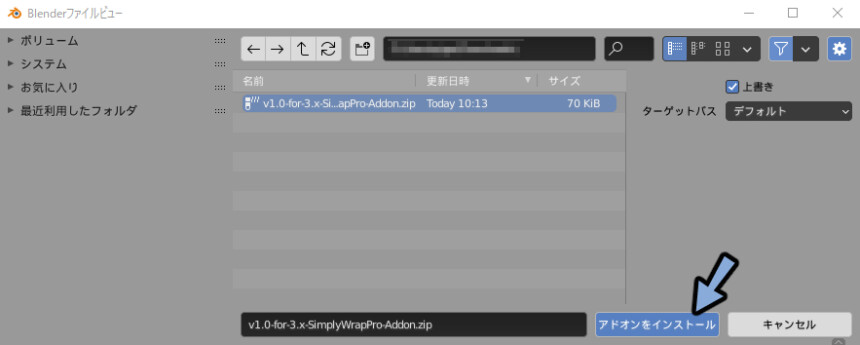
DLした Simply Wrap Pro .zipを選択してインストール。
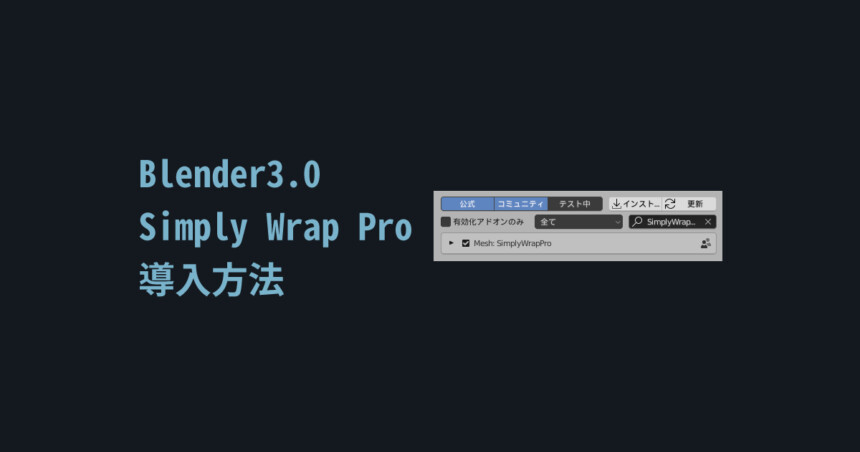
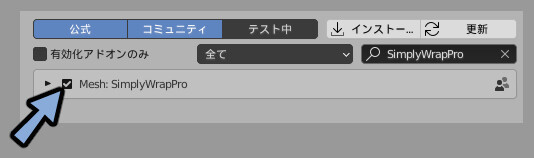
Mesh: Simply Wrap Proにチェックを入れて有効化。
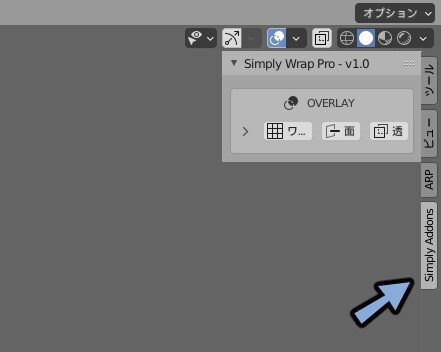
3Dビュー上でNキーを押します。
ここにSimply Wrap Proの項目が追加されていれば導入が完了です。
まとめ
今回はSimply Wrap Proの導入方法について解説しました。
次回の記事はこちらになります。

また全体のまとめはこちらをご覧ください。
コメント