はじめに
今回はボーンを左右対称に入れる方法を紹介します。
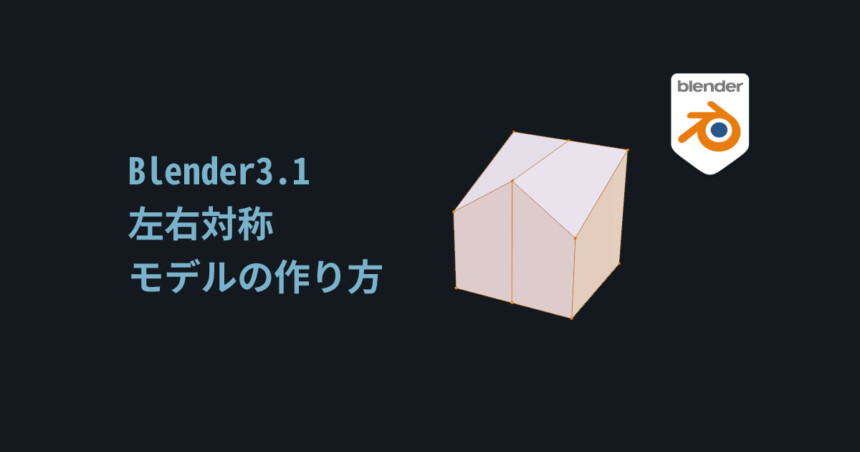
左右対称モデルの作り方はこちらをご覧ください。
【Blender3.1】左右対称のモデルの作り方
左右対称のモデルの作り方としてミラーの使用、対称軸の使用、対象化の修正方法の3つについて解説。
signyamo.blog
2022.01.24
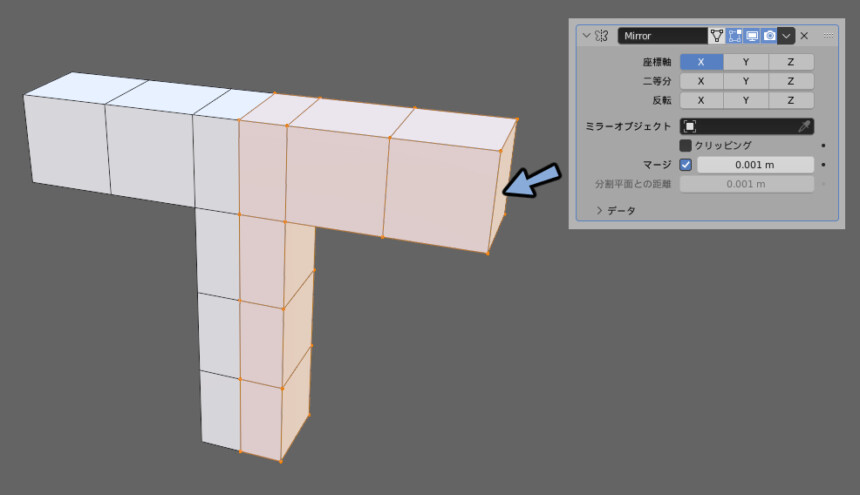
このような形状をミラーで作成した状態からスタートします。
下準備
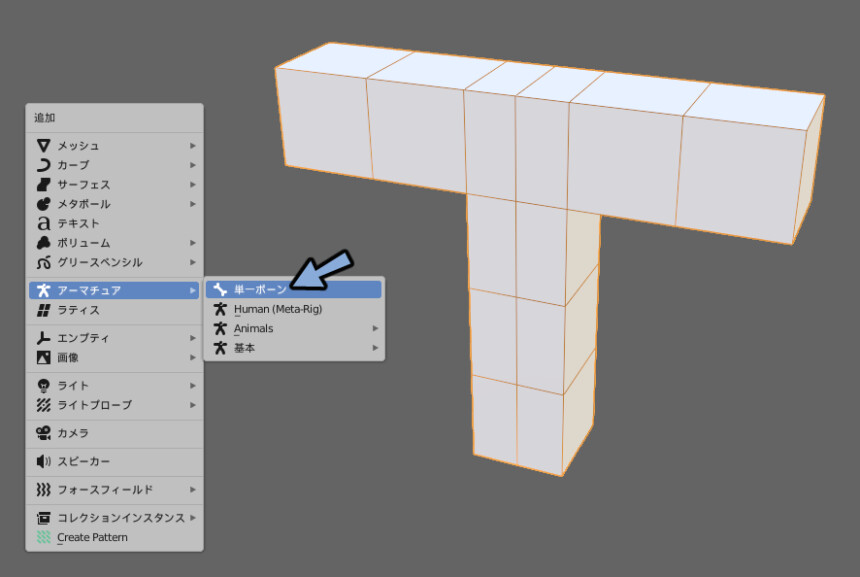
Shift+Aキー → アーマチュア → 単一ボーンを選択。
オプジェクトデータプロパティ → ビューポート表示 → 最前面を選択。

Ctrl+Alt+Qキーで四分割表示。
Tabキーで編集モード。
Eキーの押し出しやGキーの移動を使い左右対称じゃないところのボーンを整形。
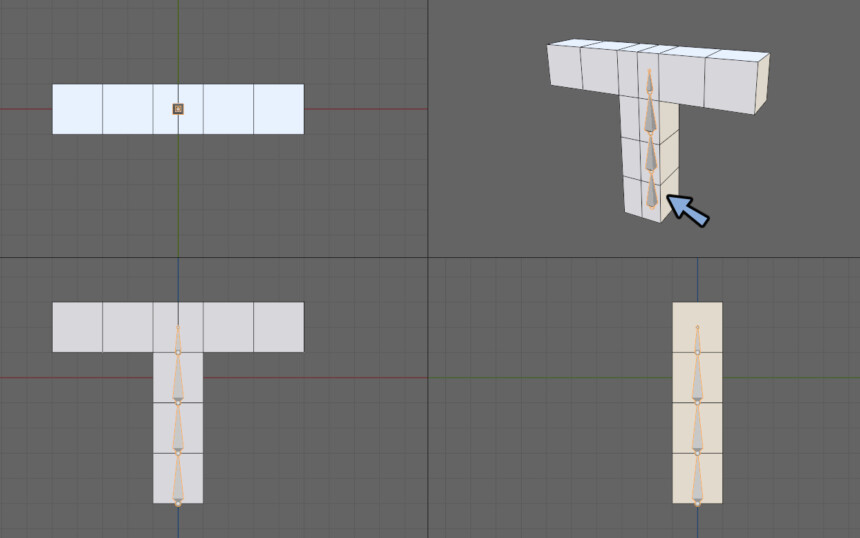
これで下準備が完了です。
左右対称ボーンの作成
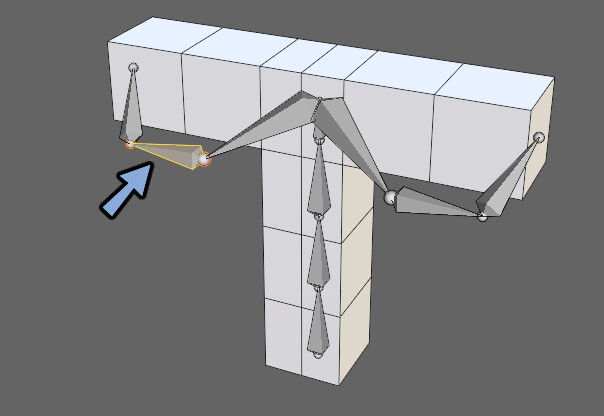
まず左右対称にしたいボーンの右側だけ作ります。
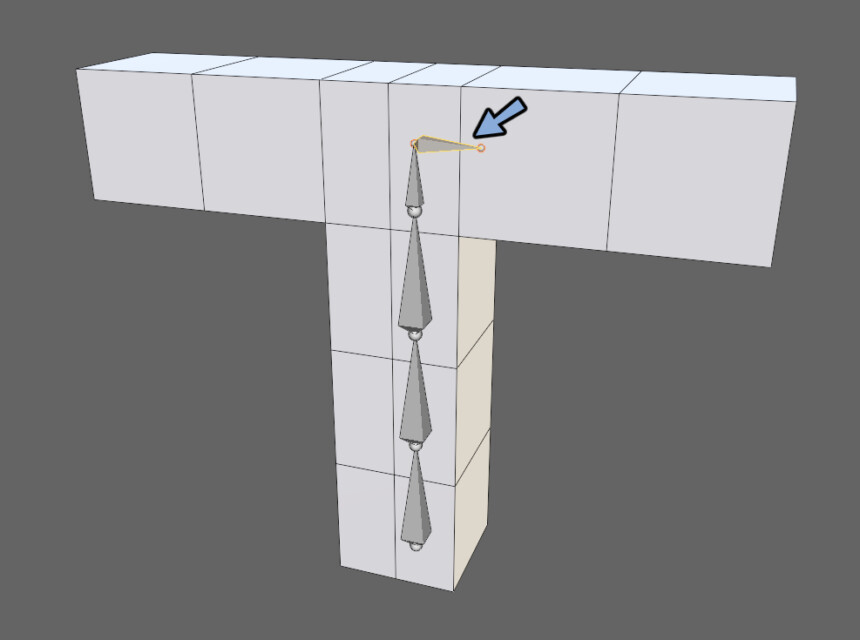
さらに押し出して整形。
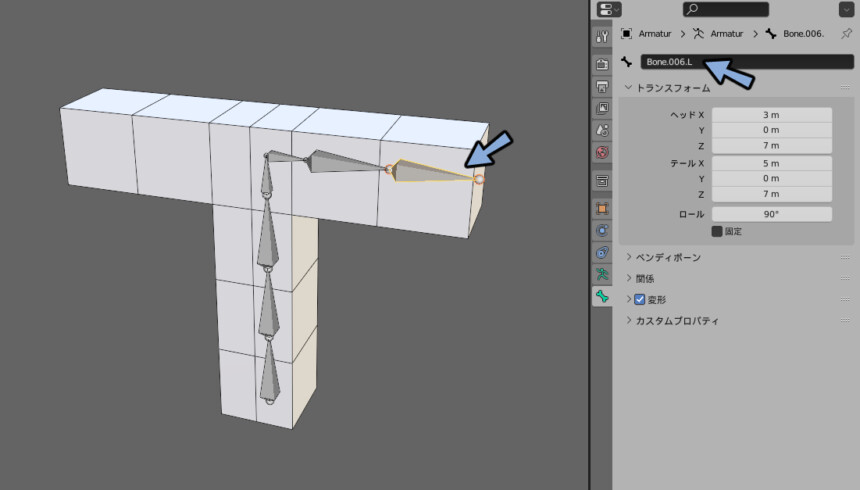
そこから左右対称にしたいボーンを選択。
ボーンプロパティで名前を見ます。(Bone.004)
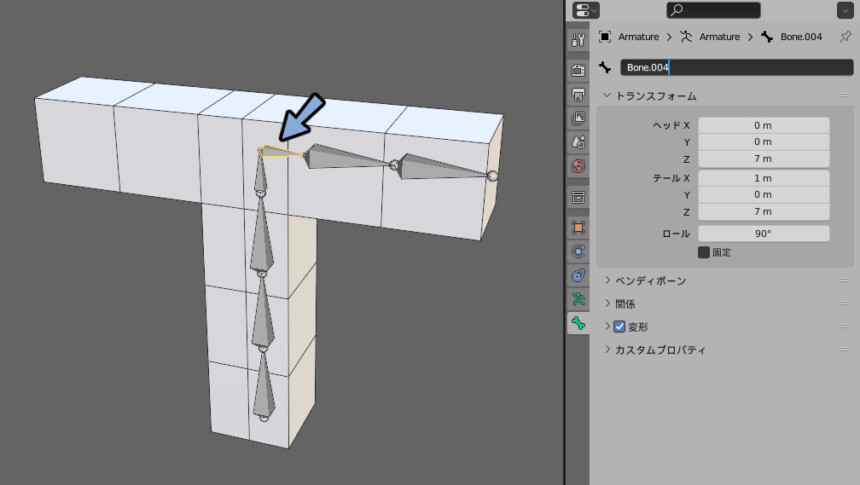
この名前の最後に.Lをつけます。
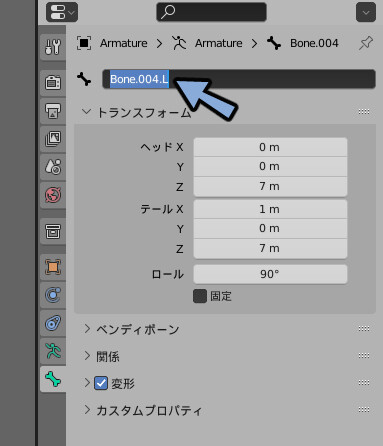
同様に残りのボーンの名前を変更。
Aキーで全選択。
アーマチュア → 対象化を選択。
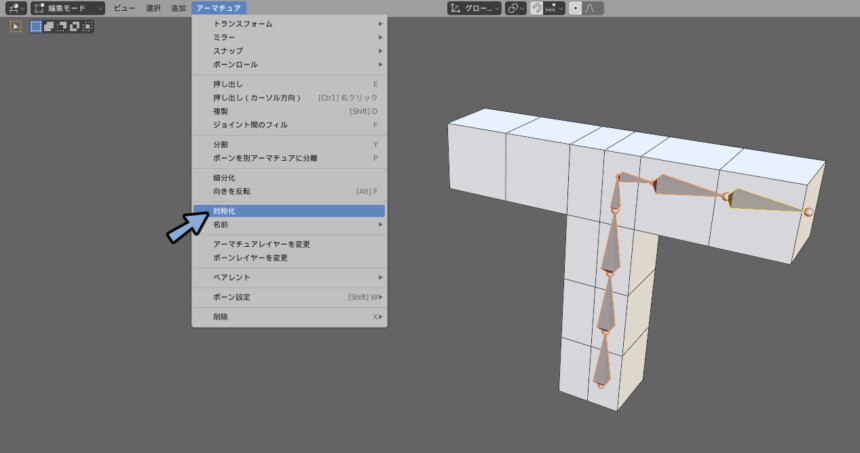
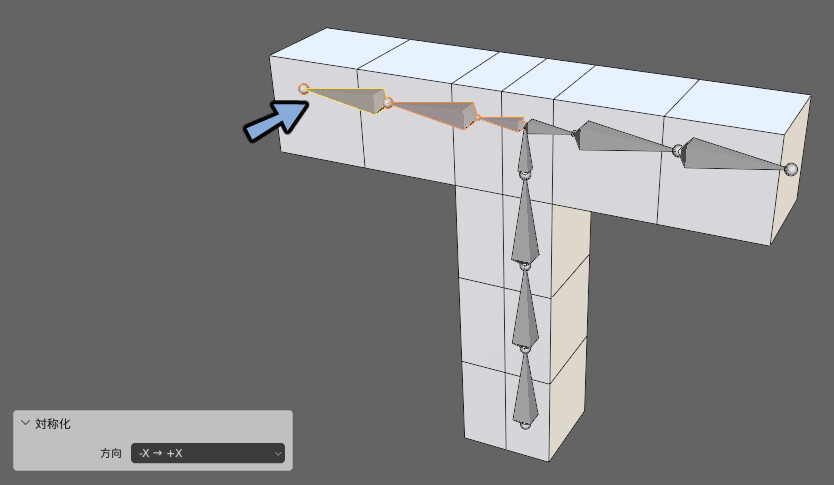
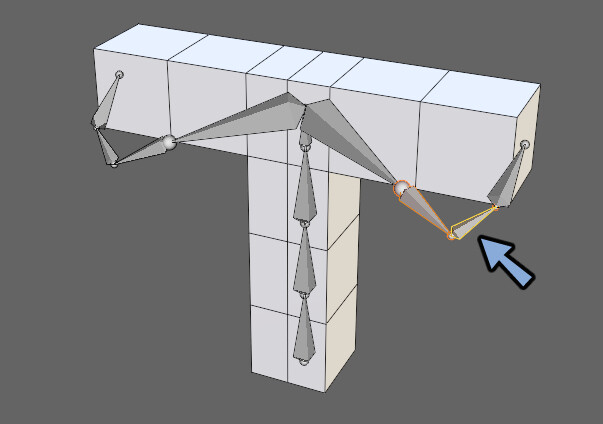
これで左右対称にできます。
上手く行かない方は左下のオペレータ―パネルの方向を変えてください。
生成されたボーンの名前を確認します。
.Rになってます。
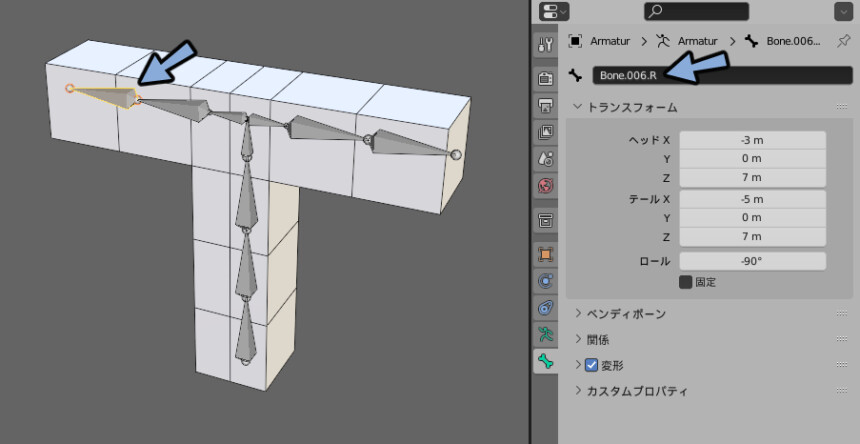
これで左右対称のボーン作成が完了です。

左右対称ボーンの編集
画面右上のXを選択。
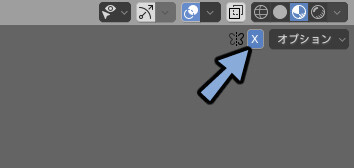
この状態でボーンを動かす事で左右対称に編集できます。
細分化などのボーンを増やす処理も入ります。
ボーンを増やす処理を入れた場合名前が.L.001になってしまうので注意してください。

まとめ
ボーンを左右対称に入れる方法を紹介しました。
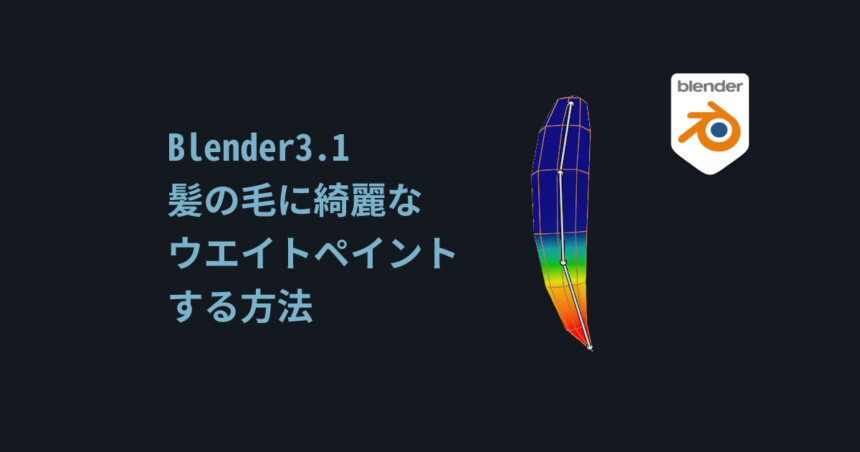
このボーンを左右対称にウエイトペイントする方法はこちらで解説。
【Blender3.1】ウエイトを左右対称に塗る方法/ミラー形状
ウエイトを左右対称に塗る方法を解説。
生物やキャラクターモデルなどで様々な場所で役立ちます。
ミラーモディファイア+ボーン名に.L.Rが入ってる時に使えます。
ご活用ください。
signyamo.blog
2022.01.26
ぜひこちらもご覧ください。
コメント