はじめに
今回はBlenderのVSEで動画にテロップを付ける方法を紹介します。
VSEの基本動作は行える前提で進めます。
基本操作についてはこちらをご覧ください。
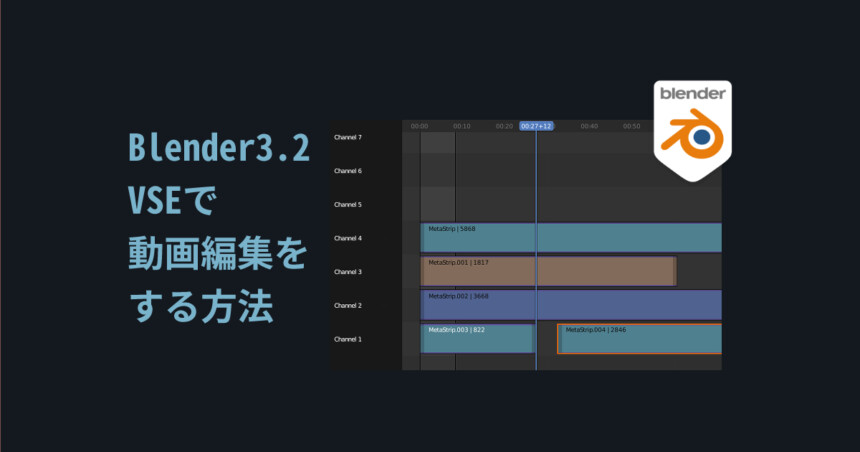
【Blender3.2】VSEで動画編集をする方法
VSEとはVideo Sequence Editorで動画編集機能の事です
こちらを使ってBlenderで映像編集する方法を解説。
この記事でVSEの立ち上げから映像の書き出しまでの一通りの流れを学べます。
signyamo.blog
2022.04.09
テロップの作成
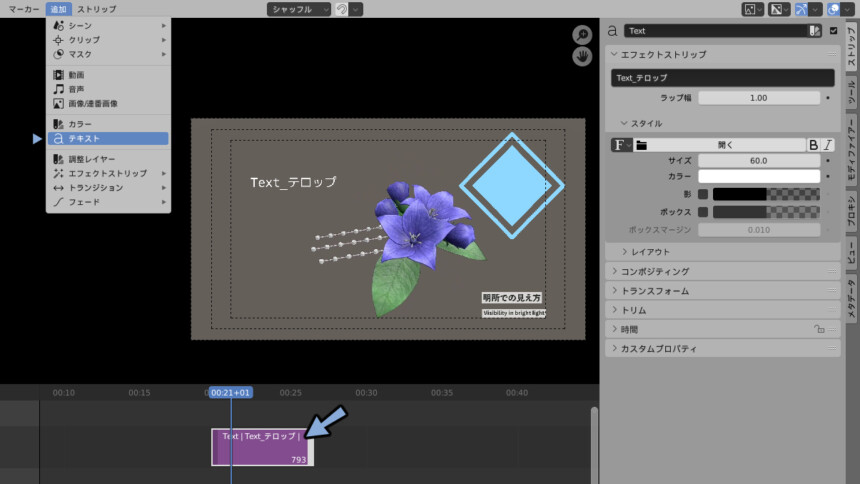
追加 → テキストよりテロップを作成できます。
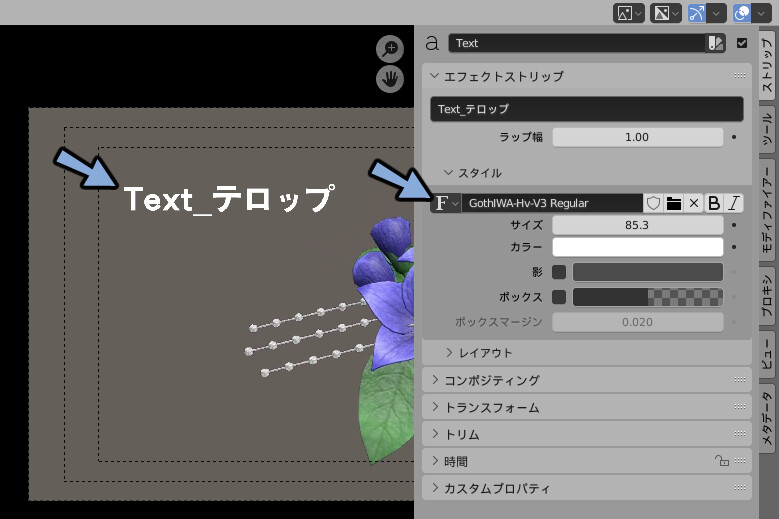
ストリップ → エフェクトストリップの所で文字の内容を変更できます。
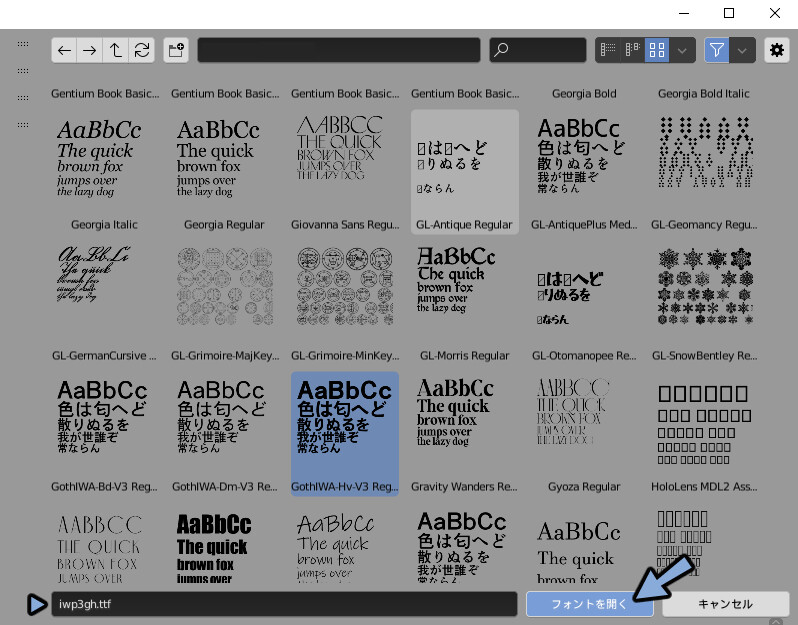
Fマーク横のファイルよりフォントを選択できます。
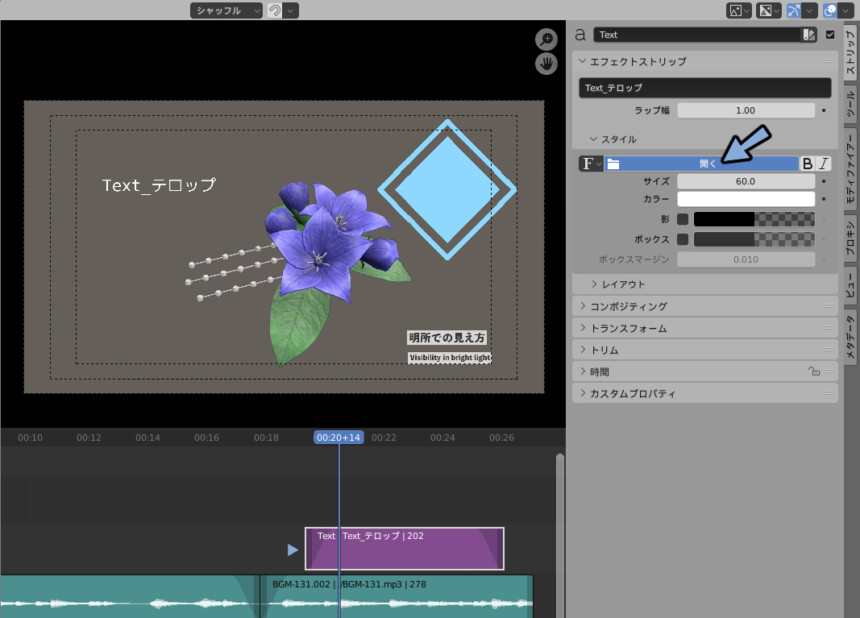
英語名表記+.ttfなどのデータで表示されます。
若干探すのに苦労するので注意してください。
これでテロップのフォントが置き換わりました。
※表示されてる名前はファイル名と異なることがあります。
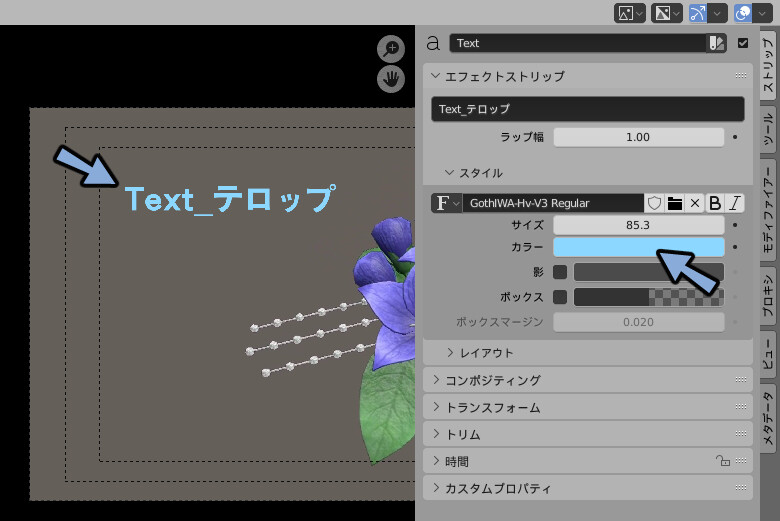
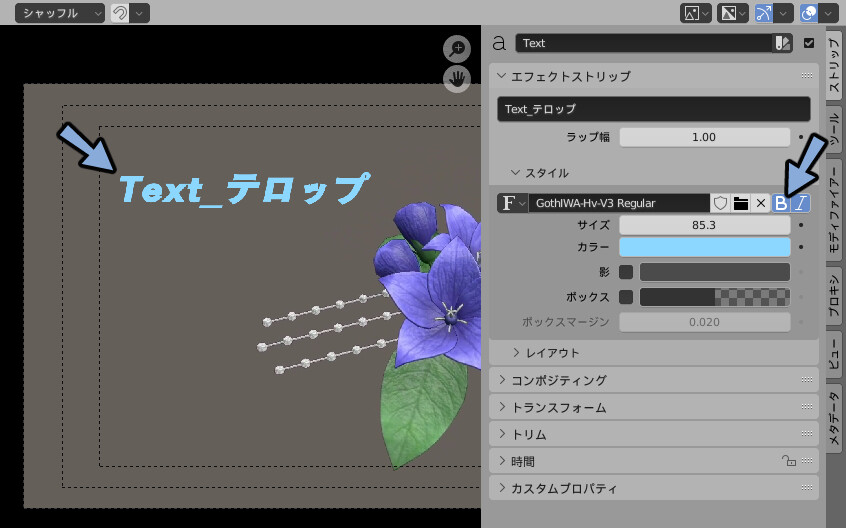
カラーで色を変更できます。
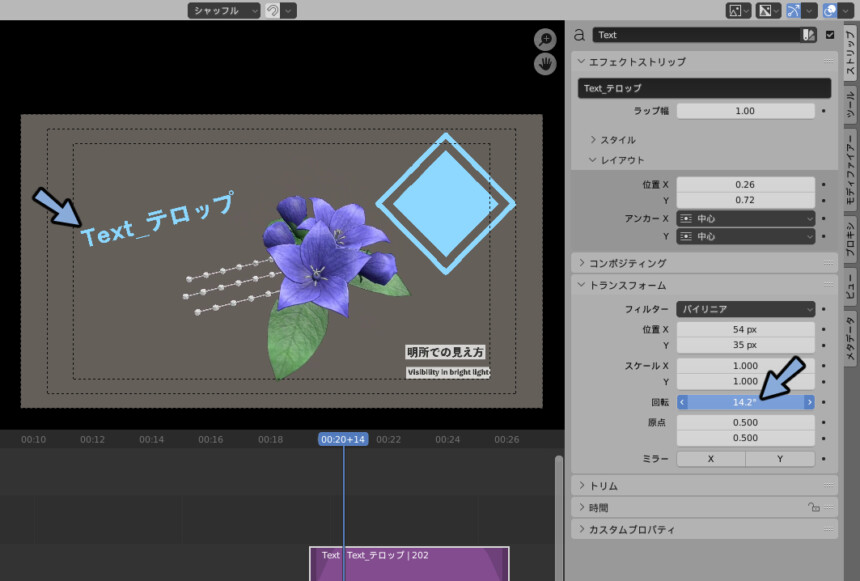
レイアウトの位置とトランスフォームの位置で場所を調節できます。
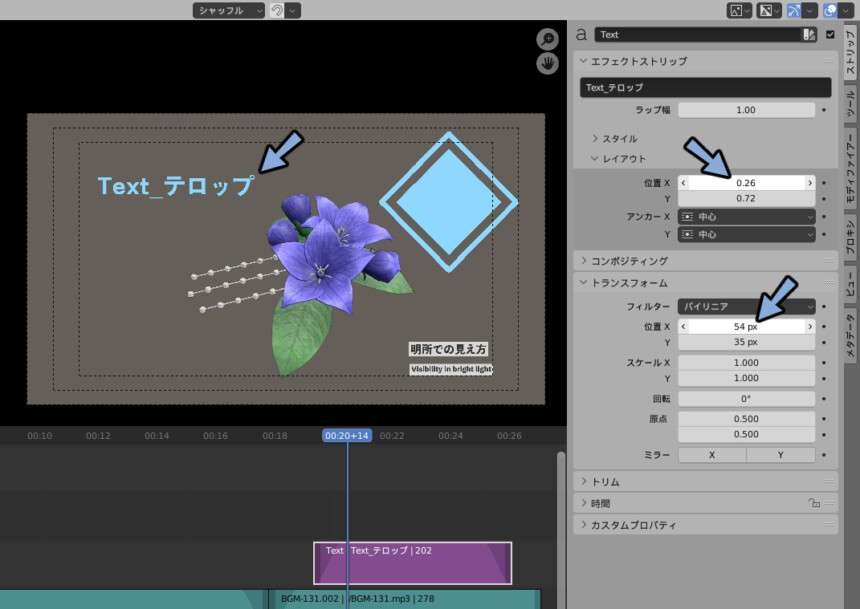
この2つの違いは回転やスケールなどの変形の基準点に影響を与えます。
普通の操作をする限りでは気にしなくて大丈夫です。
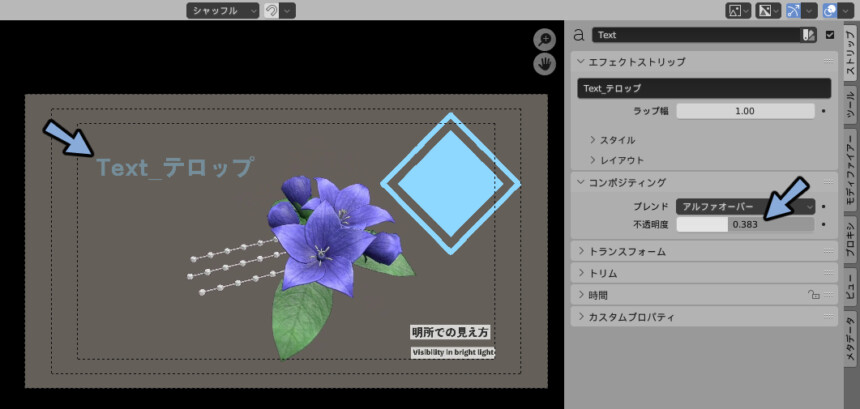
不透明度で透過具合を設定できます。
BやIで太さや斜め具合を設定できます。
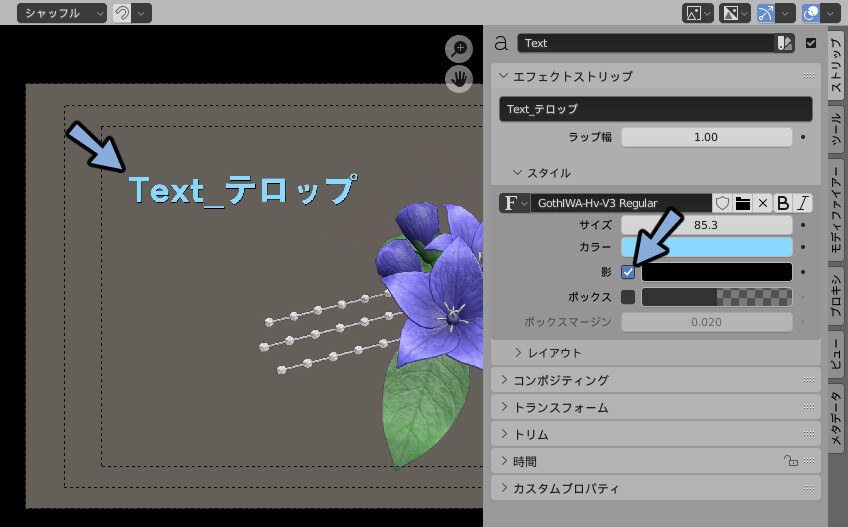
陰で申し訳程度の影がつきます。
太さなどは調節できません。
ボックスで文字の裏板が設定できます。
裏板の色や透明度は好きな物に設定できます。
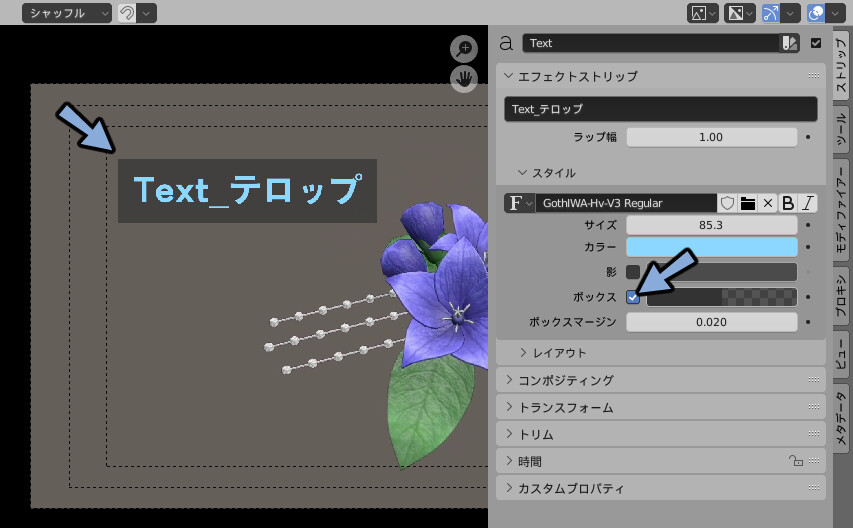
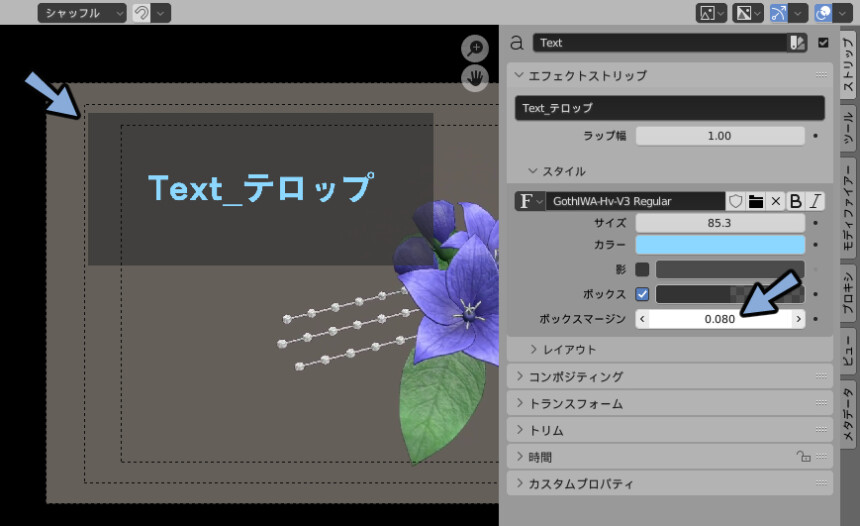
ボックスマージンで裏板の大きさを設定できます。
以上がBlender3.2のVSEでテロップを付ける方法です。
Blender3.2ではフチなし文字と裏板文字の2つは実用Lvで扱えます。

Blenderで縁取り文字は作れるのですが…現状実用Lvでは無いです。
詳しい作り方はこちらで解説しました。
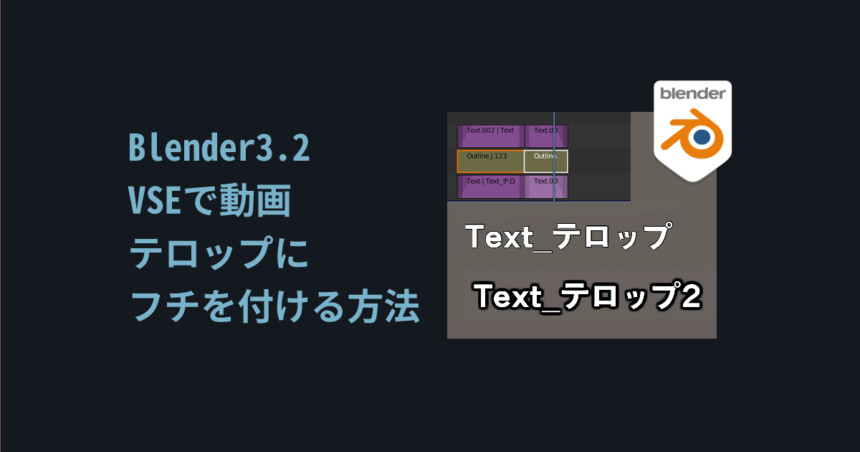
【Blender3.2】VSEで動画テロップにフチを付ける方法
Blenderの映像編集機能VSEで動画テロップの縁取りを追加する方法を解説。
Add_text_Strip_outlineというアドオンを使います。
この記事でこちらの使い方とフチの編集方法が学べます。
signyamo.blog
2022.04.09
興味ある方はこちらもご覧ください。
まとめ
BlenderのVSEでテロップを追加する方法を紹介しました。
ほかにもBlender3.2の新機能などについて解説しています。
【Blender3.2】 ver3.2の新機能解説
ver3.2の新機能を紹介。主な改善はグリースペンシル、モーションパス、ジオメトリノード、アセット、VSE、UIの改善
他にも様々なパフォーマンスの向上や新機能の追加が行われました。新機能に興味がある方はぜひご覧ください。
signyamo.blog
2022.04.09
ぜひこちらもご覧ください。
コメント