はじめに
今回はSimply Wrap Proの起動~Python:Tracebackエラーが出た時の対処法について解説します。
続編記事になりますので前回の記事はこちらをご覧ください。
起動とTracebackエラー対策
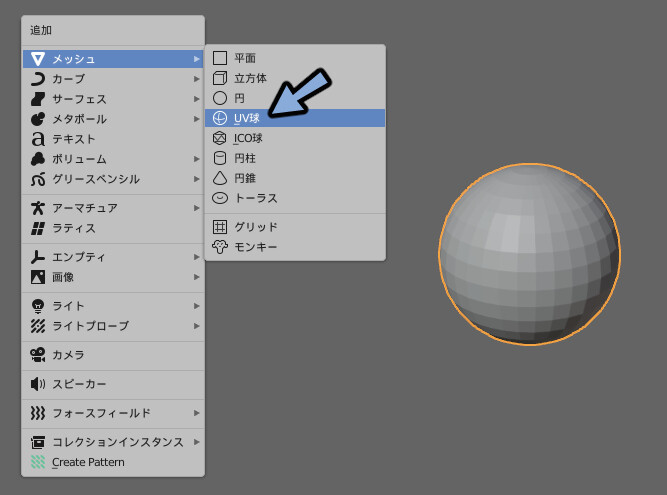
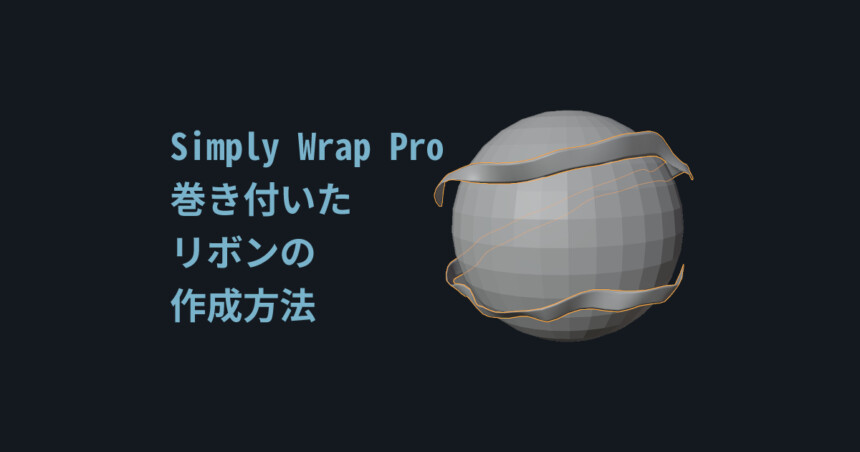
形状を何でもいいので作成して選択します。
今回はShift+AでUV球を作成しました。
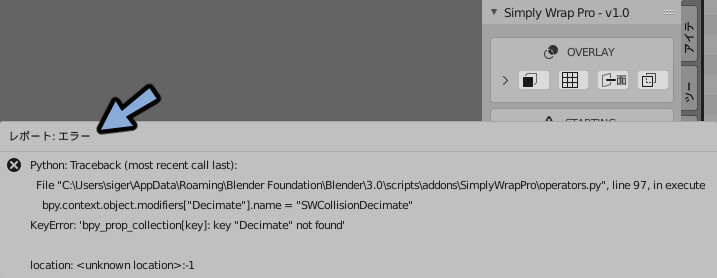
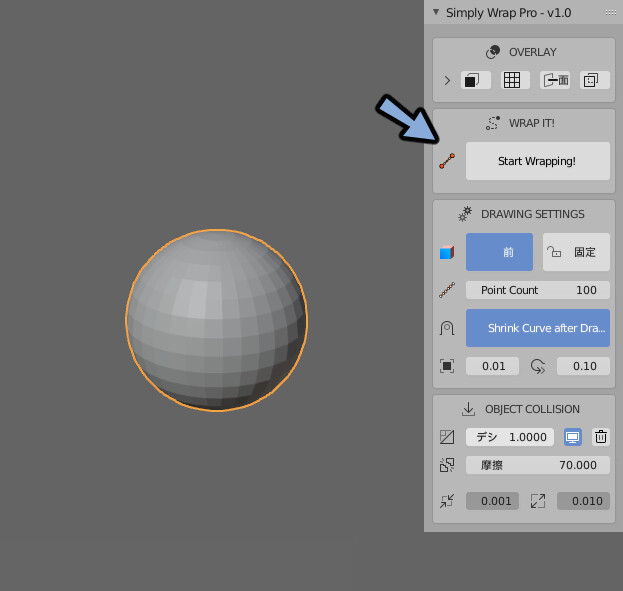
形状を選択するとSTARTINGの項目が増えます。
その中のObject for Wrapping!を押します。

すると、Tracebackのエラーが出ます。
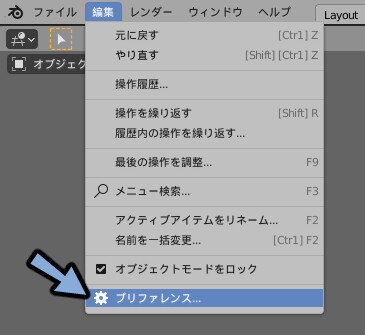
なので編集→プリファレンスを押します。
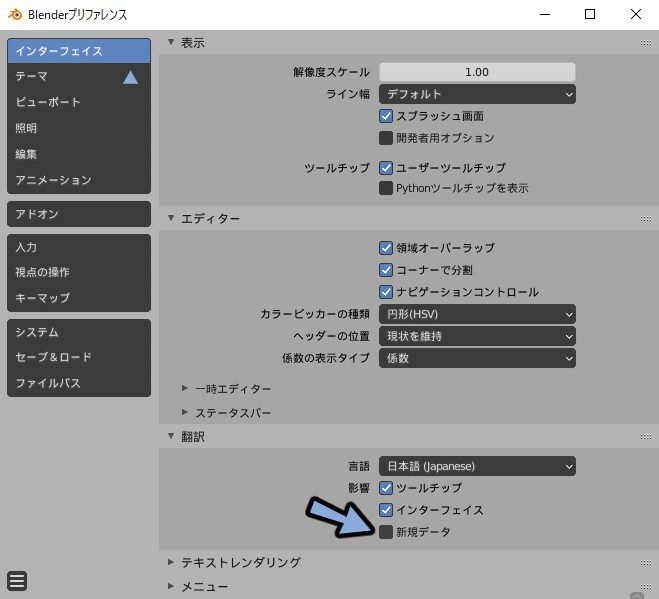
インターフェースを選択。
翻訳→新規データのチェックを外します。
この状態でObject for Wrapping!を押します。
するとエラーが出なくなります。
これで起動とTracebackエラー対策が完了です。
まとめ
Simply Wrap Pro 起動とTracebackエラー対策について解説しました。
次回の記事はこちらになります。
また全体のまとめはこちらをご覧ください。
コメント