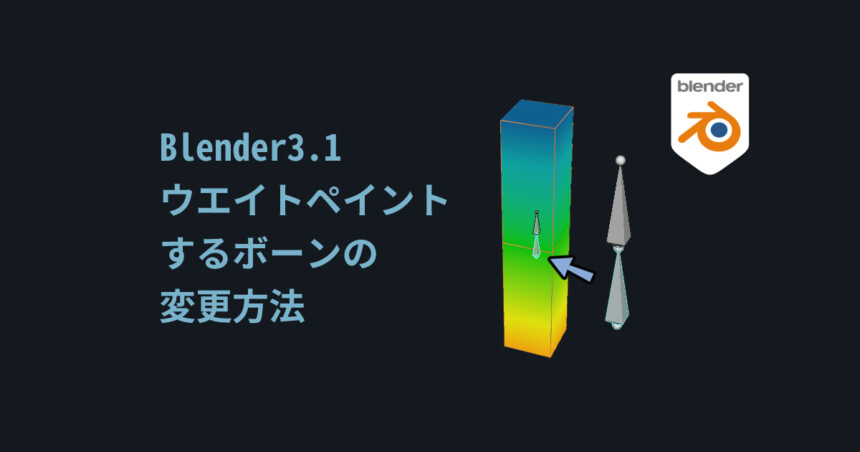
はじめに
今回はBlenderでウエイトペイントするボーンの変更方法ついて紹介します。
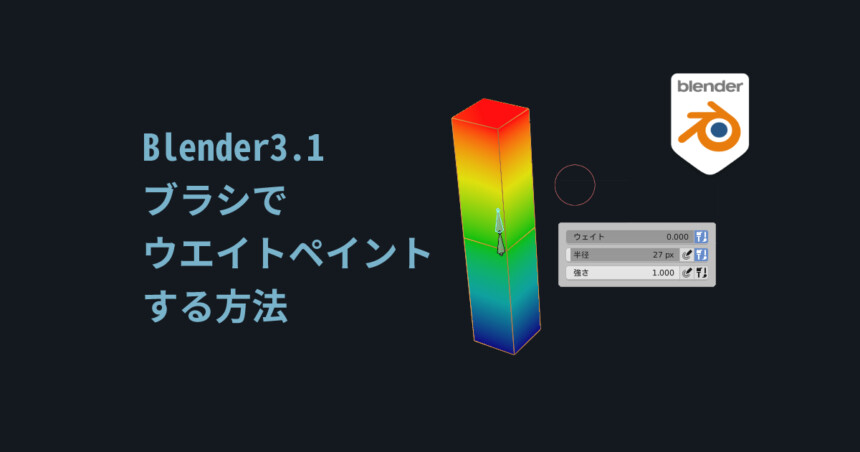
ウエイトペイントするモデルの作り方についてはこちらをご覧ください。
下準備
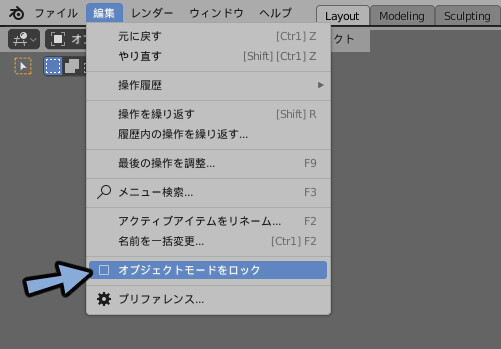
編集 → オプジェクトモードをロックを見ます。
チェックがかかってる場合はクリックでチェックを外します。
オプジェクトを選択。
Ctrl+Shift+7キーでウエイトペイントモード
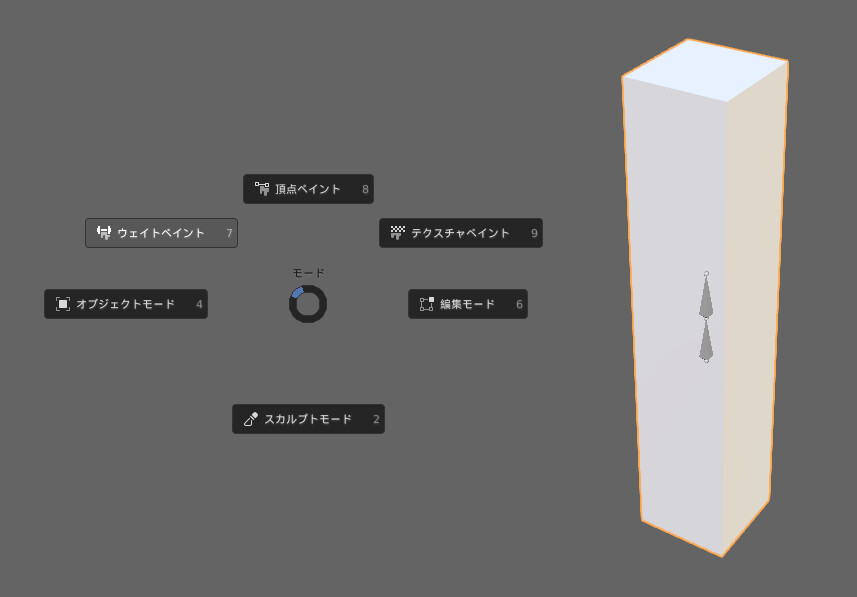
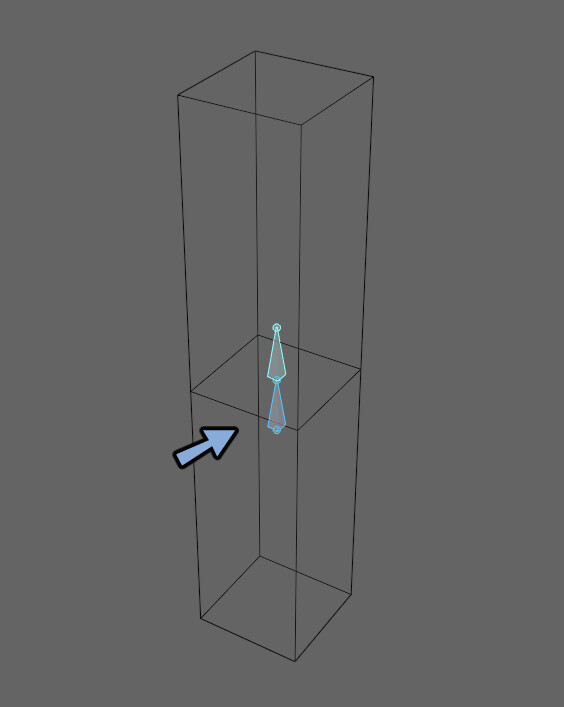
Z → 2キーでワイヤーフレーム表示。

Ctrl+クリックでボーンを選択。
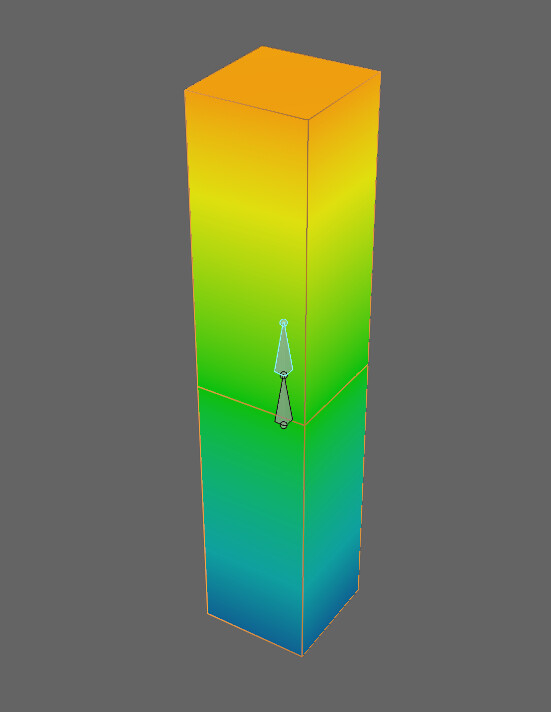
Ctrl+Shiftでポーズモードに入ります。
この状態でもう一度オプジェクトをクリックして選択。
ボーンをCtrl+クリックしてウエイトペイントするボーンを選択します。
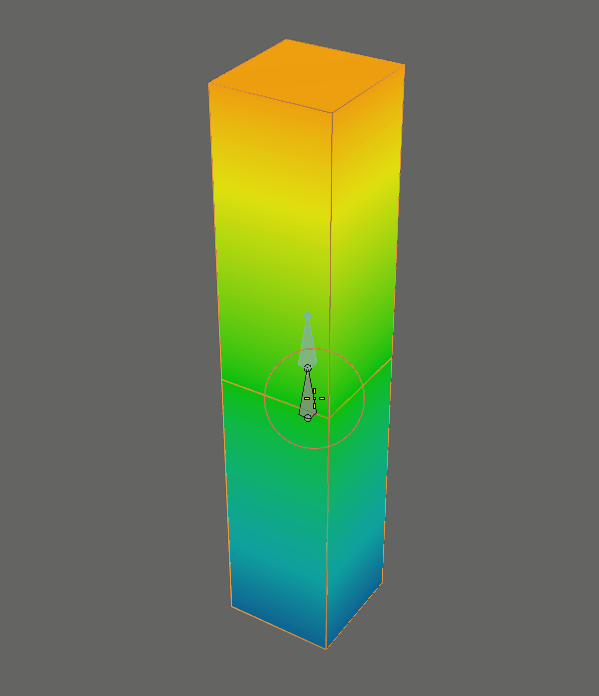
これでウエイトペイントするボーンの変更が完了です。
まとめ
今回はウエイトペイントするボーンの変更方法を紹介しました。
この方法+ブラシでのウエイトペイントを行う事でウエイトの基本的な操作ができます。
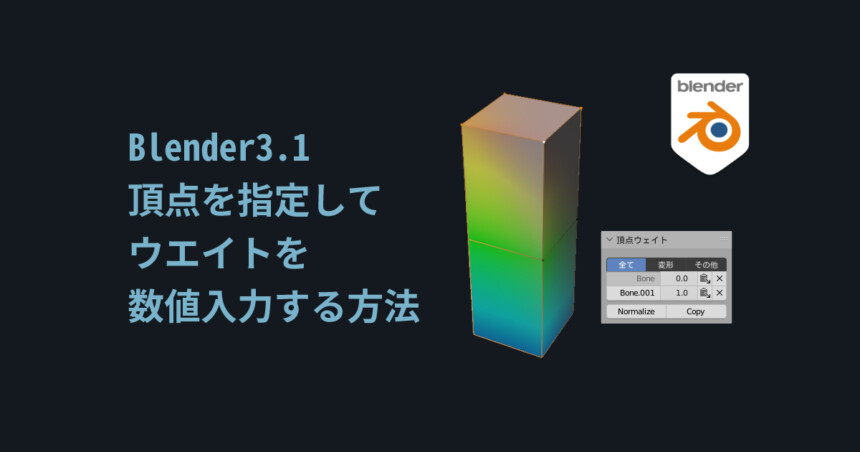
こちらもご覧ください。
ウエイトペイントする方法の全容についてはこちらで解説。
コメント