はじめに
今回はSVGとは何かという説明からBlenderでの使い方について解説します。
ロゴやベクターデータをBlenderで利用できるようになる機能です。
便利なのでぜひご活用ください。
SVG形式とは何か
SVGとはベクター画像を保存する為の拡張子です。
ベクター画像とはベクトル(数式)で表された形で拡大縮小しても劣化しない画像の事です。
ロゴや文字やアイコンなどに使われています。
Adobe IllustratorやAffinity Designerなどの2Dベクター系のソフトでSVGを作る事ができます。
SVGの使い方
SVGの用意
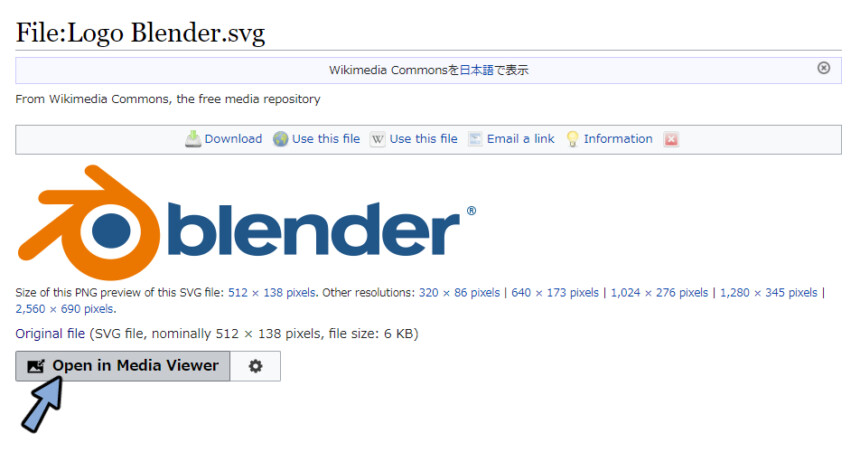
今回はwikimediaよりBlenderの.svgデータをDLします。
https://commons.wikimedia.org/wiki/File:Logo_Blender.svg
WikiPadiaにアクセスしてOpen in Media Viewerを押します。
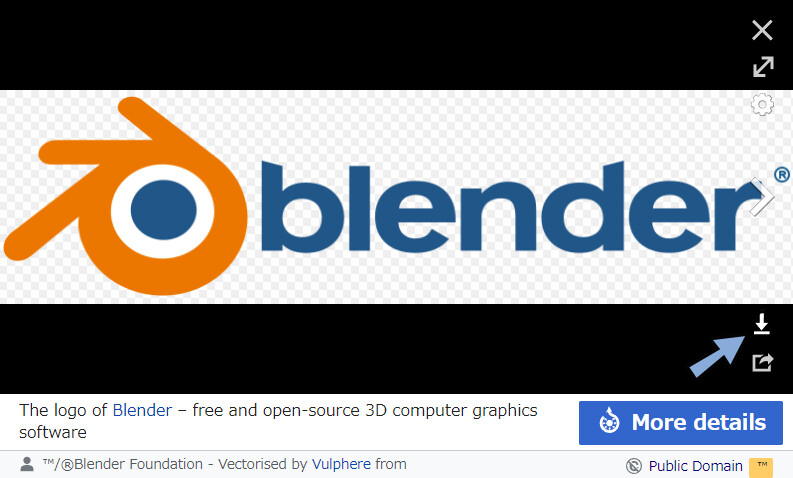
右下のダウンロードボタンを押します。
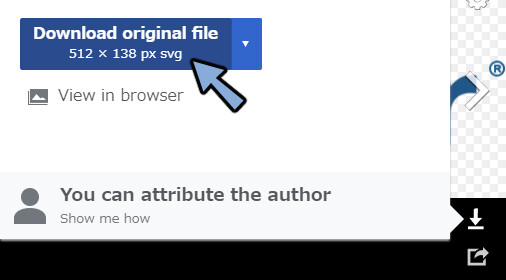
Download orignal fileを押します。これでsvgの用意が完了です。
SVGを自作したい場合
有料であればAffinity Photo2がおすすめ。
無料のinkscapeも十分使えます。

SVGの読み込み
Blenderを立ち上げ。
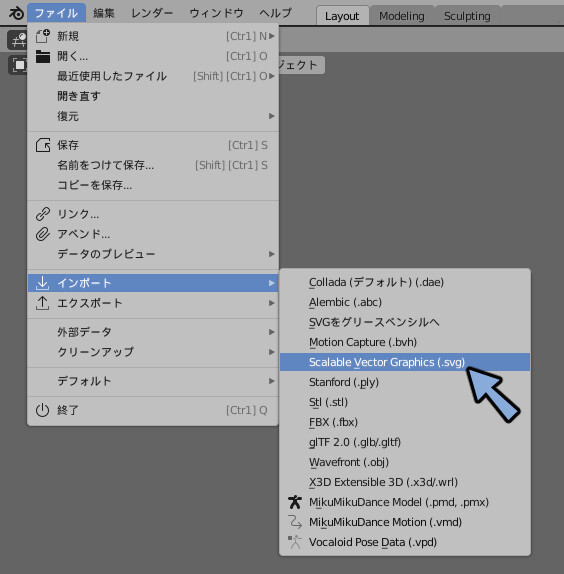
ファイル → インポート → Scalable Vector Graphics (.svg)を選択。
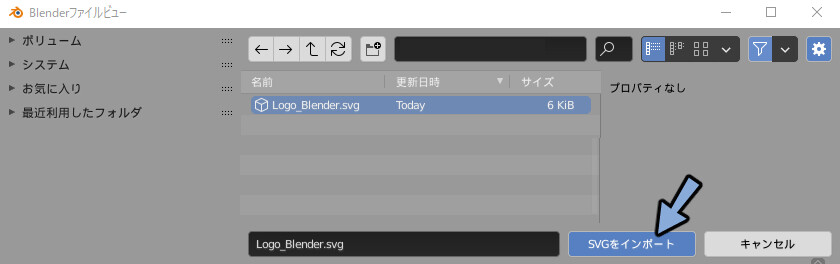
先ほどDLしたBlenderのSVGロゴ指定。
SVGをインポートで読み込みます。
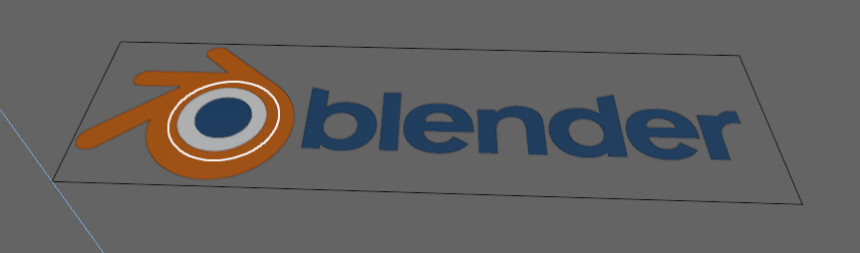
これでロゴが読み込まれます。
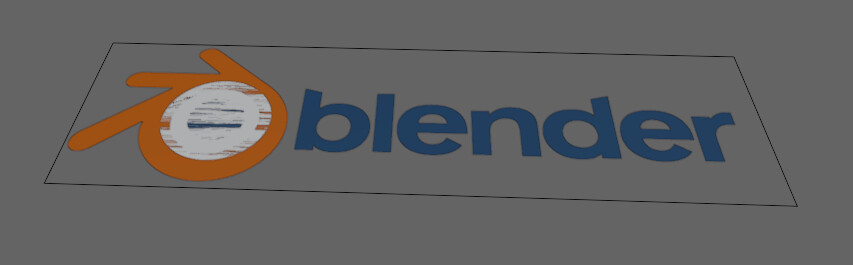
白い円が重なり表示エラーが発生しているのでGキー → Zキーで下の方に移動。
これでSVGの読み込みが完了です。
読み込んだSVGはBlenderではカーブとして扱われます。
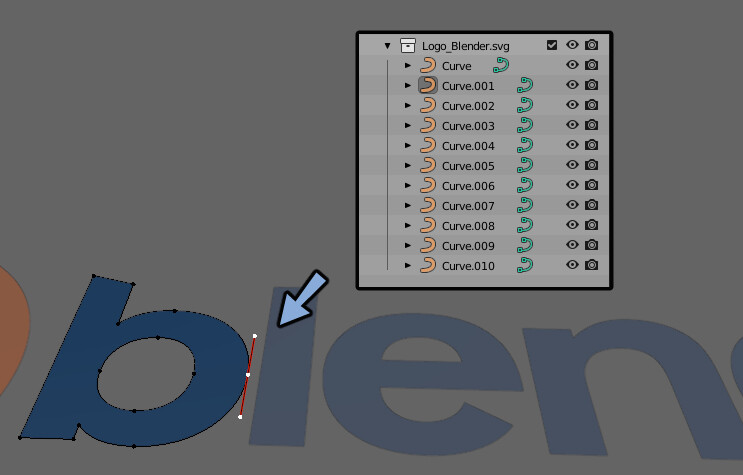
SVGの活用方法
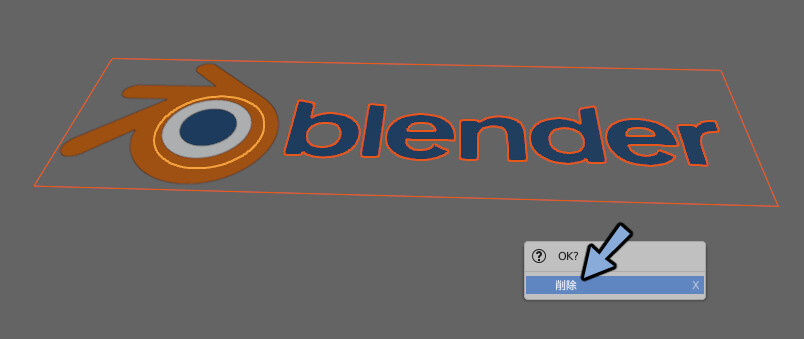
不要なカーブを選択してXキーで削除。
オプジェクト → 変換 → メッシュでメッシュに変換。
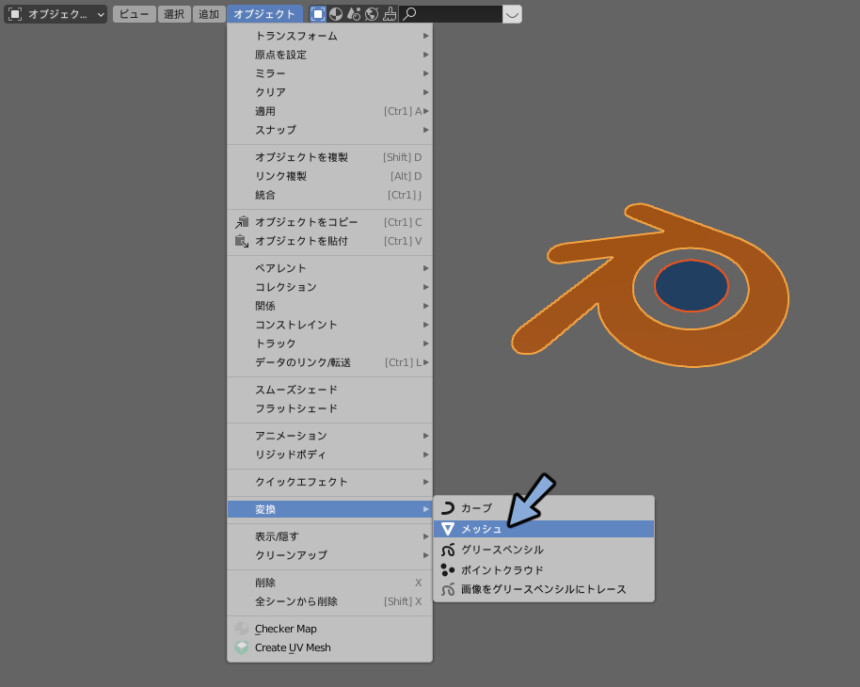
Tabキーで編集モードに入ります。
Eキーで押し出せば立体物が作れます。

Ctrl+Zで押し出し前まで戻ります。
編集モードでAキーで全選択。
Xキーで限定的溶解を選択。
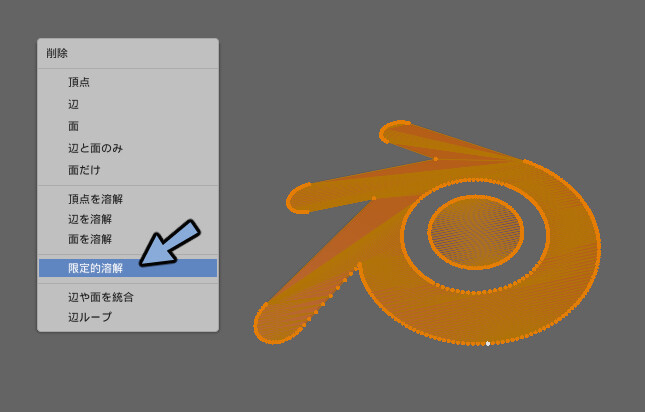
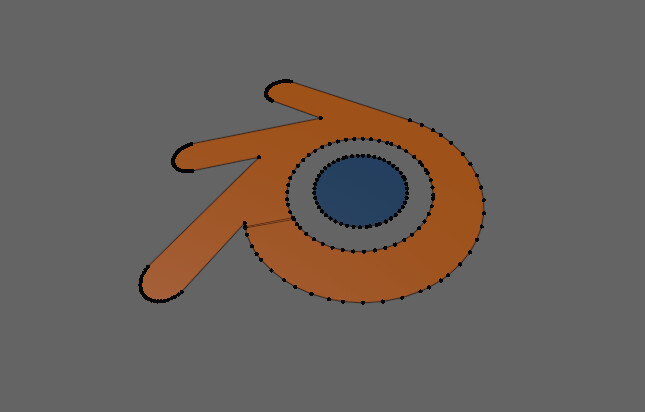
するとメッシュを整理する事ができます。
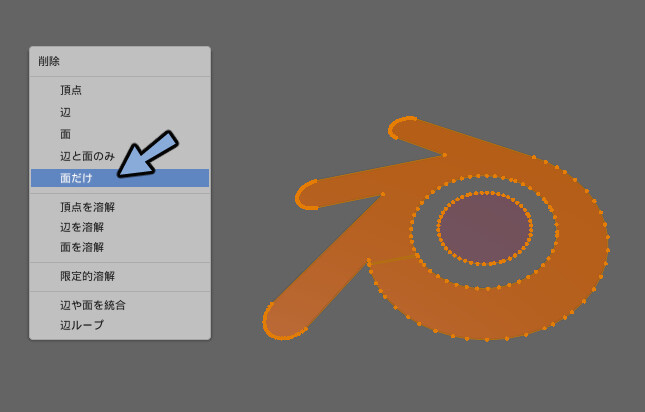
Aキーで全選択。
Xキーで面だけ削除。
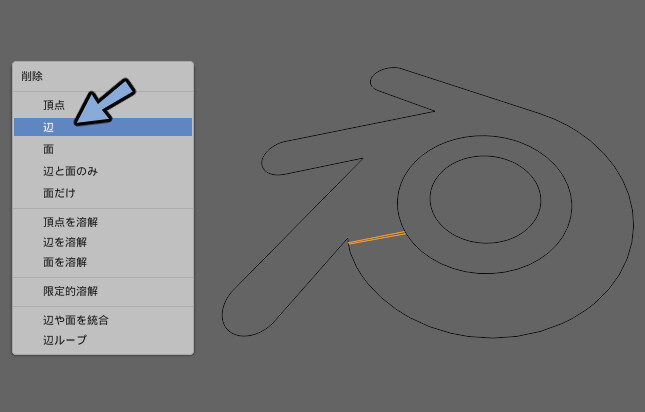
残った辺を選択。
Xキー → 辺で削除。
あとはパーティクルのフォールフィールドに割り当てるとこのような表現に活用できます。

Blenderのパーティクルの使い方についてはこちらをご覧ください。


まとめ
SVG形式の紹介とBlenderでの読み込み~使い方までを紹介しました。
ベクター系のツールは綺麗な図形を使いたい時に便利です。
力業で1からモデリングする方法もありますが…選択肢の1つとしてぜひご活用ください。
コメント