はじめに
今回はUTS2.0で綺麗な金属光沢の表現方法を紹介します。
こちらで紹介したイラストでの金属光沢の描き方をベースに制作します。
VRChatでジュエリ―に使われるような貴金属を表現したい方はご覧ください。
マテリアル作成
UTS2.0シェーダーをこちらのリンクよりDL。
https://unity-chan.com/download/releaseNote.php?id=UTS2_0
UnityのProjectのAssetに読み込み。
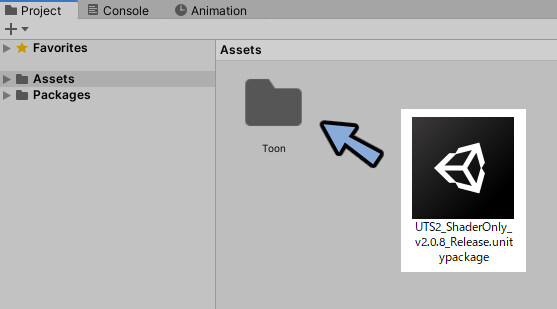
Projectの中のAssetを右クリック。
Create → Folderを選択。
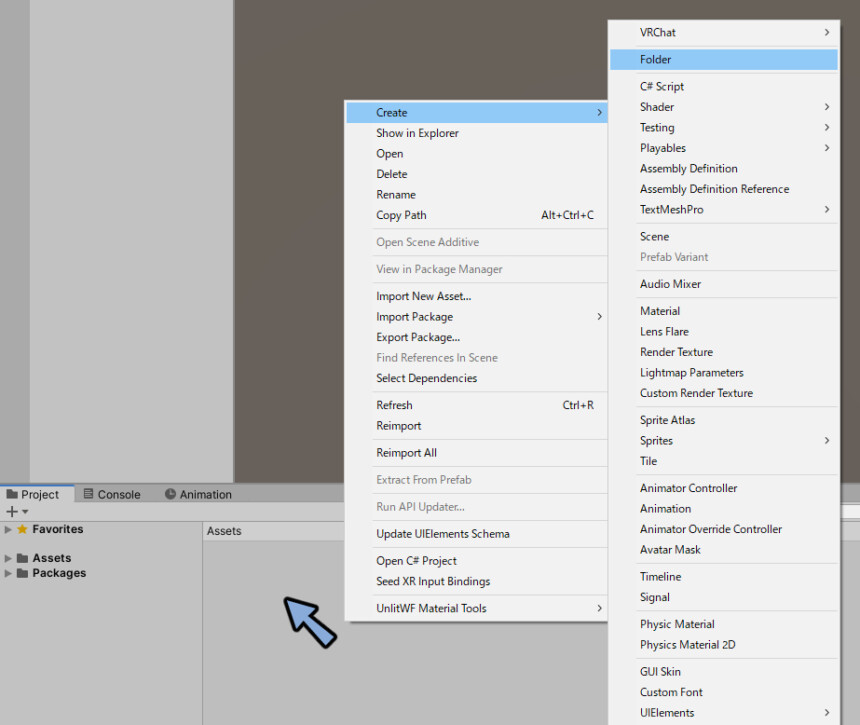
フォルダに任意な名前をつけます。

フォルダの中に入ります。
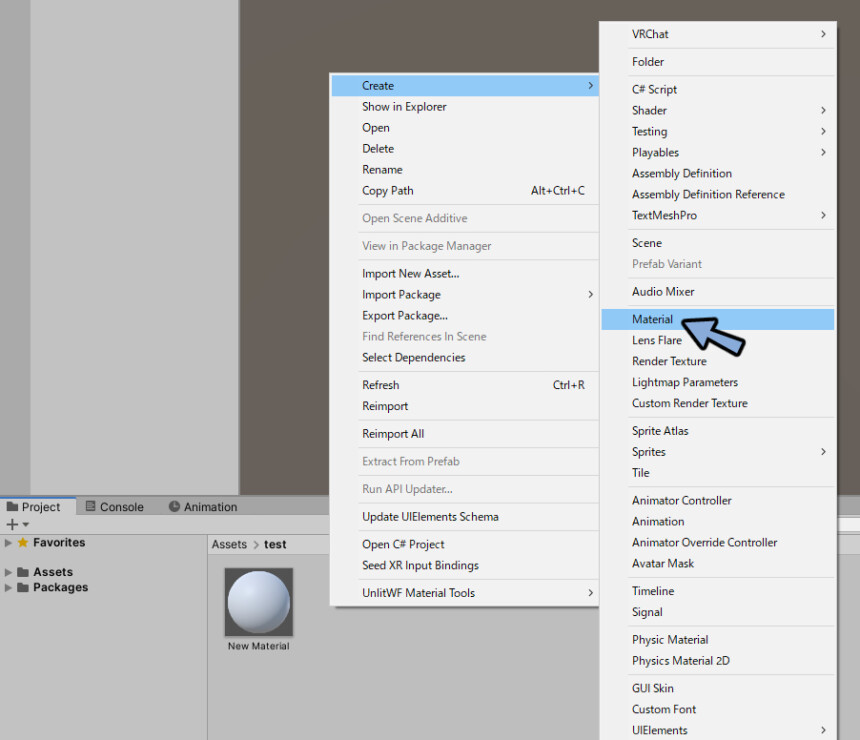
Assetの中を右クリック。
Create → Materialを選択。
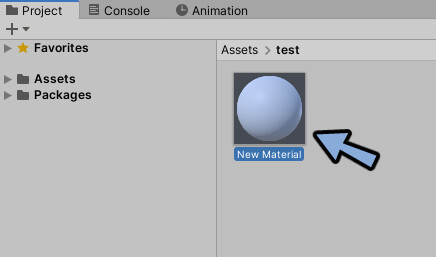
新規マテリアルを作成。
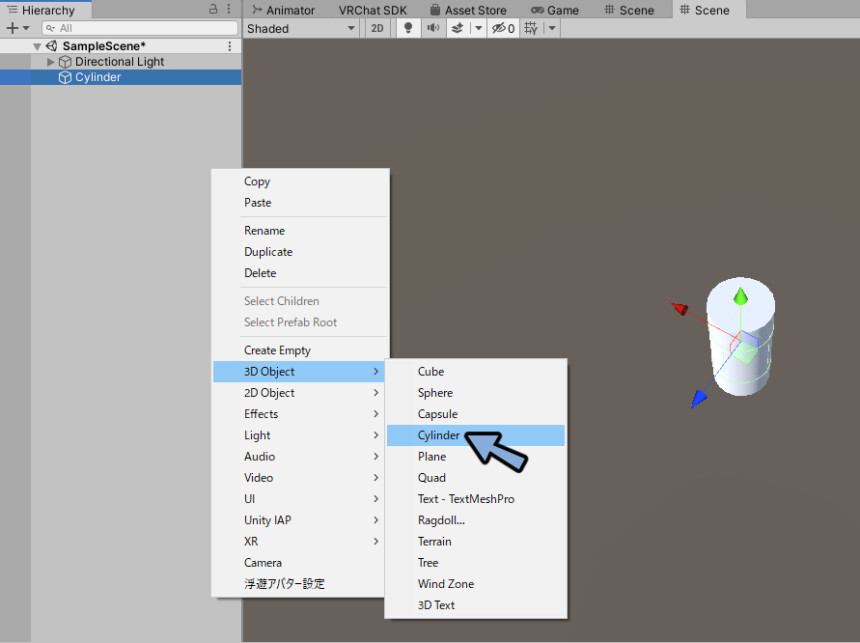
Hierarchy上を右クリック。
3D Object → Cylinderなどで任意の形状を作成。
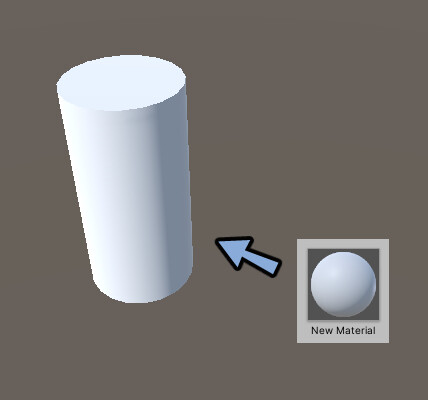
SceneのオプジェクトにProjectのマテリアルをドラッグ&ドロップで割り当て。
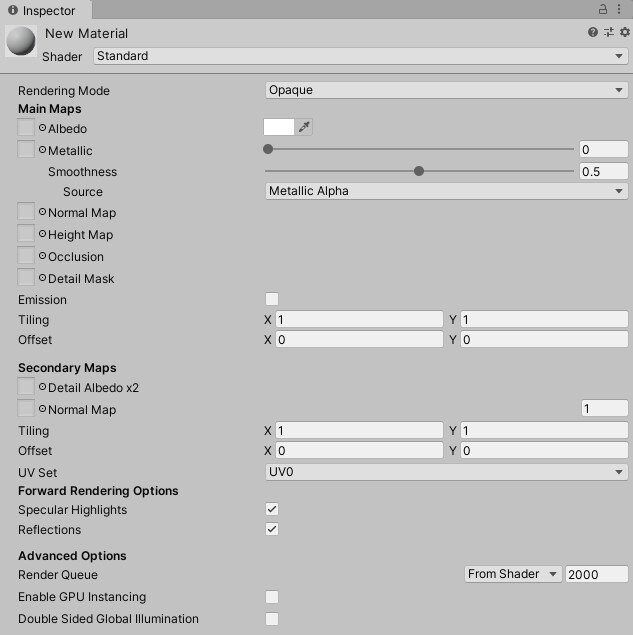
Projectのマテリアルを選択。
Inspectorを見ます。
UnityChanToonShader → Mobile → Toon_DoubleShadeWithFeather_TransClipping_StencilMaskを選択。

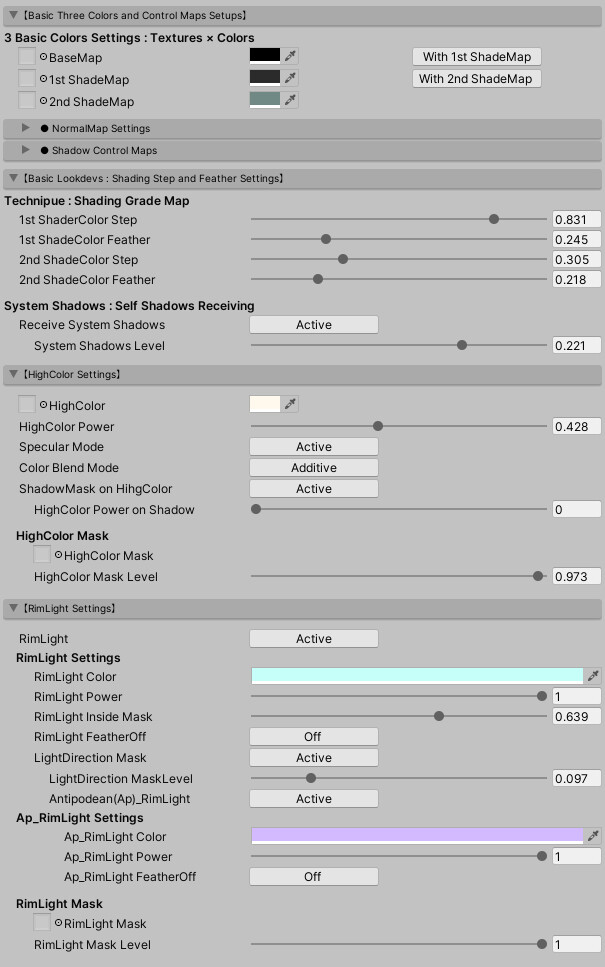
Basic Three Colors and Control Maps Setupを開きます。
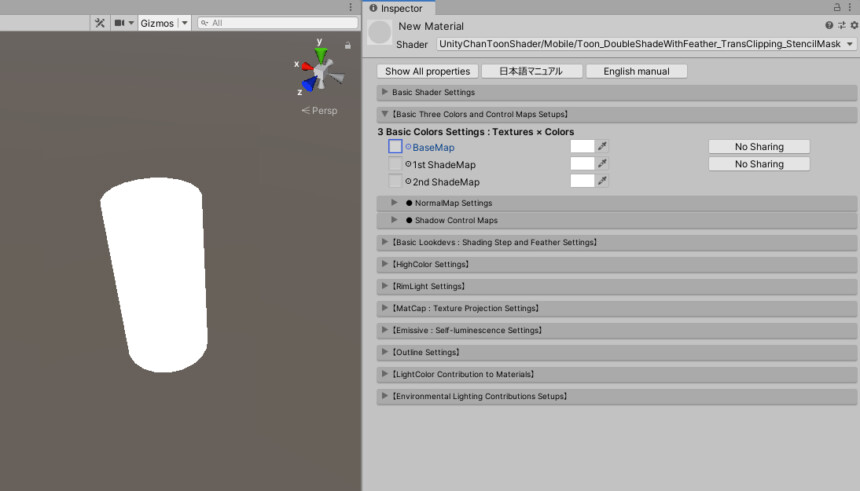
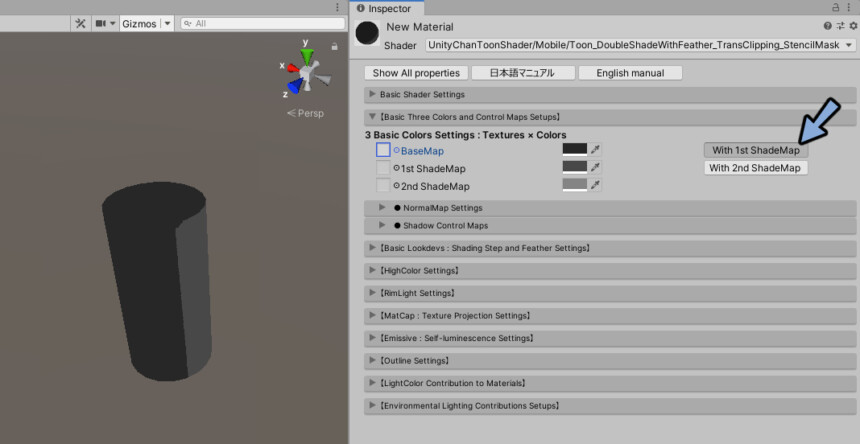
No Sharingを選択してWith 1st/2nd ShadeMapに変更。
Colorの所で色を作成。
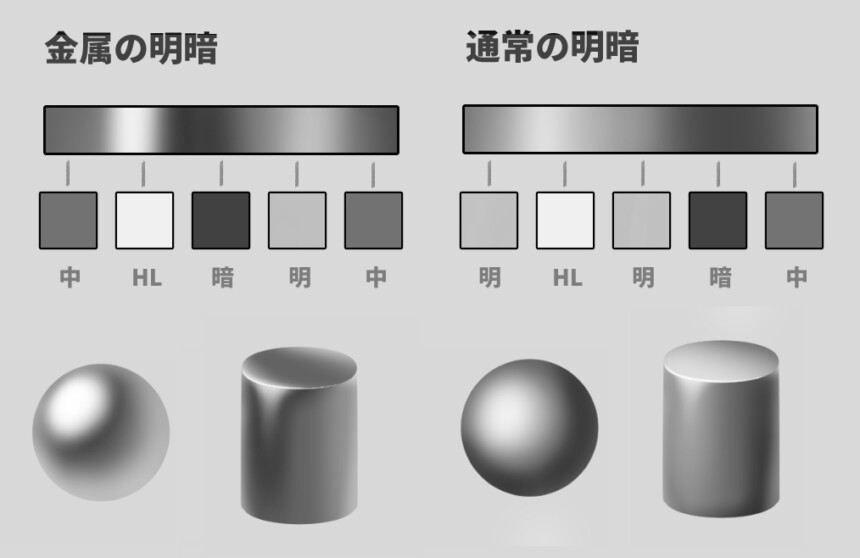
上が暗い色。下が明るい色になるように設定します。
これは本来の明暗とは逆の設定です。
金属光沢の表現の場合。明暗のバランスを崩す+明るい色の隣に暗い色を置いて対比を作る事が重要になります。
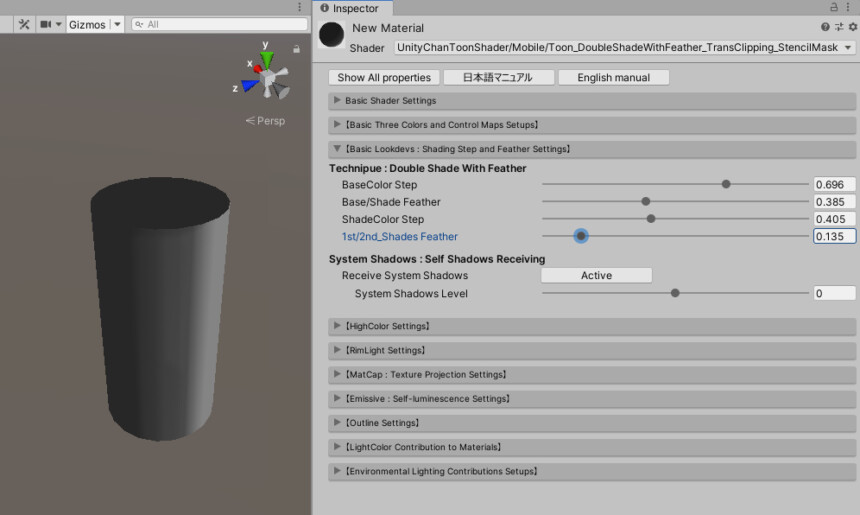
Basic Lookdevs : Shading Step and Feather Settingsを開きます。
ここのパラメーターを調整して明暗の見え方を調節します。
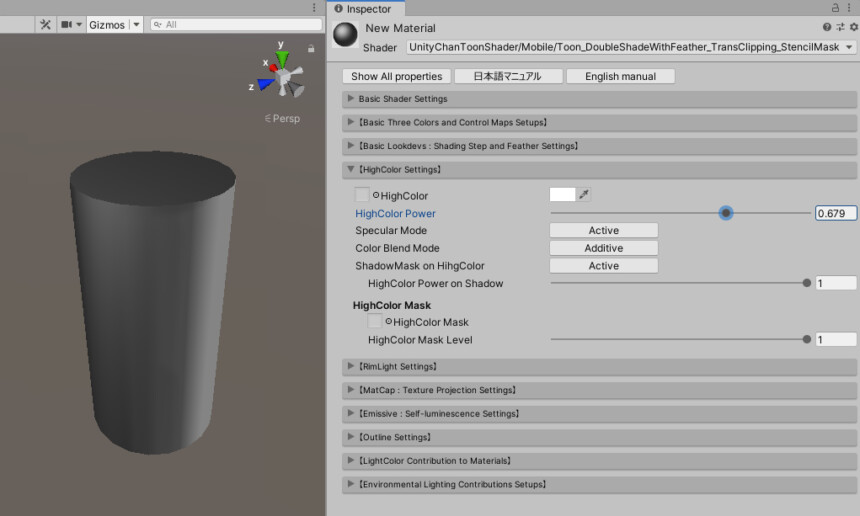
HighColort Settingsでハイライトを設定します。
ですがここだけでは金属を表現する上で満足できるハイライトになりません。
後で紹介するMatcapを使って質感を出します。
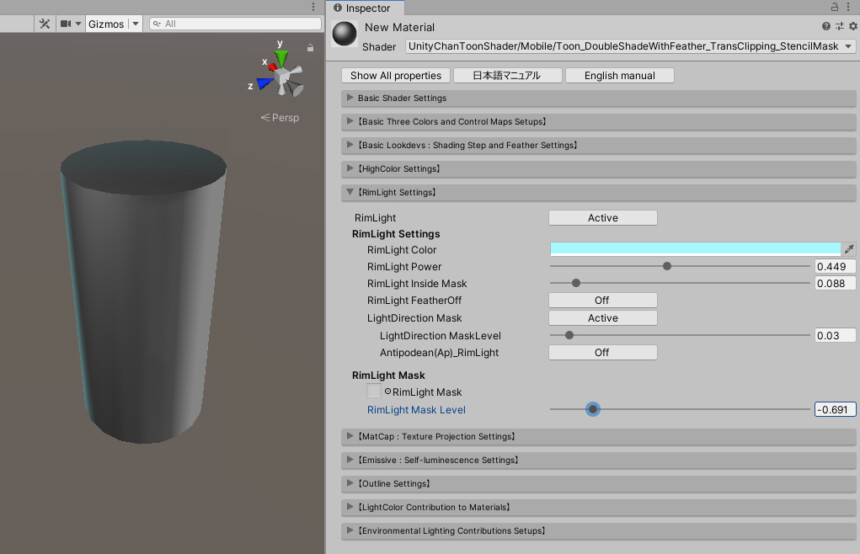
RimLight Settingsを設定します。
反射光は少し水色で設定すると綺麗になります。
基本的な金属光沢の表現
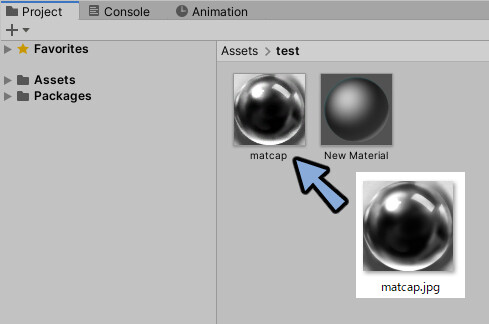
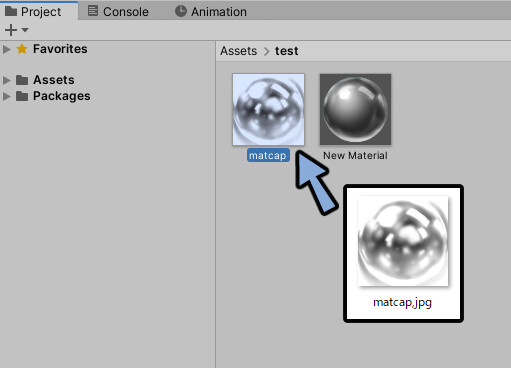
Matcap用のテクスチャを用意。
Unityに読み込み。
Matcap素材はこちらで配布してます。
※貴金属に使うものとは別です。記事の後半で紹介してます。
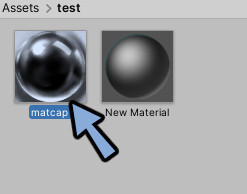
テクスチャを選択。
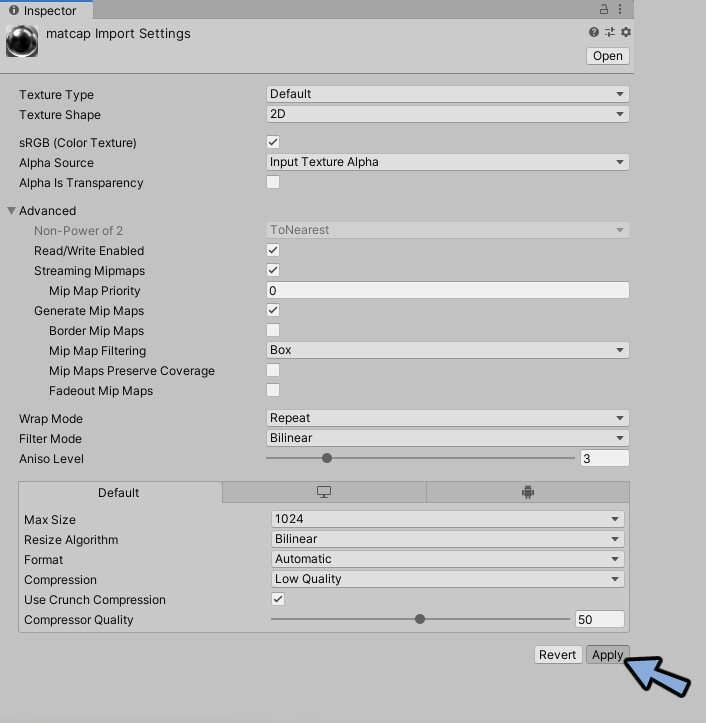
Inspectorを以下のように設定。
・Read/Write Enabledにチェック。
・Streaming Mipmapsにチェック。
・Filter ModeをBilinearに変更。
・Aniso Levelを3~5に設定。
・Resize AlgorithmをBilinearに変更。
・CompressionをLow Qualityに変更。
・Use Crunch Compressionにチェック。
・Compressor Qualityを30~50に設定。
Applyを押します。
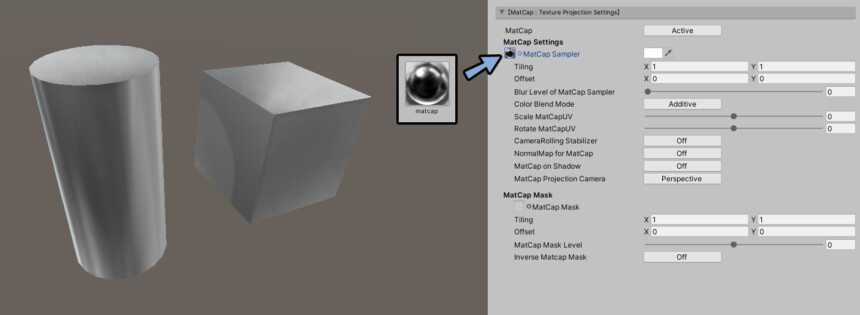
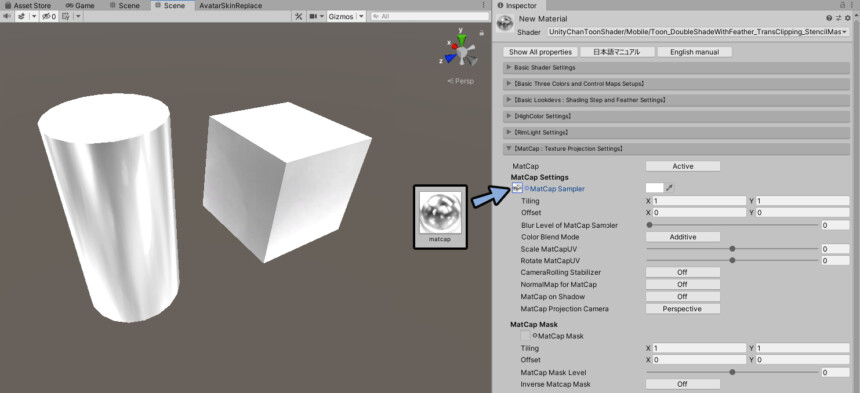
MatCap Samplerにテクスチャを差し込みます。
これで金属光沢が出ます。
通常の金属であればこれで完成です。
貴金属の金属光沢
ここからはより光沢の強いジュエリーのような金属の作り方を紹介します。
残念ですがMatCapの設定だけでは光沢感は上げられません。
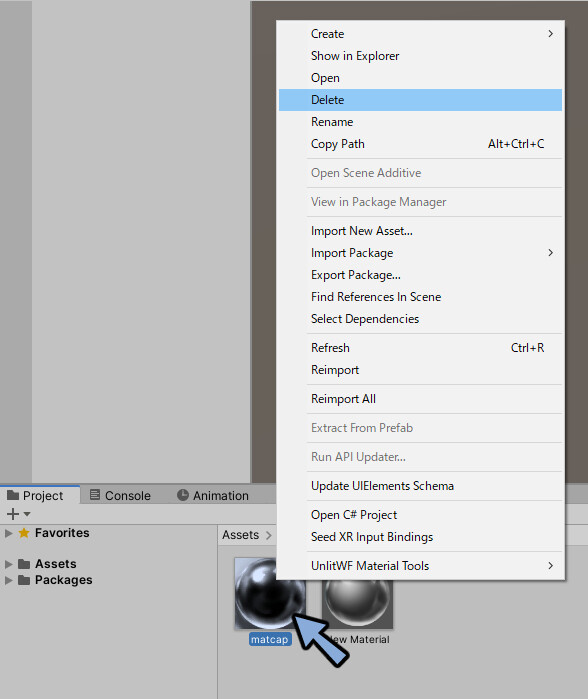
なので一度MatCapのテクスチャを削除します。
MatCapに光沢を加筆した素材を用意します。
光沢感は描く事で上がります。
光沢を加筆した素材はこちらで配布しています。
こちらを読み込み差し替えます。
MatCap Samplerにテクスチャを差し込みます。
これでより強い金属光沢が出ます。
これで貴金属の質感の作成が完了です。
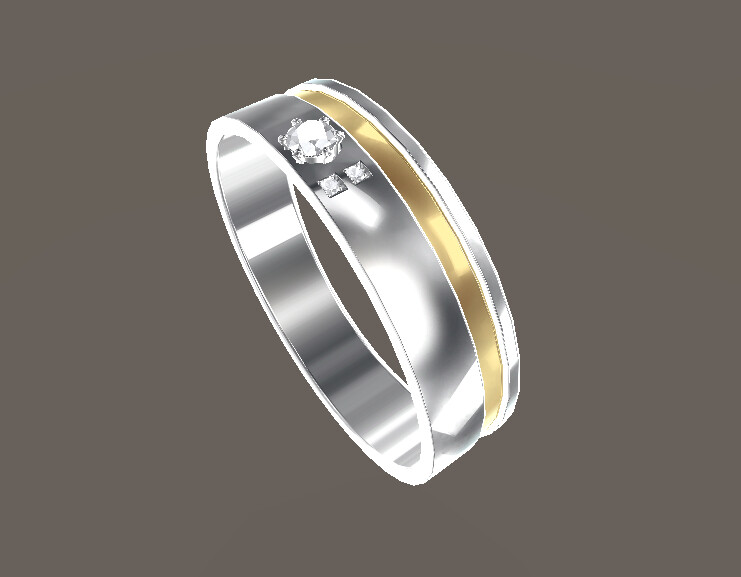
あとは割り当てたいモデルの見た目や用途に合わせてパラメーターを細かく調節してください。
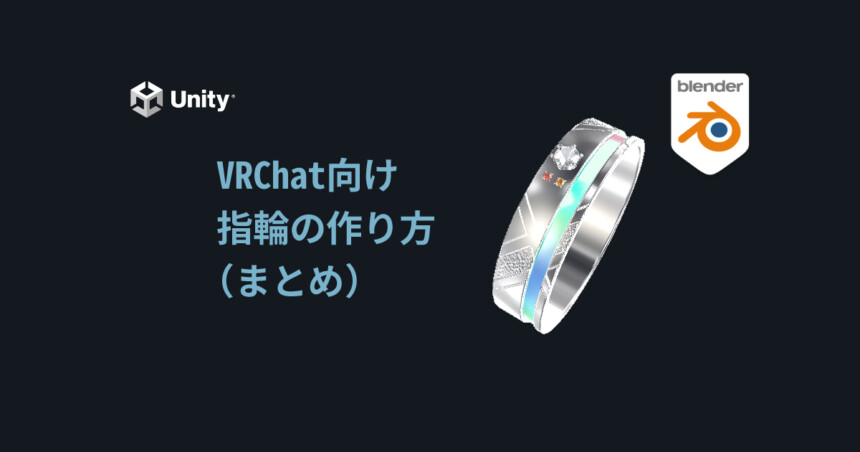
するとこの指輪のような質感になります。
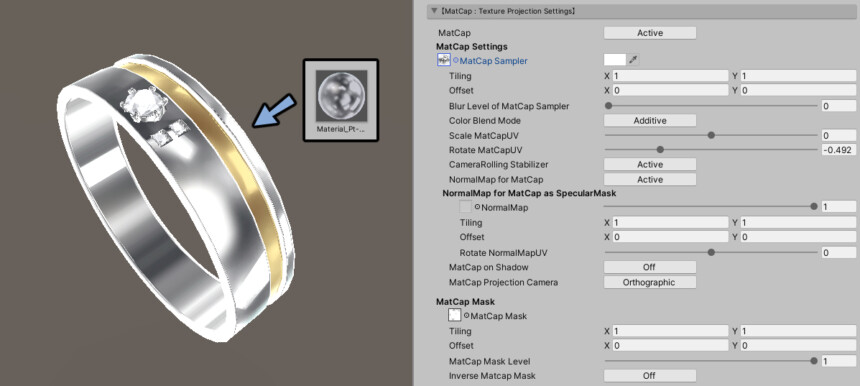
MatCap以外のパラメーターはこちらのように調節しました。
これでUTS2.0で綺麗な金属光沢の設定が完了です。
まとめ
UTS2.0で綺麗な金属光沢の表現方法を紹介しました。
複雑なグラデーションが入った金属の表現はこちらで解説。
また、作例を元に実際にUnityでマテリアルとテクスチャを設定する方法はこちらで解説しています。
モデリングから始まるVRChat向けの指輪のメイキングの全体はこちらで公開中。
ぜひこちらもご覧ください。
コメント