Introduction
In this article, explain how to use Lura’s Switch.
This is an asset that adds multiple functions such as mirrors and light sources to the VRChat world using a switch method.

I will proceed on the assumption that world exists.
(World SDK3, assuming Udon Sharp already implemented.)
※The writer is Japanese and translates using DeepL.
There may be some strange translations.
Lura’s Switch Installation
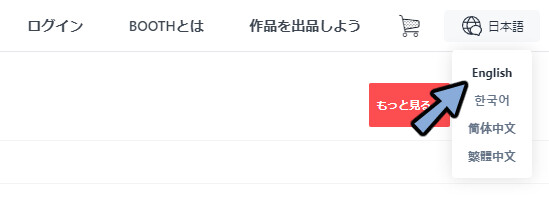
↓Access this page
Select the language button in the upper right corner.
Translate Booth Web page into English.
Please Click [Free Download]
Select → Lura_sSwitch_ver2.01_SDK3_2019.zip

All Extract the DL Zip.
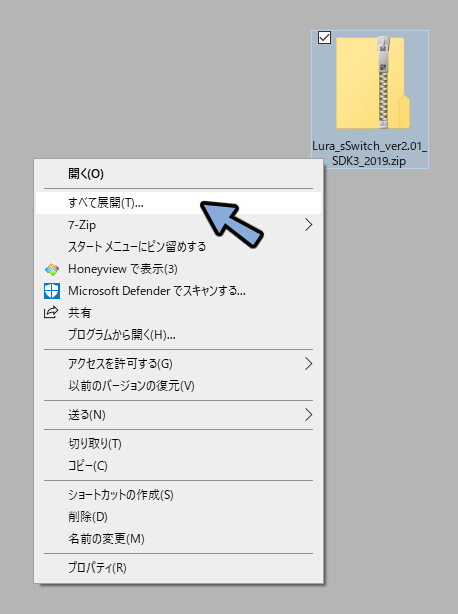
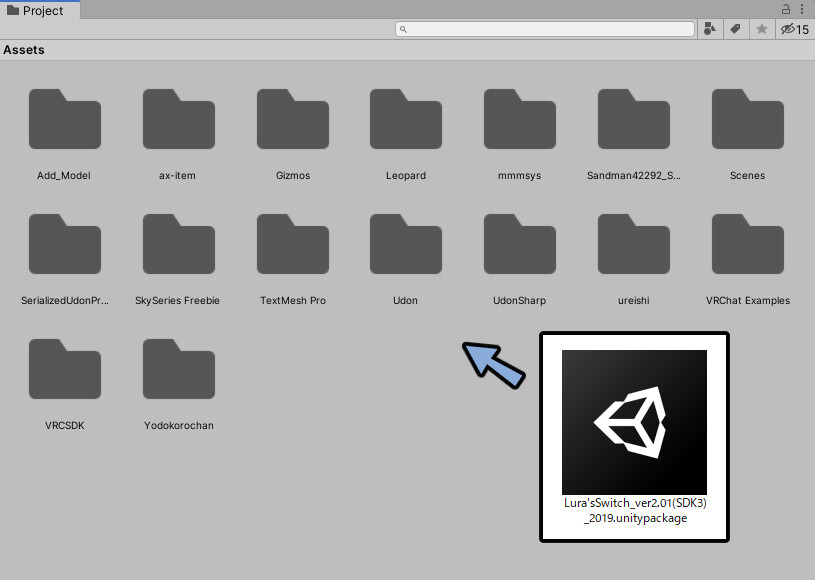
Drag and drop the .unitypackage inside to the world’s Project.
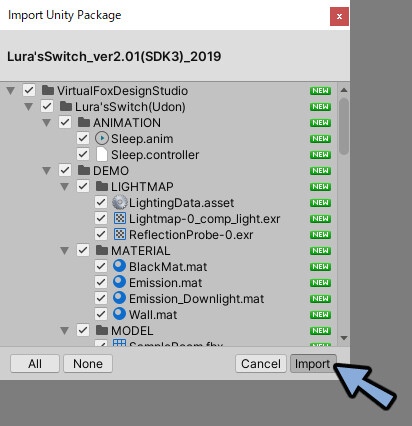
Make sure everything is checked.
Select Import.
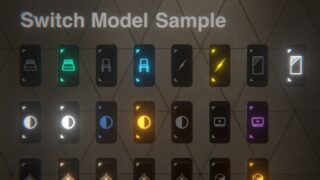
Open [Project → Assets → VirtualFoxDesignStudio → Lura’sSwitch(Udon) → PREFAB]
All prefabs here are sample data.
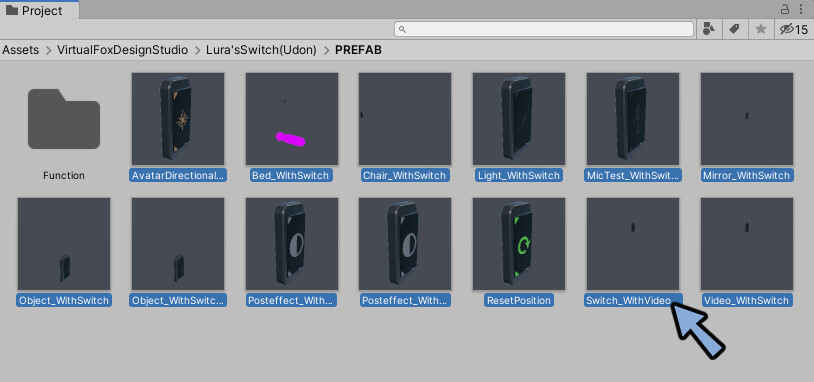
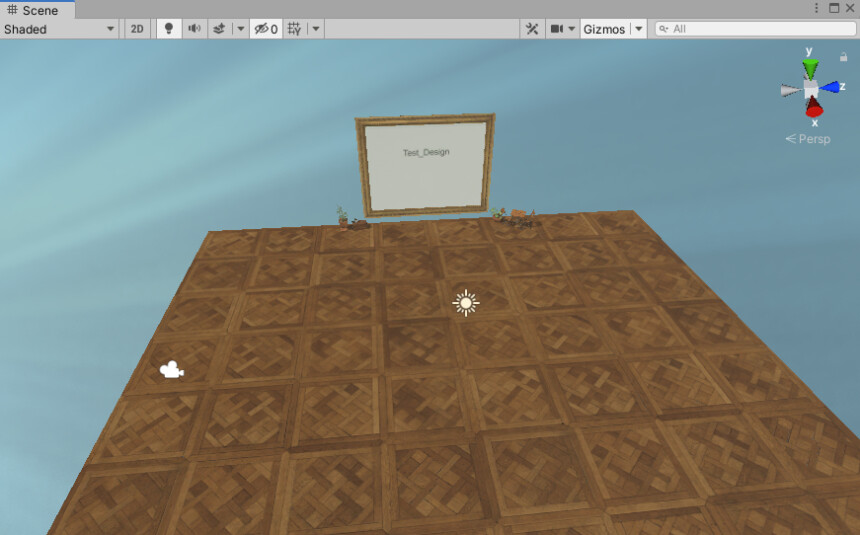
As an example, drag and drop Mirror_WithSwitch into the Hierarchy.
You can see a sample like this.
Upload to VRChat in this state.
Press the switch to turn on/off the mirror.
This completes the Installation of the Lura’s Switch.
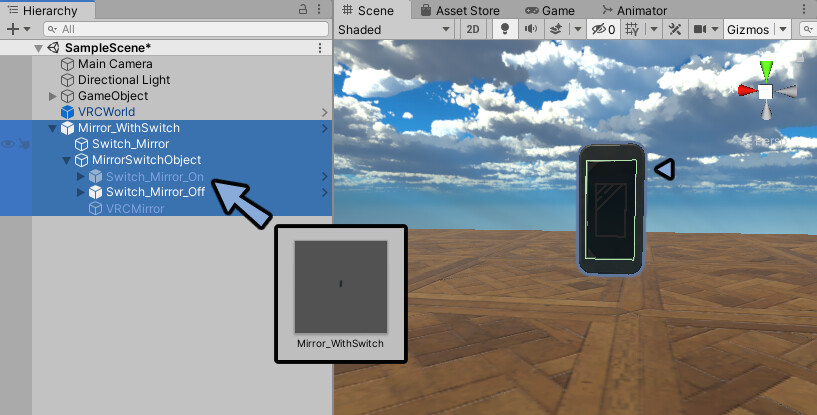
Move the switch position
To move the entire switch, move the top level.
In this case, it is “Mirror_WithSwitch.
You will check the reason why we do so.
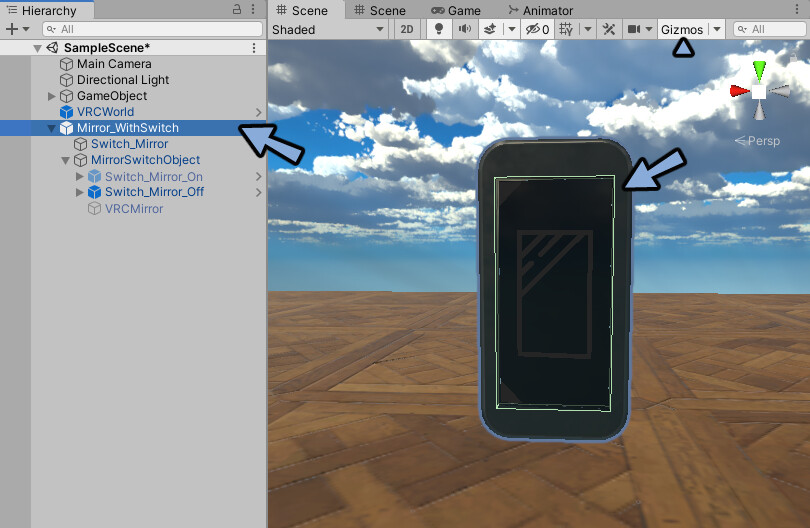
Check Gizmos for switch collision determination.
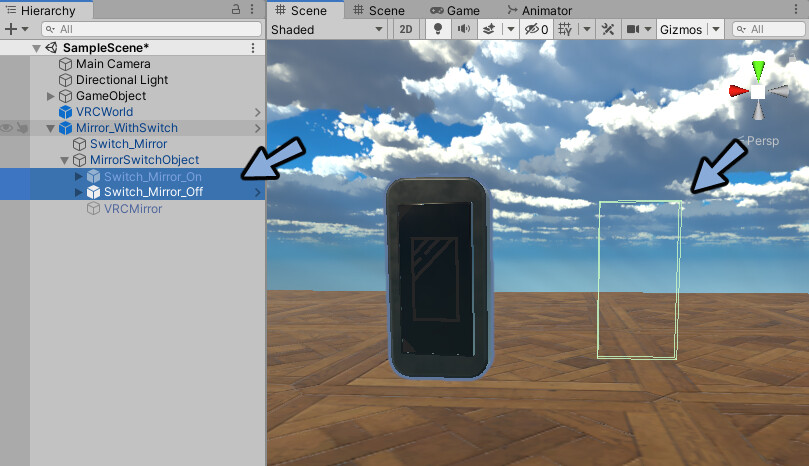
Move in the lower Hierarchy level.(Move Switch_Mirror_On/Off)
Collision detection is misaligned and broken.
This completes the move the switch position.
Move the content
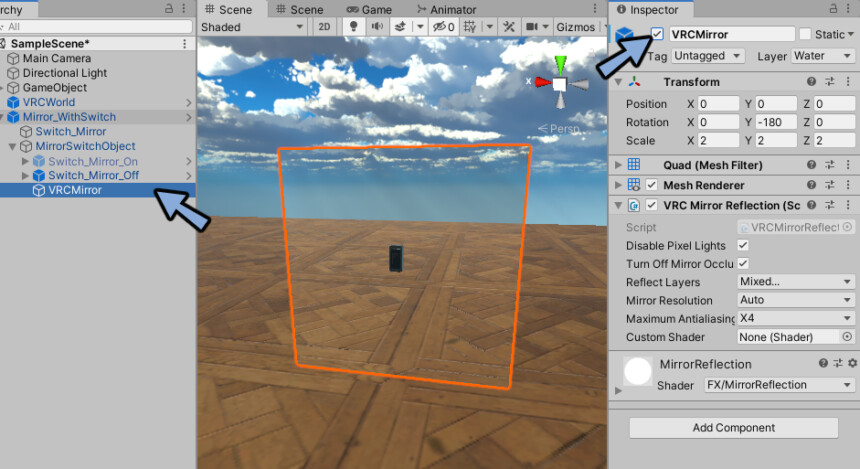
Open contents in Hierarchy.
In this example, VRCMirror is checked.
Make the contents visible.
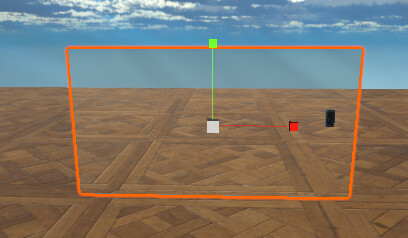
Adjust the position and size of contents
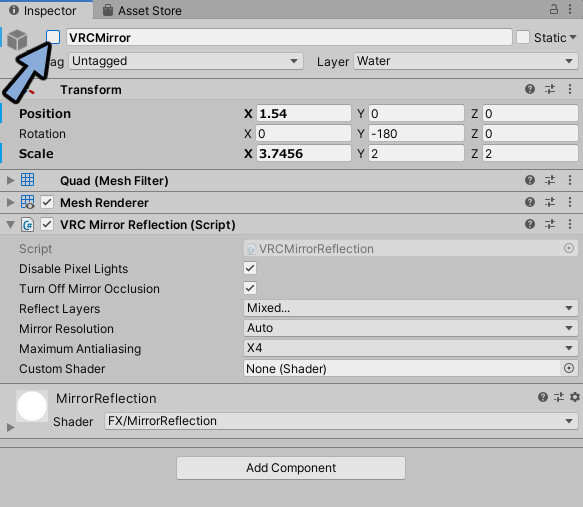
Uncheck content in Inspector.
Reset to hidden status.
Upload to VRChat in this state.
The content is moved by this process.
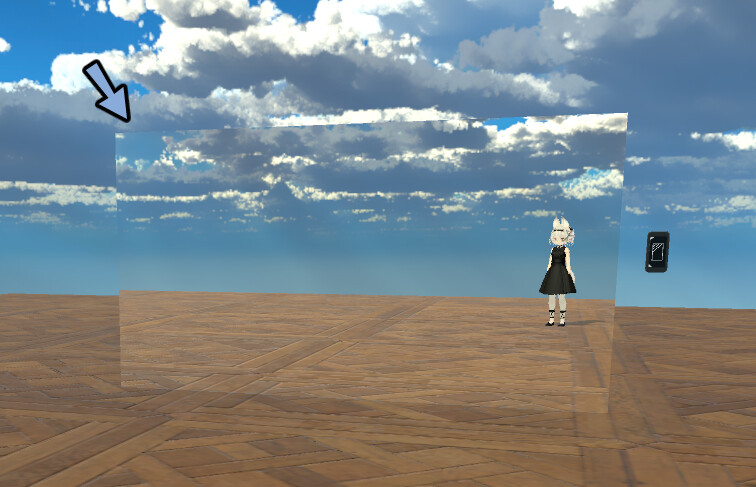
This completes the move the content.
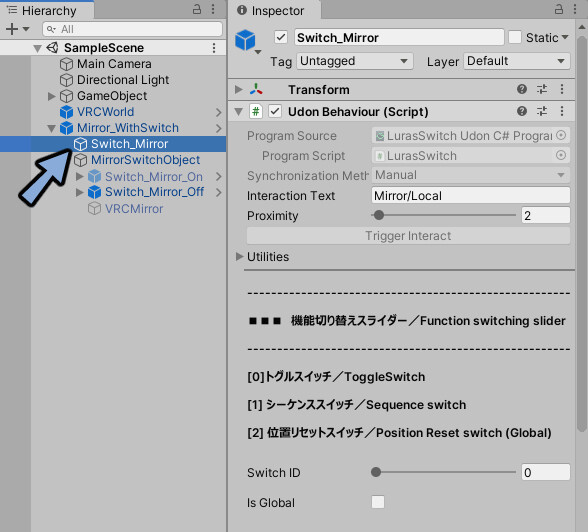
Add & change contents
You can add or change the contents by altering the inspector of the collision determination.
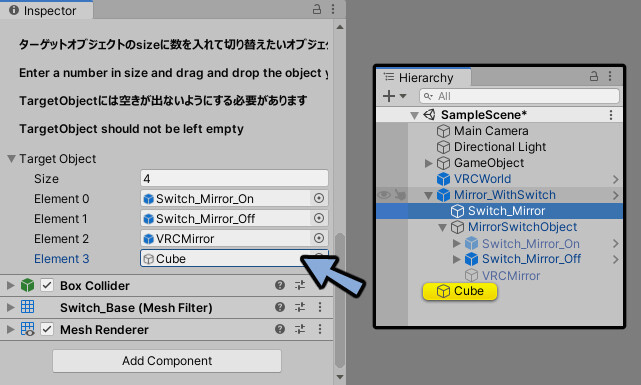
Add content.
Increase the Size of the Target Object.

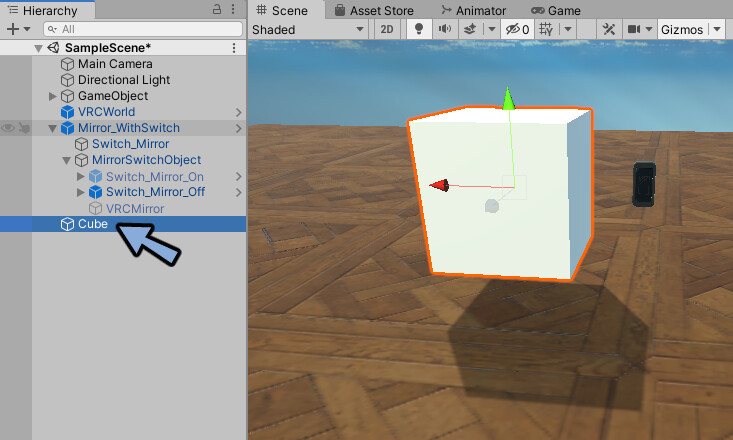
Add objects etc. to the Hierarchy.
Add cube as an example.
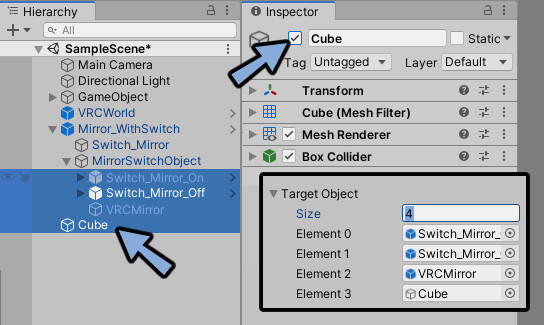
Place the object you want to add in the increased “Element”.
Press the switch.
Then the object ON/OFF set by Element is flipped.
Upload to VRChat.
Then it will behave like this.
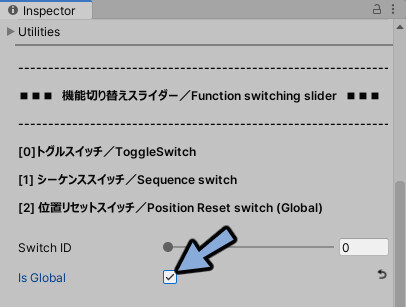
Check is Global in Inspector.
You can then globalize the behavior of the switch.
This completes Add & change contents.
Ending
Explained how to turn mirrors, objects and light sources ON/OFF with switches in the VRChat world.
Other useful know-how for VRChat world production is also explained.
Please take a look at this page as well.
コメント