
はじめに
法線編集無料アドオンの使い方を紹介します。
全ての機能は紹介しきれないので、最低限使えるようになることを目標に解説します。
導入方法
こちらのサイトよりGitHubページにアクセス。
GitHub - dskjal/Smooth-Normal: Smoothing custom normal(s)
Smoothing custom normal(s). Contribute to dskjal/Smooth-Normal development by creating an account on GitHub.
github.com
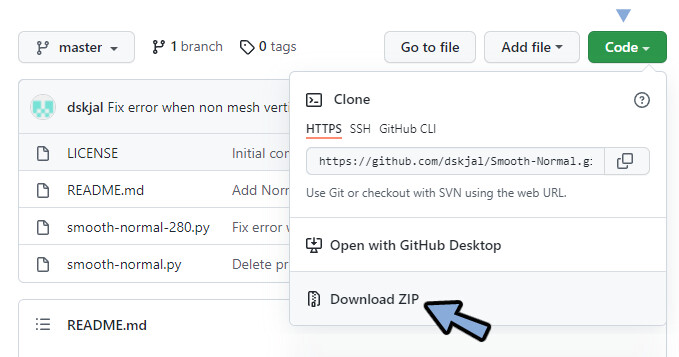
Codeを選択。
Download ZIPよりダウンロード。
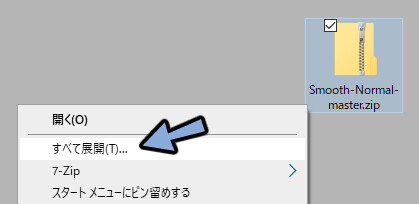
ダウンロードしたZIPを展開。
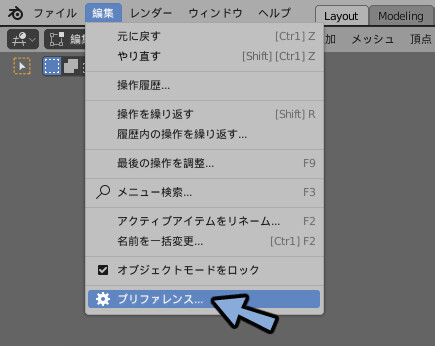
Blenderを開き編集 → プリファレンスを選択。
アドオンを選択。
インストールを選択。

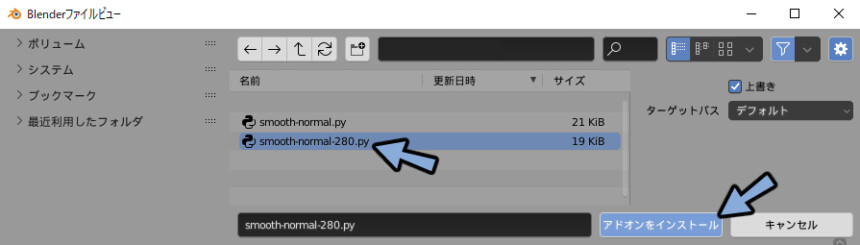
最新版のsmooth-normalを選択。
アドオンをインストール。
チェックを入れて有効化。
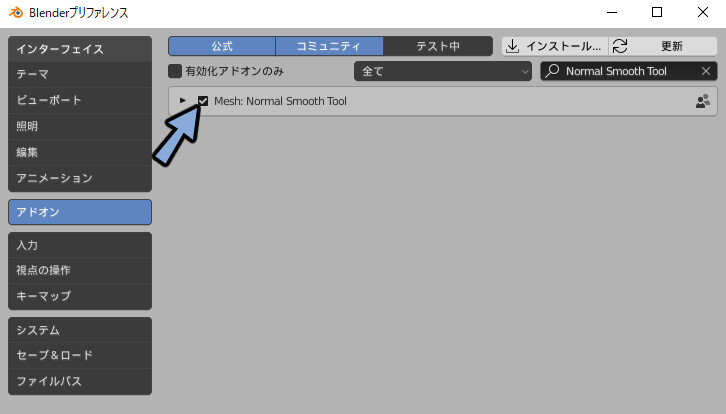
3Dビューでオプジェクトを選択。
Tabキーで編集モード。
右側に法線編集が出ていましたら導入が完了です。

使い方
法線編集したいメッシュを選択。
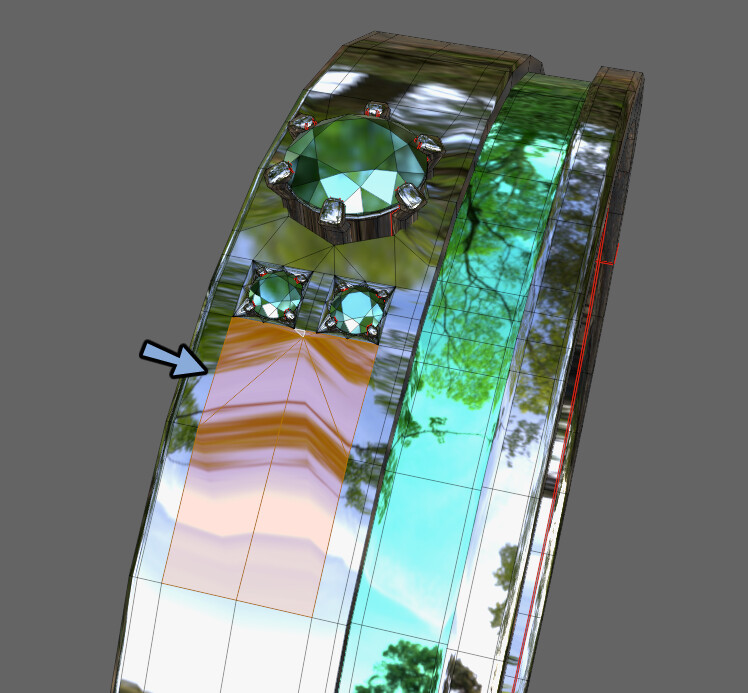
球体の部分を押すことで面の向きを変えることができます。
スムーズで面のつながりをスムーズにできます。
コピー&貼り付けで面の向きをコピペできます。
上のボタンで法線の向きを確認できます。
Set Face Normalで面から法線を設定できます。
まとめ
Smooth-Normalの使い方を紹介しました。
Blenderのデフォルトの法線編集よりは操作がしやすく、スムーズ機能は使いこなすと役立つと思いました。
ただHDRの画像のプレビューの大きさや歪みが治せなかったのでどうしたらいいんだろうという状態です。

コメント