はじめに
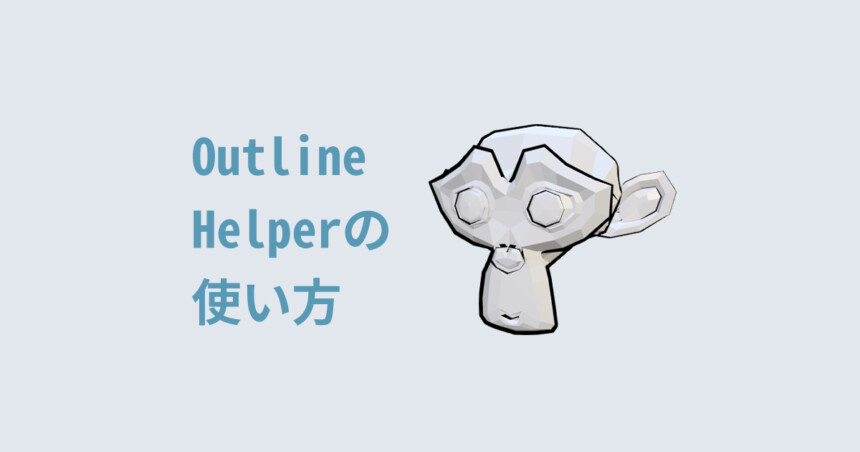
今回はBlenderの無料アドオンのOutline Helperで線の幅を変える方法を紹介します。
頂点がたくさんあるモデルの線幅の変え方も紹介してます。
Blenderで線画を作りたい方はぜひご覧ください。
アドオンの導入
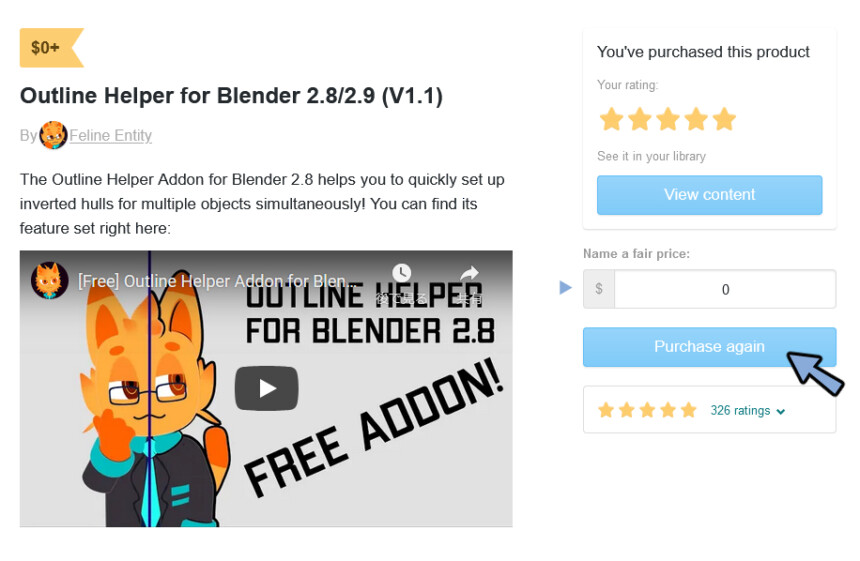
こちらのサイトよりアドオンをダウンロードします。
Name a fair price:に0と入力してPurchase againを押します。
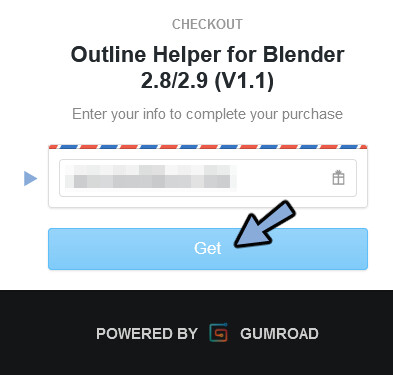
メールアドレスを入力してGetを押します。
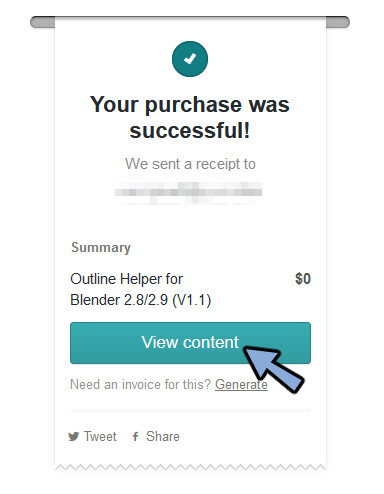
View contentを押します。
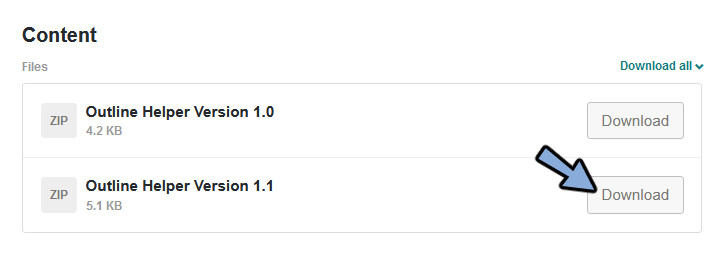
最新版のOutline HelperのDownloadを押します。
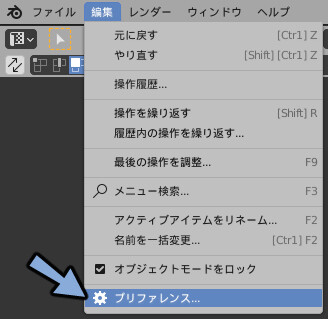
Blenderを開き、編集→プリファレンスを開きます。
アドオンを選択して右上のインストールを選択。
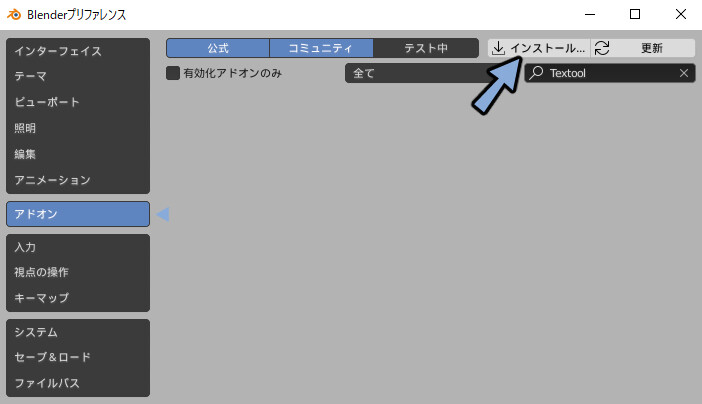
Outline Helper.zipを選択してインストール。
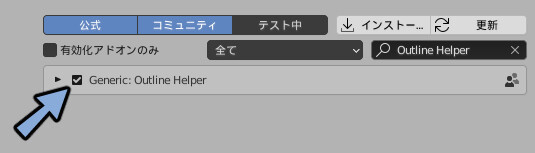
Generic: Outline Helperにチェックを入れて有効化。
3Dビュー上でNキーを押し、Outline Helperの項目が増えていれば導入完了です。
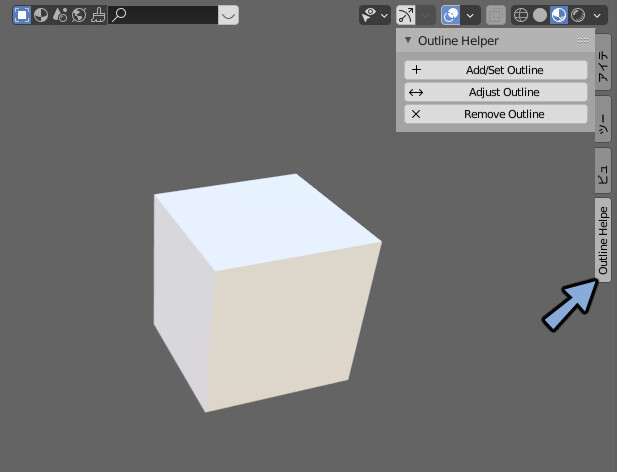
線画の作成方法
3Dビュー上でオプジェクトを選択。
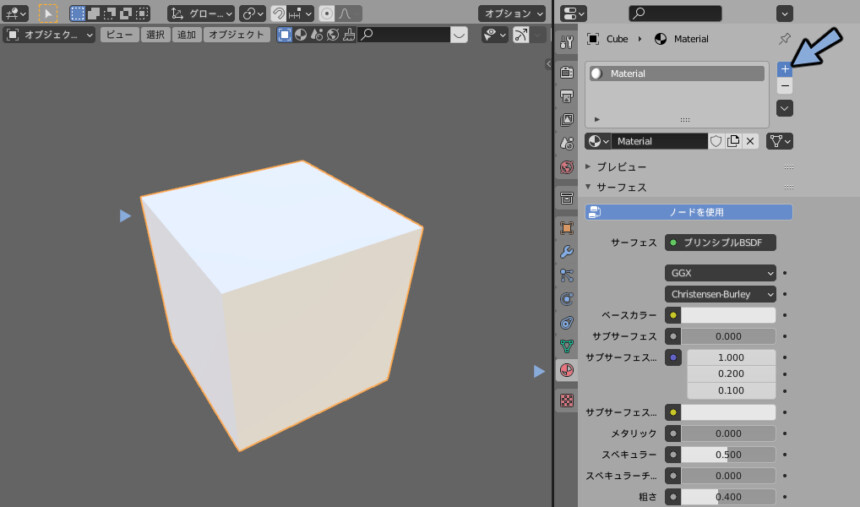
マテリアルプロパティを開きマテリアルが無い場合は+ボタンで新規作成。
※ここでマテリアルを作らないとエラーが出ます。
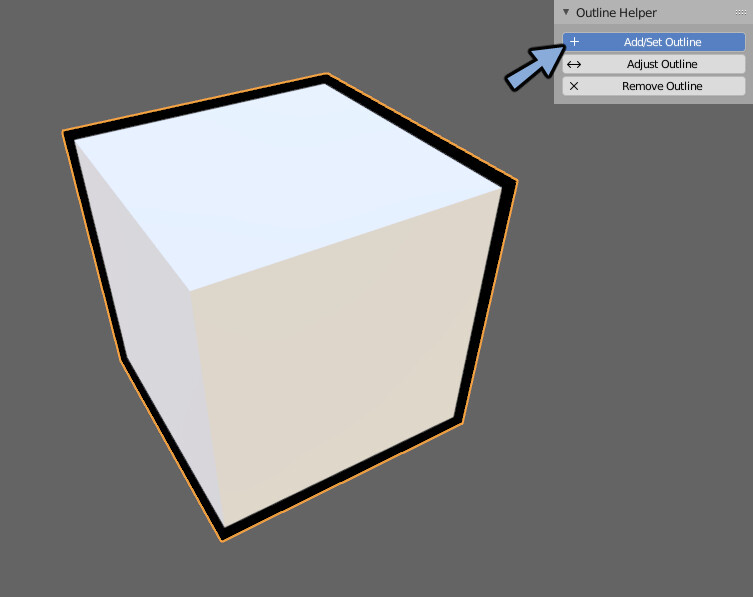
Add/Set Outlineを押して線画を作成。
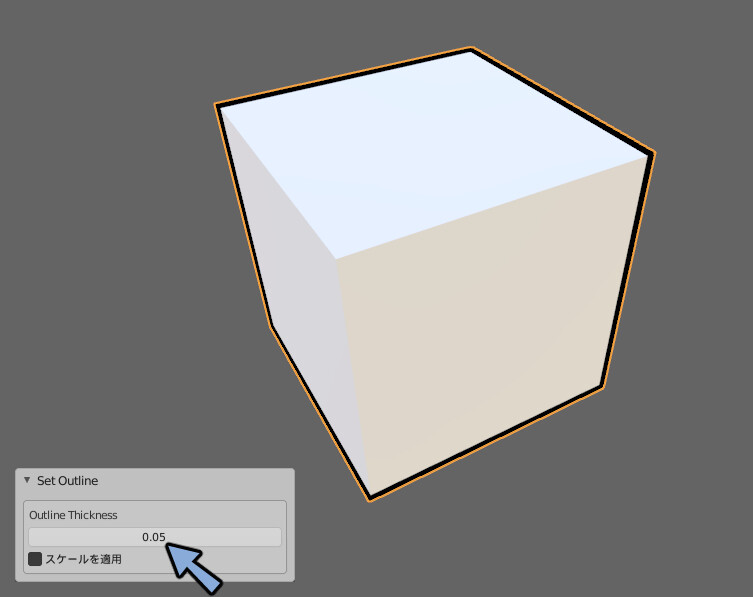
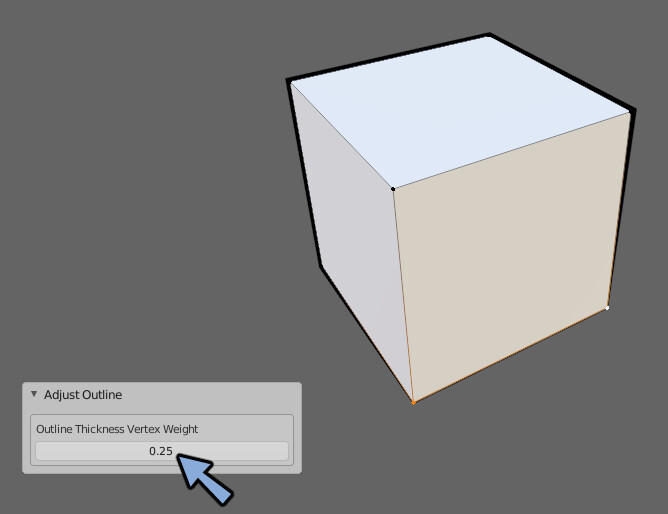
左下のSet OutlineのOutline Thicknessで線幅を調整。
Tabキーで編集モードに入ります。
特定の頂点を指定してAdjust Outlineを押します。
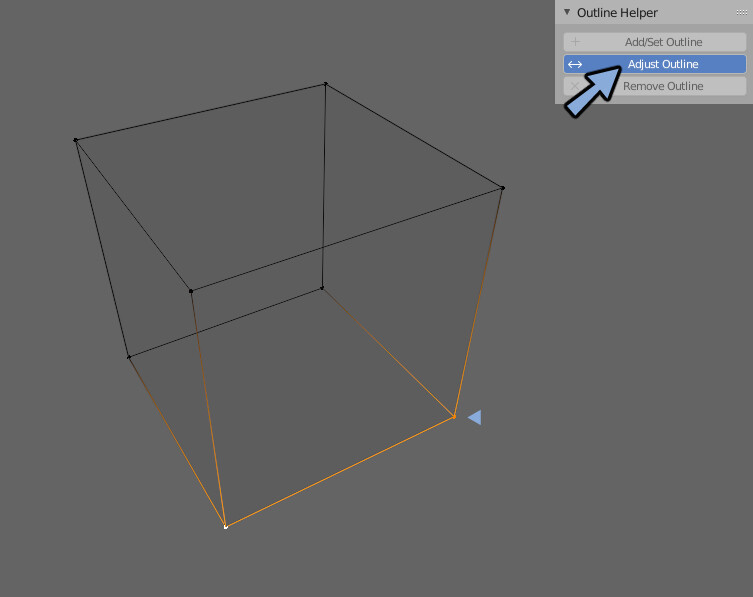
画面左下にでてくるAdjust Outlineの数値を変える事で1頂点での線幅の強弱がつけれます。
単純な形状はこれで線画を作れます。
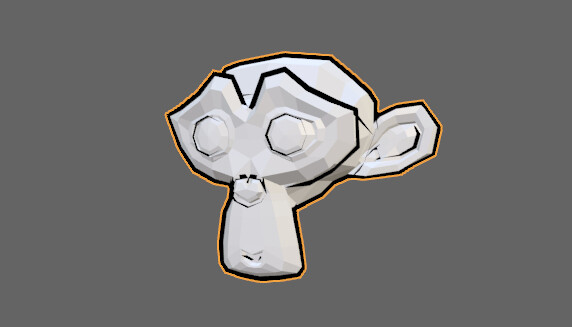
頂点が複数あるものはこの方法だと大変で綺麗には出来ません。
Remove Outlineで線画を削除できます。

複数の頂点があるモデルの線幅変更
このような複数の頂点があるものの線幅の変え方を紹介します。
画面左上の対話モードのボタンよりウエイトペイントを選択します。
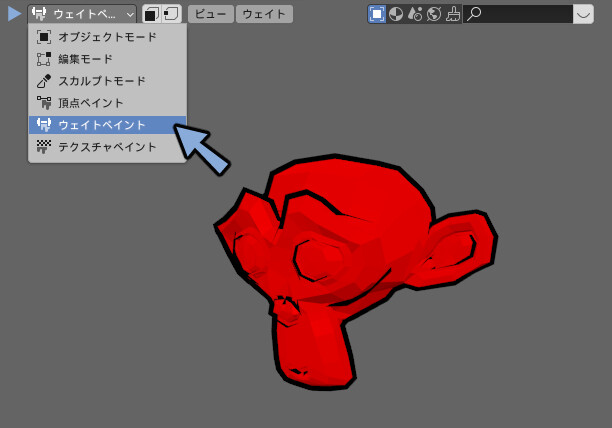
線画の強弱をウエイトペイントで付けてください。
ここではウエイトの塗りの値を0.00にしてAltクリックでグラデーションウエイトを使いました。
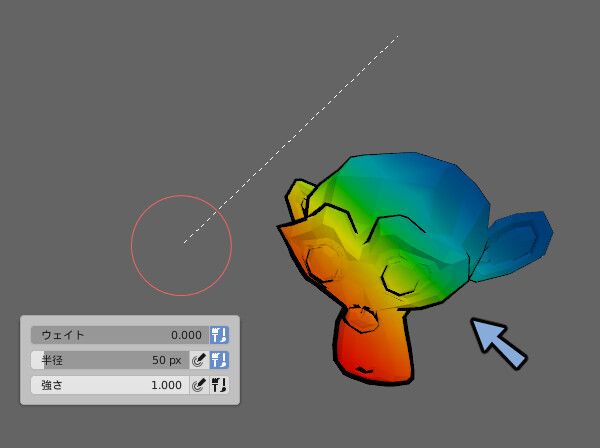
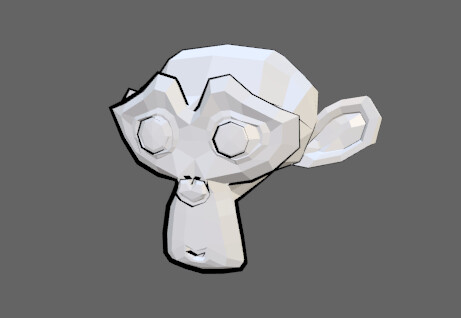
これで複数の頂点があるオプジェクトの線画に強弱をつける事ができます。
まとめ
Outline Helperの使い方と導入から線の幅を変えるまでを紹介しました。
Outline Helperは手軽に線画が取れて便利なツールです。
以前、Youtube動画の方でBlenderの線画の取り方は紹介していました。
この時はウエイトで強弱がつけれることを知らず、複数の頂点があるものの線幅は変えれないと紹介してました。
ですがウエイトで線幅を変えれる事を知りました。
そして一気に実用できるぐらいの線画が取れる事が分かり今回まとめ直しました。
皆様もぜひ、こちらを参考に線画を取ってください。
コメント