はじめに
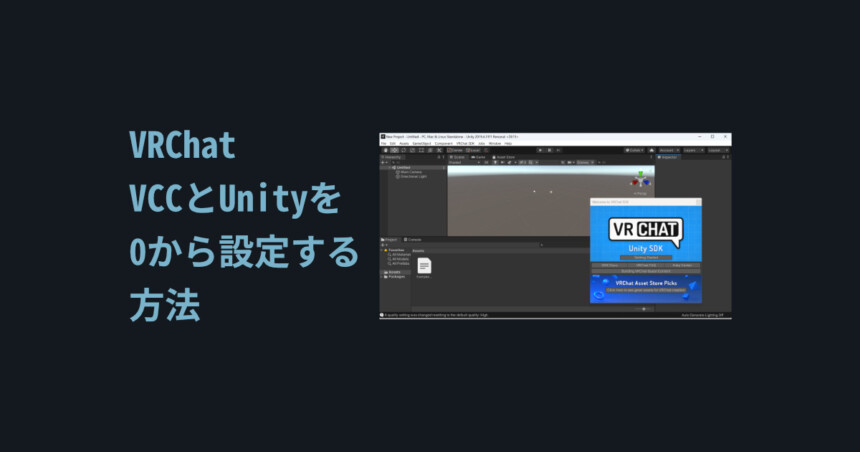
今回はVRChatユーザー向けにVCCとUnityを1からセッティングする方法を紹介します。
VCC = VRChat Creator Companionの略です。
VRChat向けにUnityを使うには下記の3つが必要になります。
・VCC
・Unity Hub
・Unity
この3つの導入方法を紹介します。
追記:現在ではALCOMがおすすめ
VCCの上位互換的なツールが出ました。
それがALCOMです。
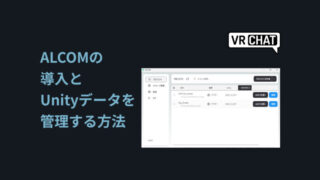
現在では、こちらの方がUnityの起動が早くバグが少なくて良いとされてます。
VCCの導入
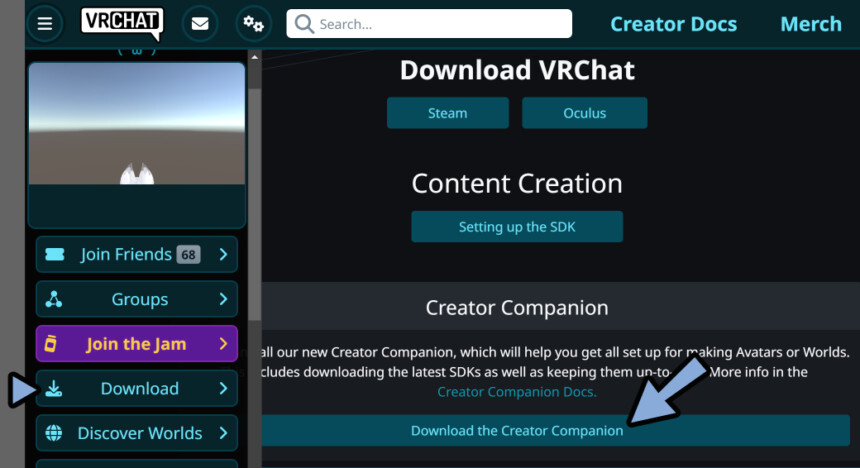
VRChat公式ページにアクセス。
ログイン。
Download → 「Download the Creator Companion」を選択。
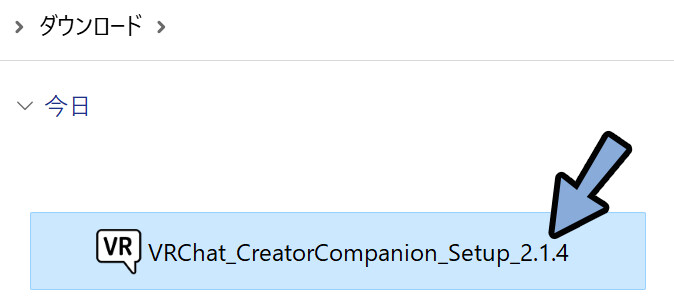
ダウンロードした「VRChat_CreatorCompanion_Setup」を実行。
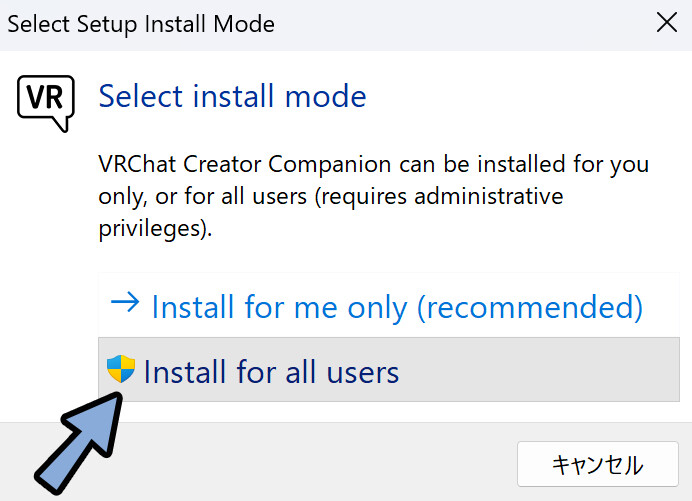
「Install for all users」を実行。
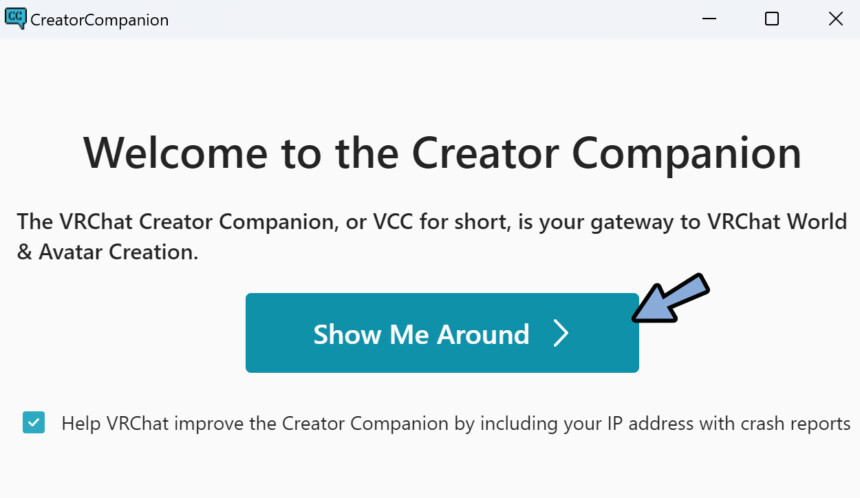
「Show Me Arond」をクリック。
あとは、初回はContinueを連打していきます。
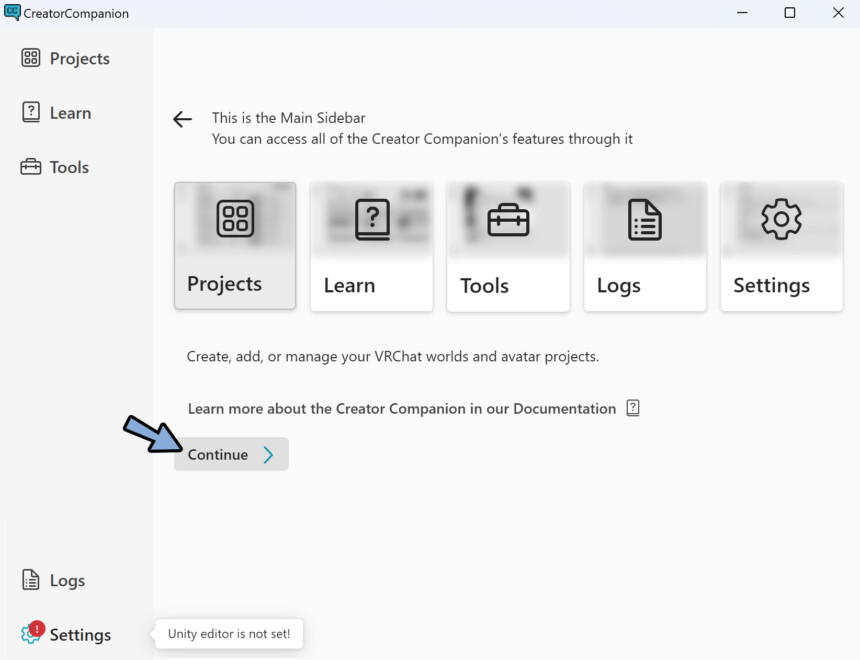
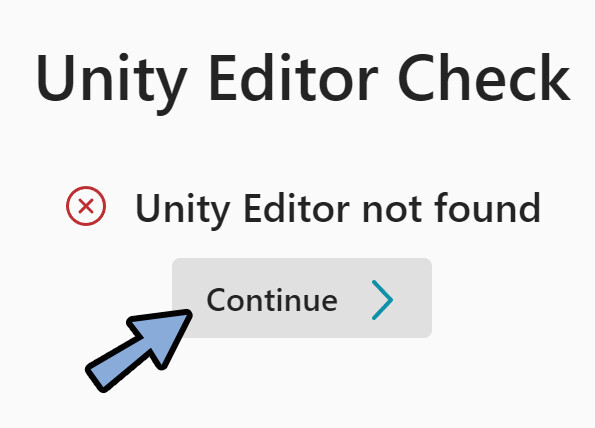
Unit Editor Checkの所まで進みましたら、VCCの導入が完了です。
Unityを入れる
Unityが無い場合、Unit Editor Checkでエラーが出ます。
「Continue」を選択。
Unity Installationで「Install Unity」を選択。
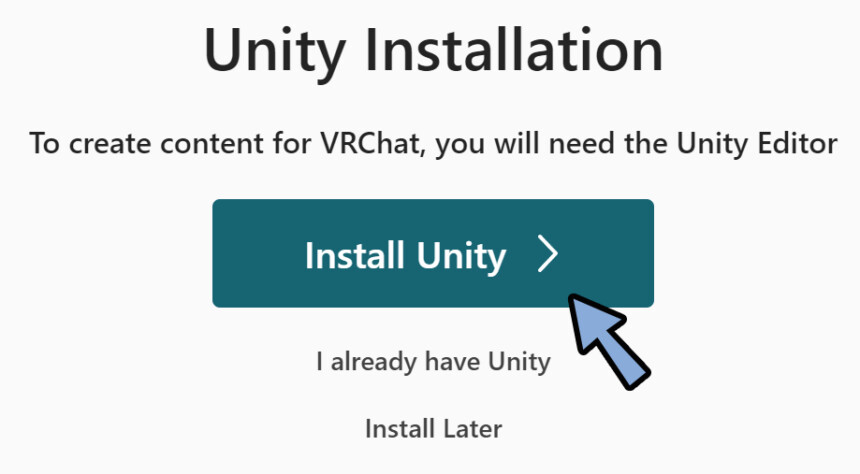
ここから、Unityを入れるために必要なUnity Hubを導入します。
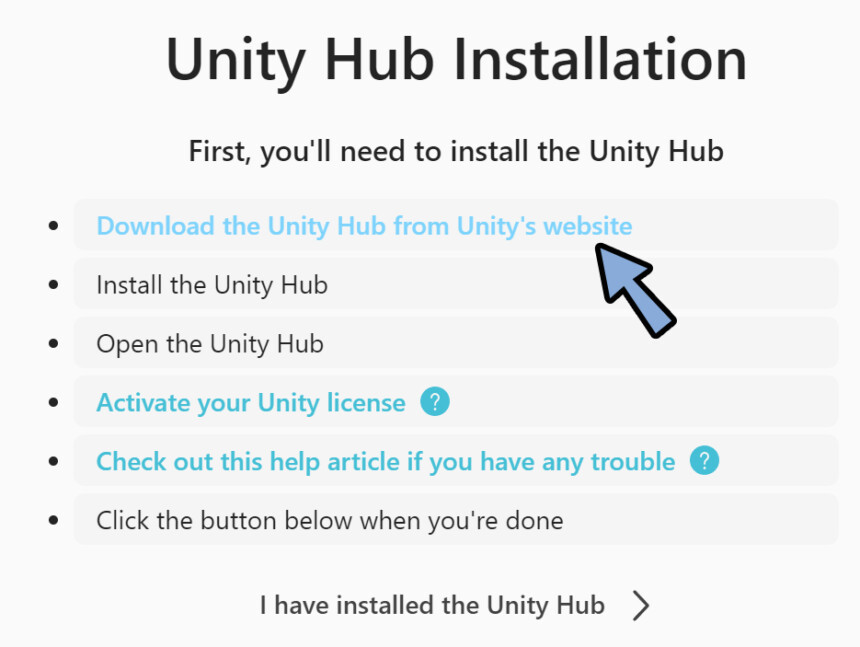
Unity Hubの導入
Unity Hub Installationから「Download the Unity Hub ~~~」を選択。
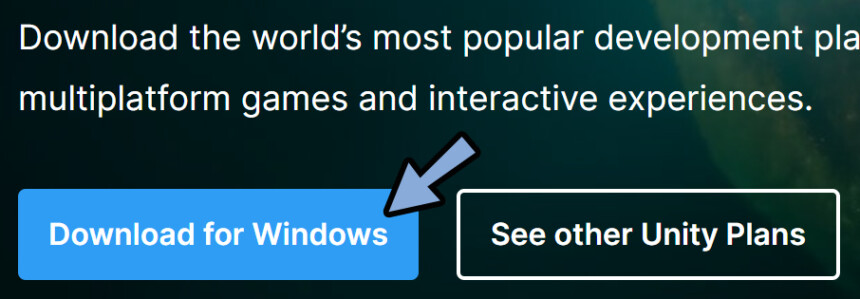
開いたページから、Download for Windowsを選択。
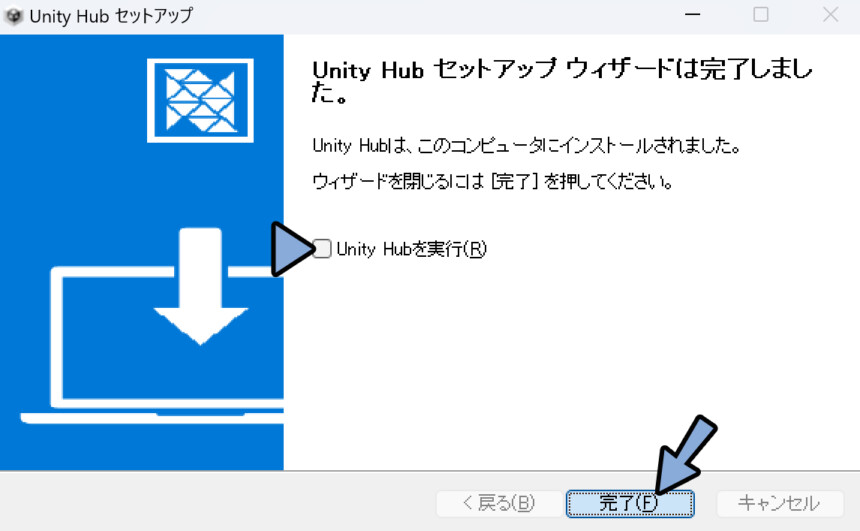
ダウンロードした「Unity HUb Setup」を実行。
指示に従ってインストール。

Unity Hubを実行のチェックを解除。
「完了」をクリック。
そしたら、VCCに戻り「I have installed the Unity Hub」をクリック。
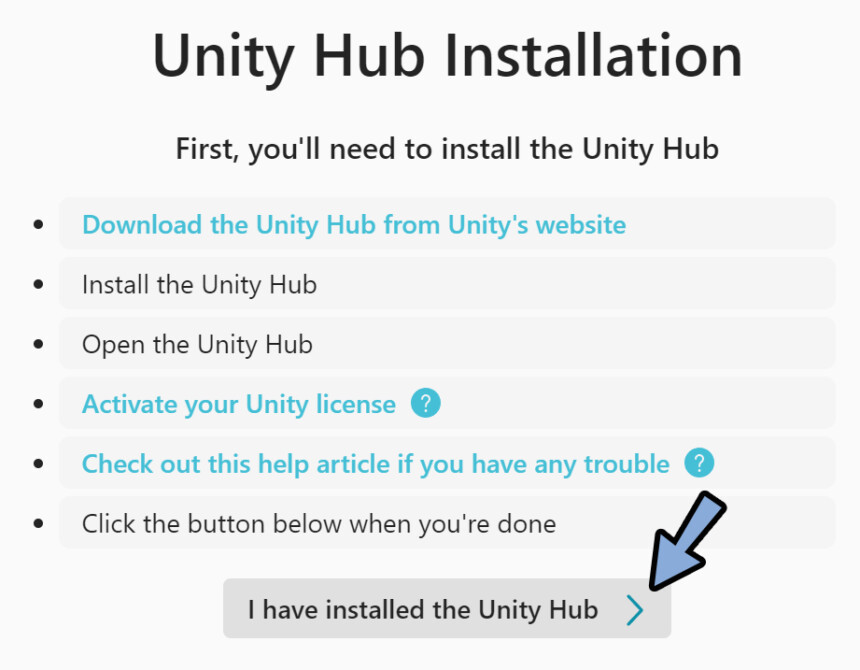
これで、Unity Hubの導入が完了です。
Unity本体の導入
VCCから、Install Unityを選択。
ここで選択すると、自動でVRChatに必要なバージョンのUnityを導入できます。
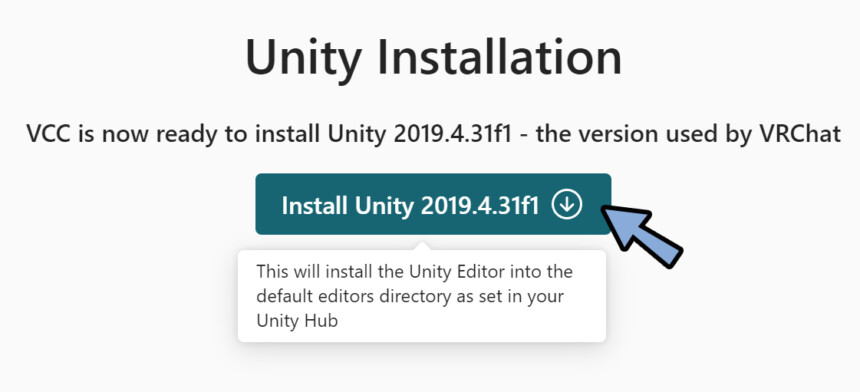
2024年、5月最新のバージョンはUnity「2022.3.22f1」です。
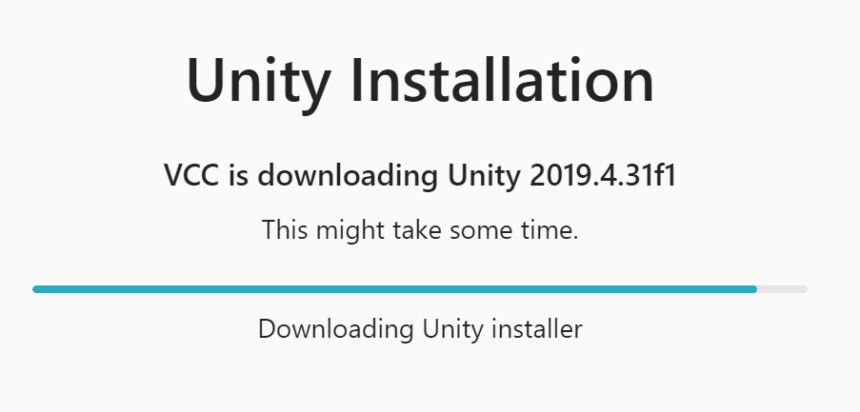
あとは指示に従ってインストール。
注意書きが出た場合は、気にせずOKっぽい所を押して進んでください。
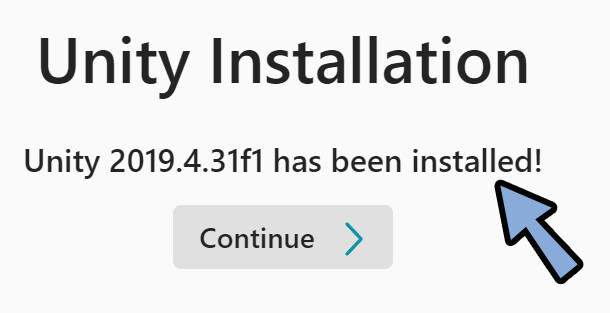
これで、Installが完了です。
もしインストールできない方は、Unity のバージョン名で検索。
↓のような公式ページにアクセス。

ここから「Unity Editor Windows (X86-64)」などを選択して.exeをダウンロード。
→ exeを使って手動インストール → VCCを再起動してください。
最新版VCCは、何故かInstall機能が正しく動かないようです。
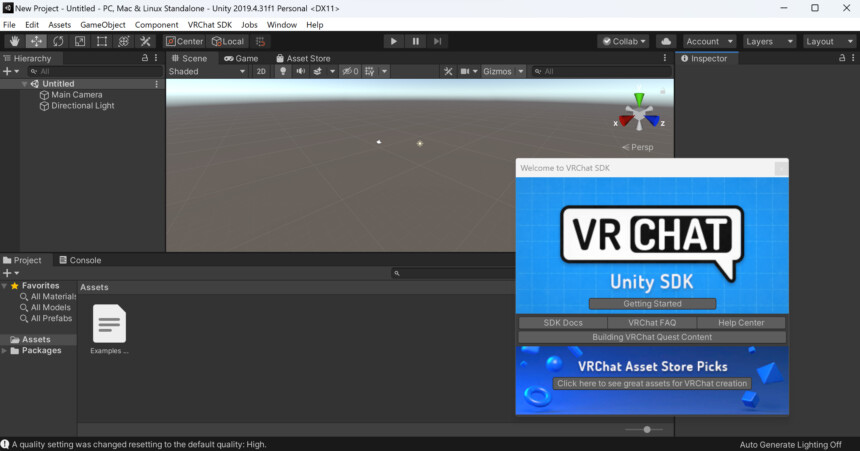
VCCを使ってUnityを立ち上げ
VCCを立ち上げ、もしくはそのまま実行。
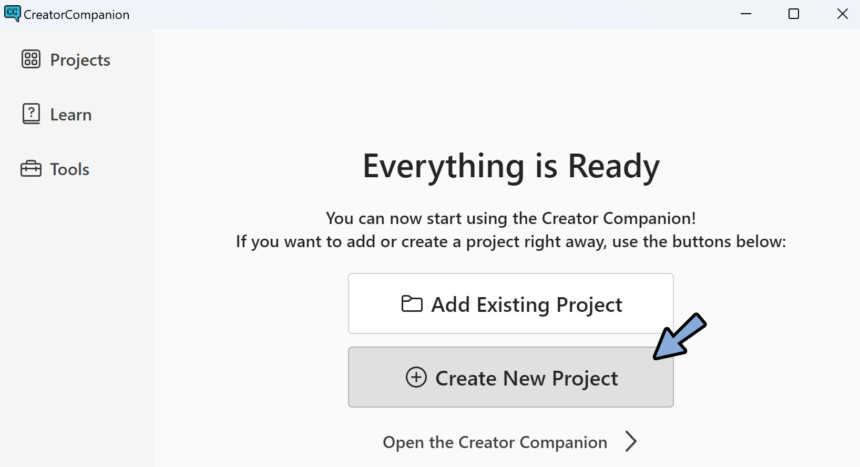
すると初回は下記のような画面が出ます。
「Create New Project」を選択。
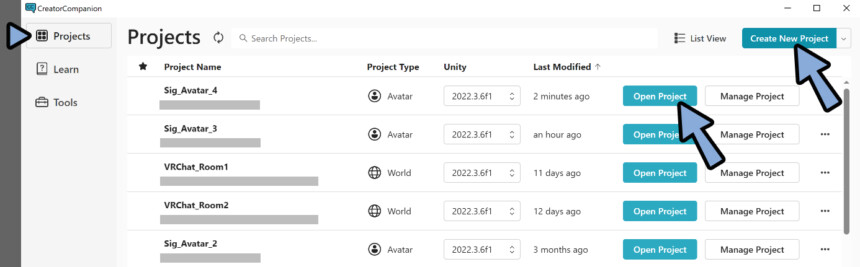
2回目以降は左上にある「Projects」の所を使ってください。
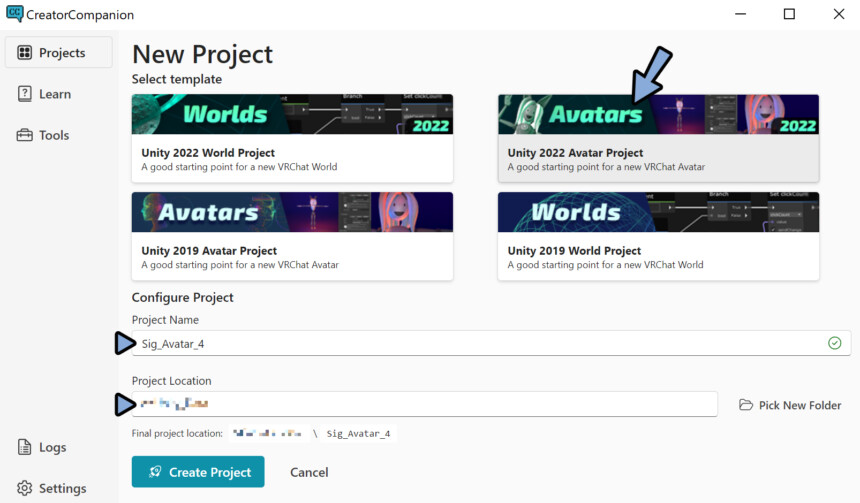
ここから、作りたいプロジェクトを選びます。(ワールドか、アバターか)
あとは「名前」と「保存先」を指定して「Create Project」を実行。
あとは追加したいモノがあれば追加します。
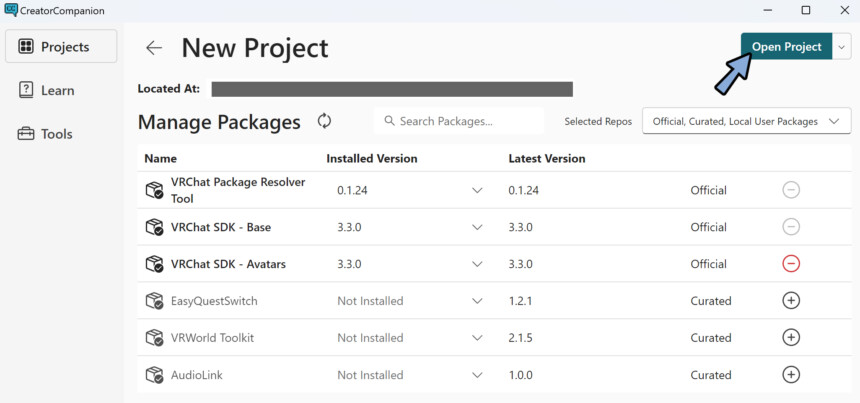
分からなければ「Open Project」を押して進んで大丈夫です。

これで、Unityが立ち上がります。

初回起動時の挙動
初回起動の際は、Open Projectを押した時の挙動が少し異なります。
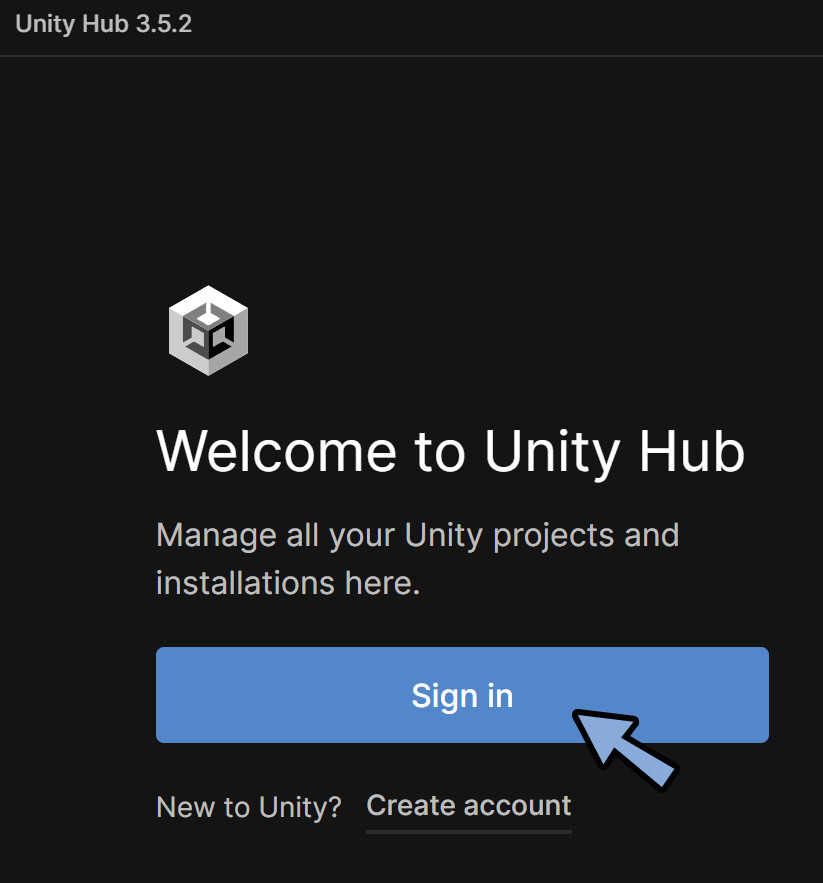
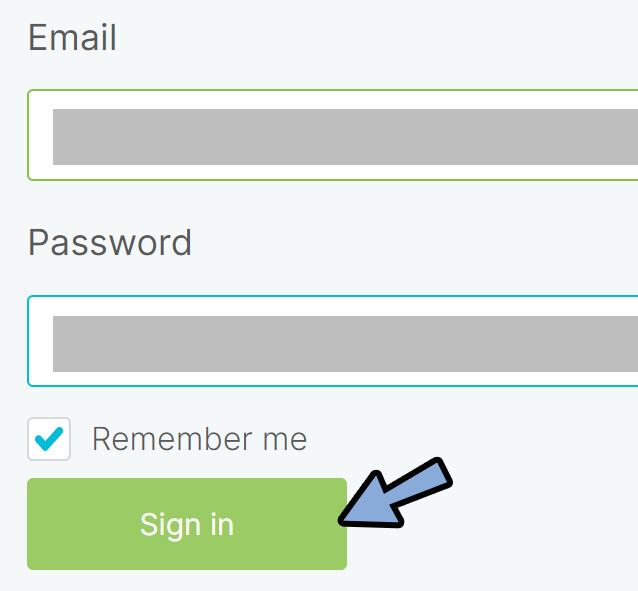
Unity Hubにログインしてくださいと言う画面が出てきます。
「Sing in」を選択。
メアドとパスワードを入れてログイン。
無い方はUnityアカウントを作成。
何か出るので「開く」を選択。

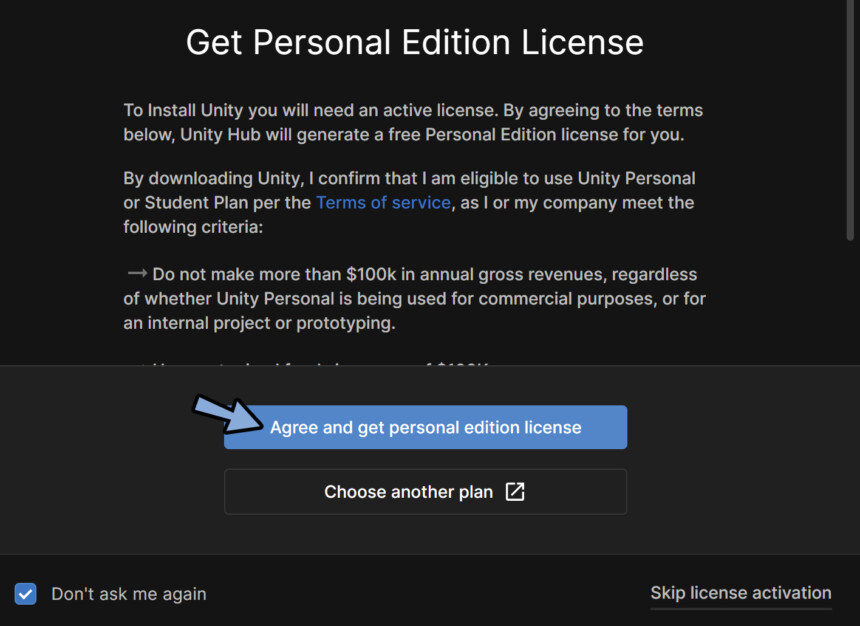
Unityの利用規約を確認します。
(法人向けの内容、$100k以上の売上がある場合は無料で使えないと書いてます)
Unity Hubのログインが終わりましたら右上の「×」ボタンで閉じます。
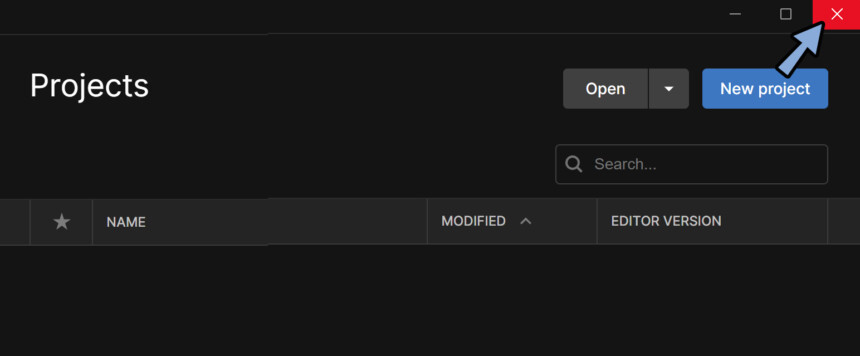
この状態でもう一度「Open Project」を選択。
これで、VCC経由でUnityが立ち上がります。
2回目以降の起動
2回目以降は左上の「Projects」の所を開いて起動します。
・作成済みの場合は「Open Projects」を選択
・新しく作る場合は「Create New Projects」を選択
あとは、これまで紹介した内容と同じです。
Create New Projectsの場合は「ワールド/アバター、名前、保存先」を設定。
これで、Projectを開けます。
「Open Projects」の場合は1発でこの画面になります。
以上が、2回目以降の起動です。
おまけ:VCC経由のSDKなどをアップデート
SDKなどは定期的に確認し、アップデートしてください。
まず、Unityを開く前にアップデートしたいプロジェクトの「Manage Project」を選択。
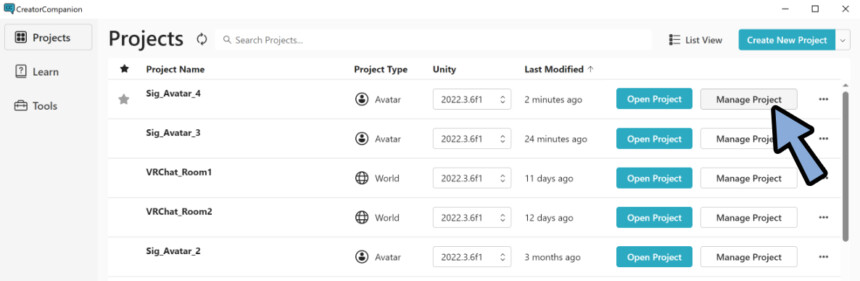
ここでアップデートがあれば緑の矢印マークが出ます。
こちらをクリックでアップデートできます。
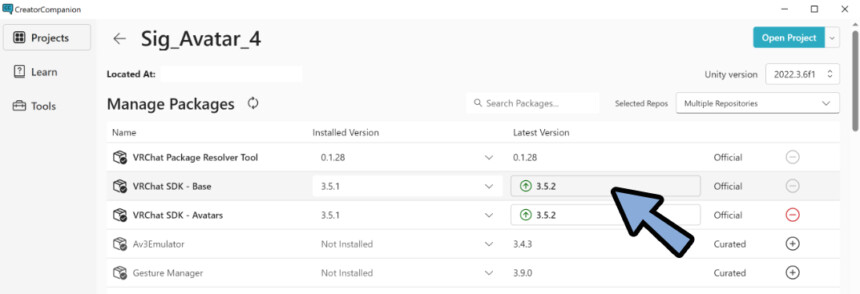
逆にアップデートで上手く動かなくなった場合は…
Installed Versionの所でダウングレードもできます。
まとめ
今回はVCCとUnityを1からセッティングする方法を紹介しました。
・VCC=VRChat Creator Companionの略
・VCCを使うには「Unity」と「Unity Hub」が必要になる
・必要なUnityはVCCを入れて指示に従って進めば導入できる
・初回起動はUnity Hubにログインが必要なので注意
また、他にもVRChat向けの内容を解説してます。
ぜひ、こちらもご覧ください。
コメント