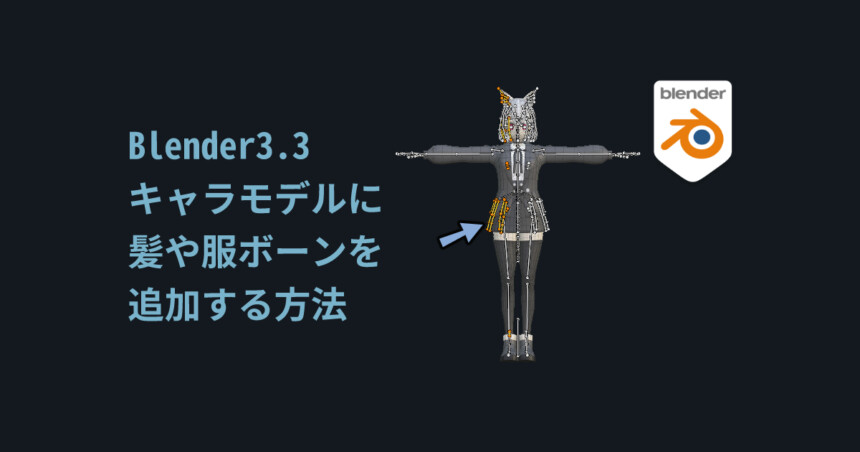
はじめに
今回はキャラモデルに髪や服のボーンを追加する方法を紹介します。
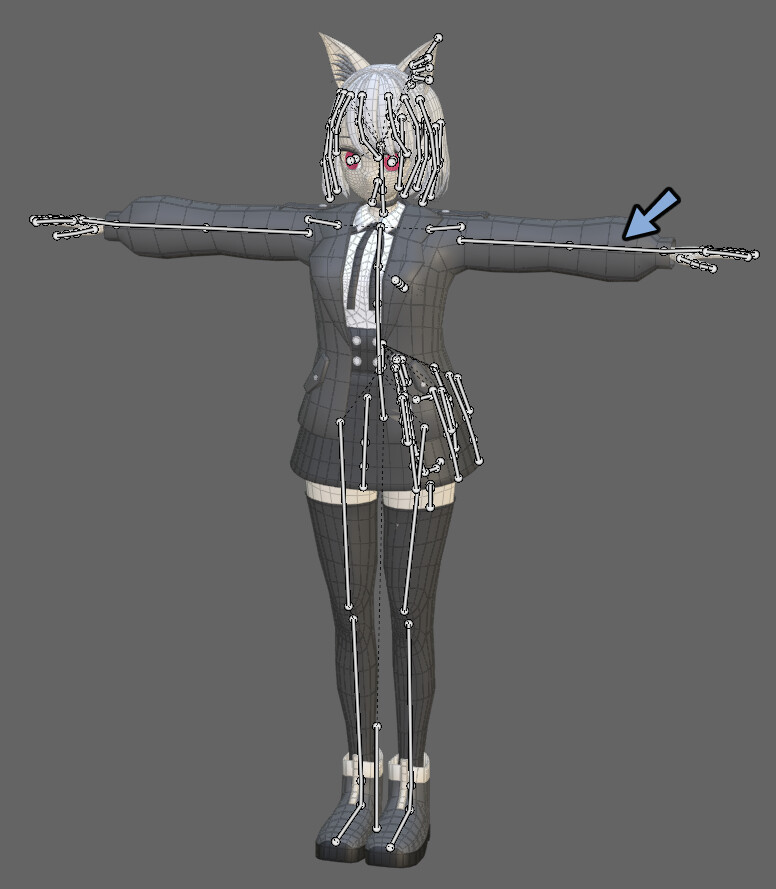
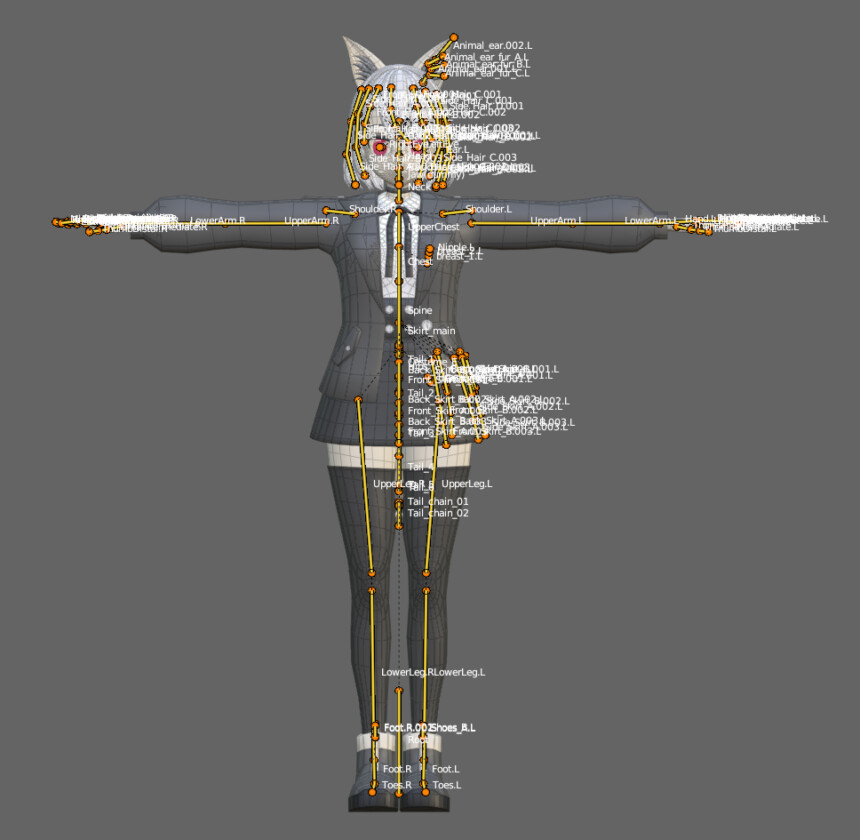
VRChatの自作アバターを想定してボーンを入れます。
人型ボーンがある事を前提に進めます。
キャラクターに人型モデルを入れる方法はこちらをご覧ください。
【Blender3.3】キャラクターモデルに人型ボーンを入れる方法
髪や服のボーンの設定
Tabキーで編集モード。
親にしたいボーンを選択。
Eキーで押し出し。
ボーンを増やしたい始点の位置にボーンを押し出します。
もう一度Eキーでボーンを押し出し。
入れたいボーンの終点の位置にボーンを移動。
最初に作ったボーンを選択 → Xキーで削除。
これで離れたボーンができます。

同じボーンが親の場合はShift+Dで複製。
始点の位置に移動。
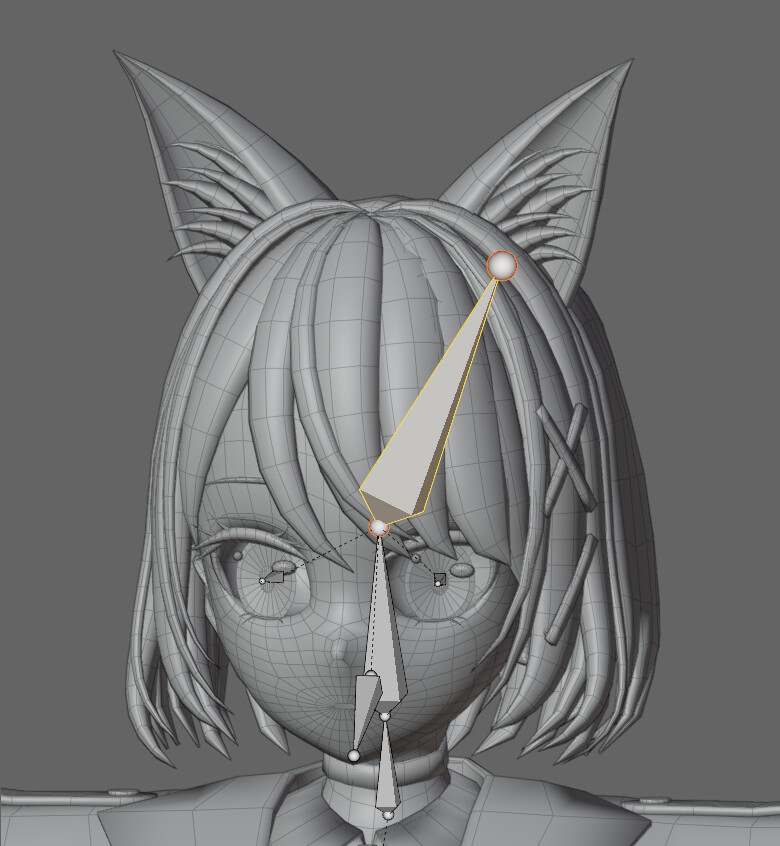
ここでは髪にボーンを入れます。

終点の位置にまでボーンを移動。
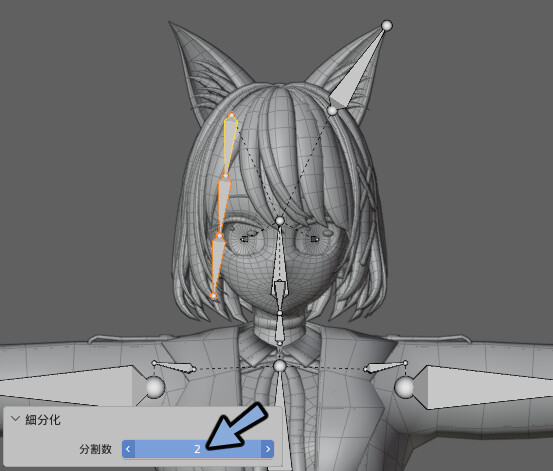
右クリック → 細分化を選択。
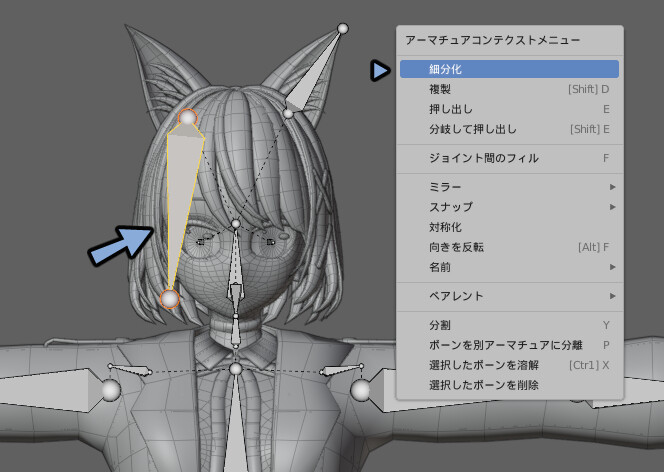
分割数を調節して2~3のボーンを生成。
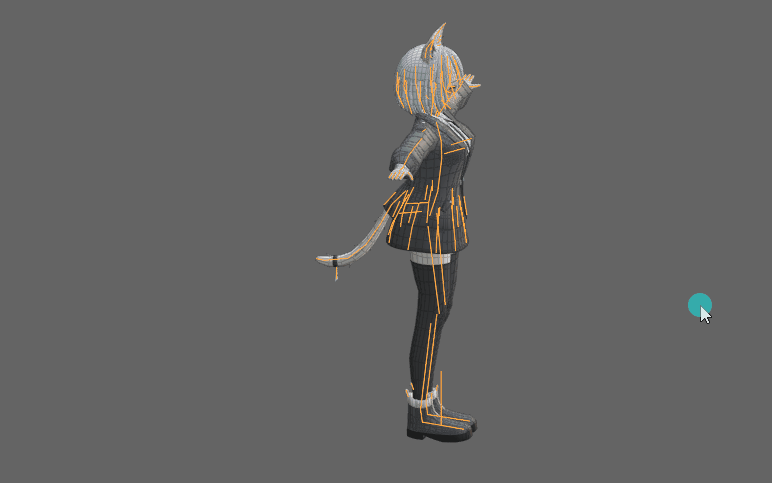
髪の形に合わせてボーンを移動します。
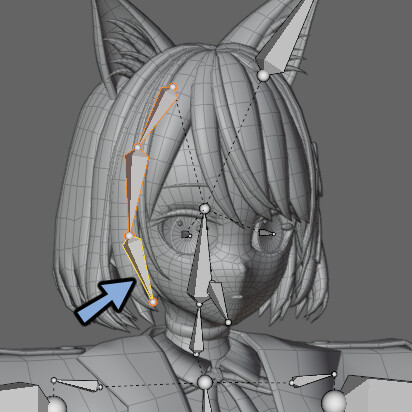
この方法で髪の毛とケモミミにボーンを入れます。
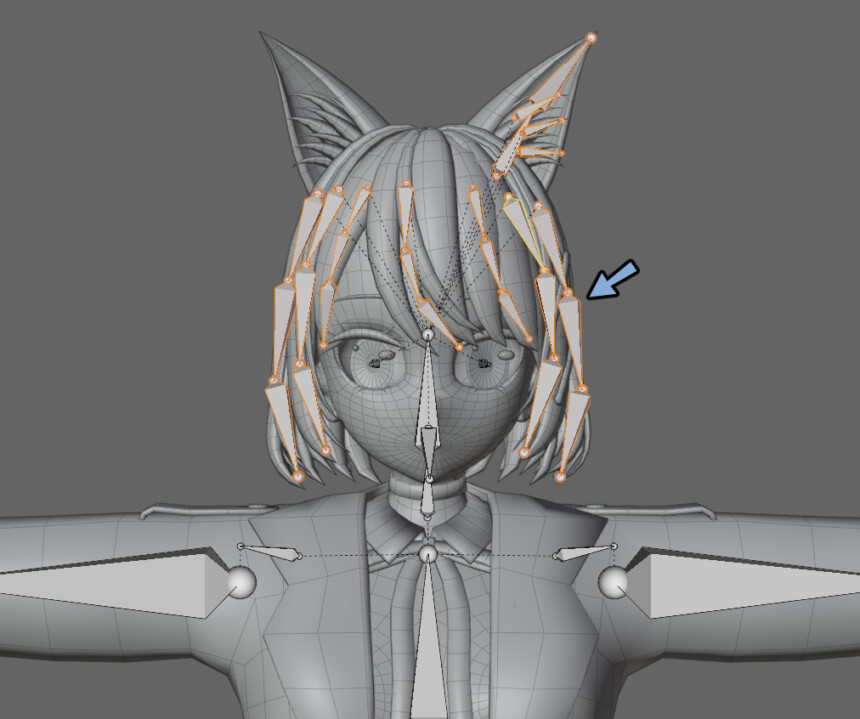
後ろ髪も同様にボーンを入れます。
左右対称の場合は片側だけ入れてください。
この段階でモデルに問題が発覚した場合は修正します。
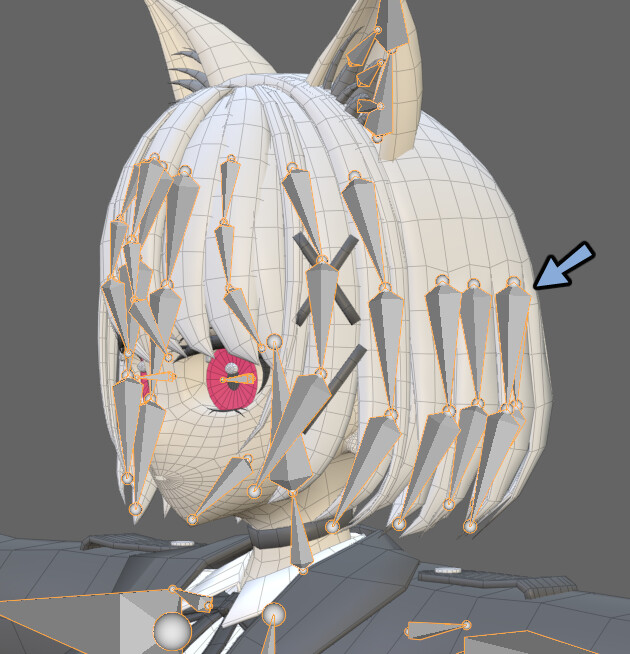
この方法で左右対称の所は片側だけにボーンを入れます。
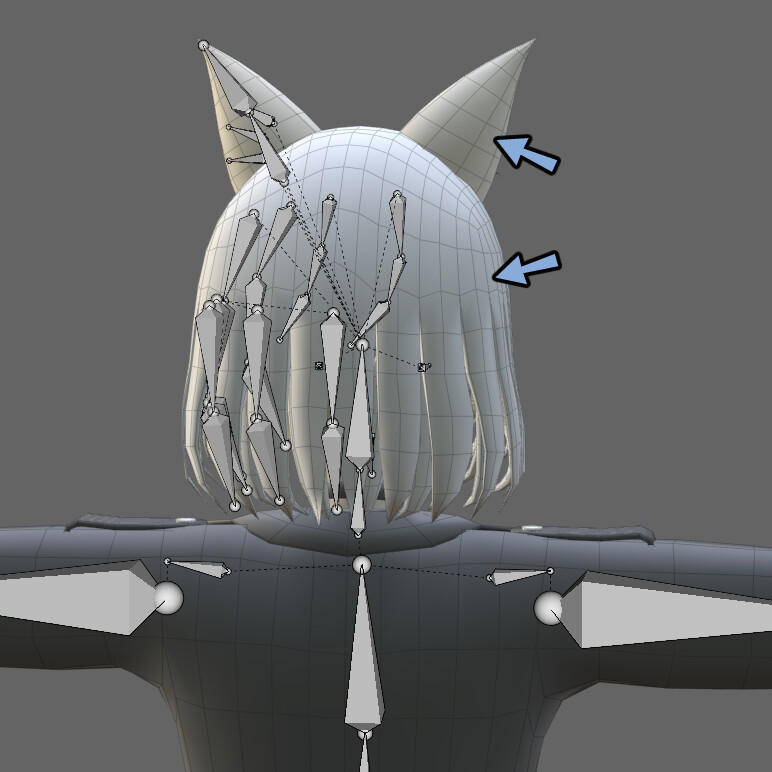
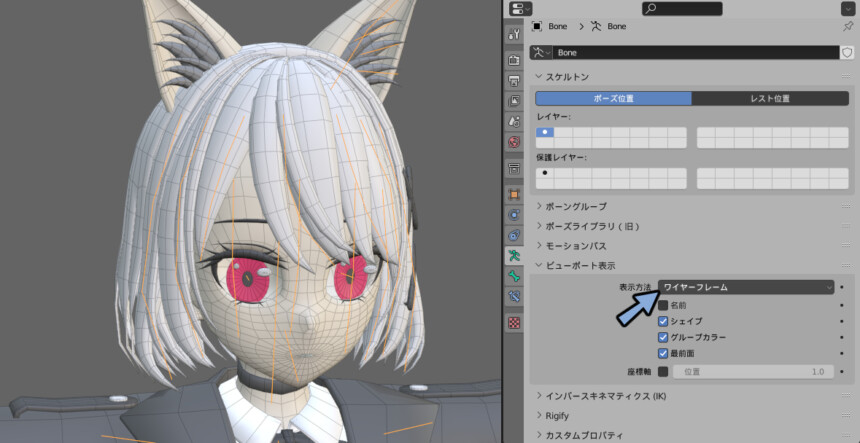
ボーンが複雑になった場合はオプジェクトデータプロパティ → ビューポート表示 → ワイヤーフレームなどに変更して調節します。
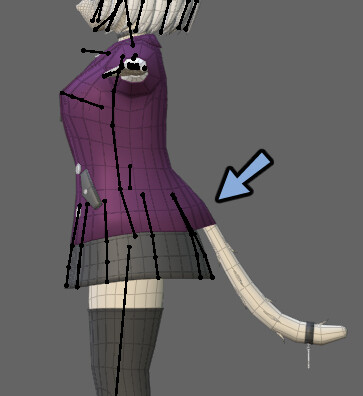
胸のボーンはChastから押し出して作りました。
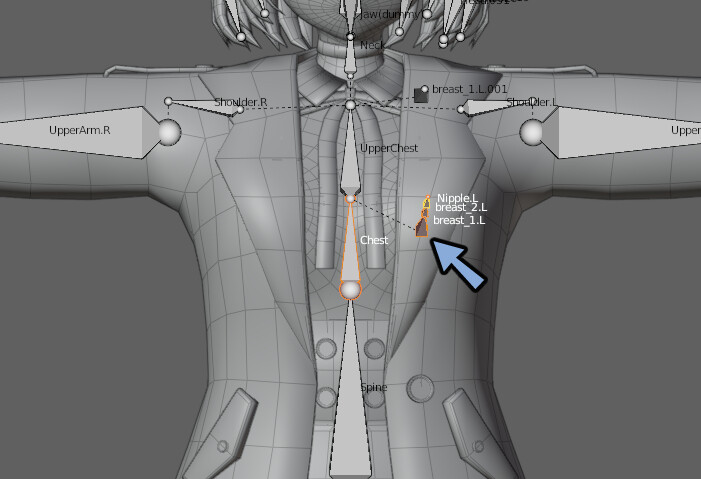
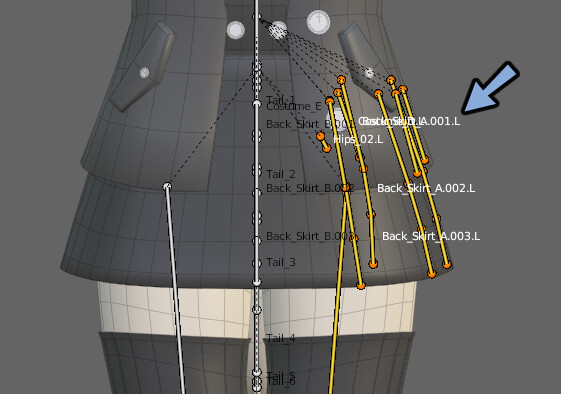
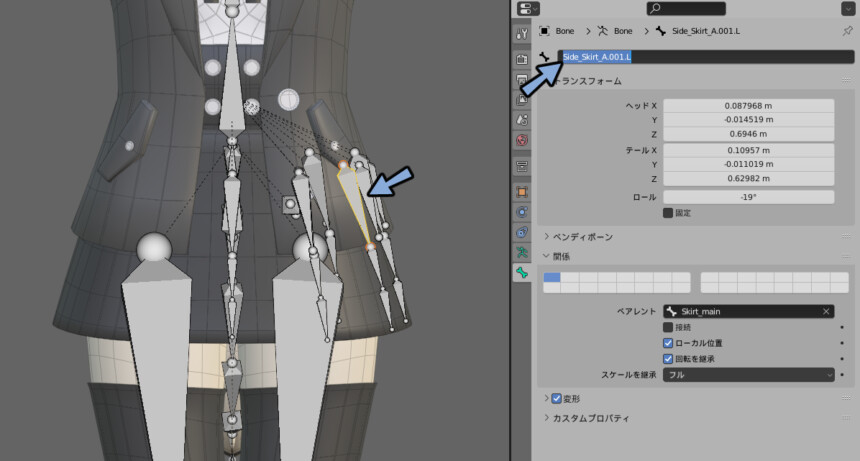
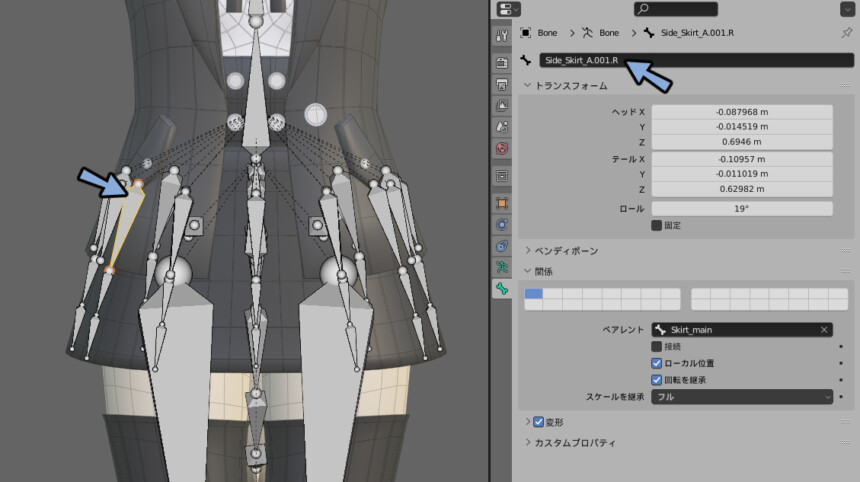
スカートのボーンはHipsから押し出します。
胴体の中心に1つ作りそれを親に分岐させて作ります。
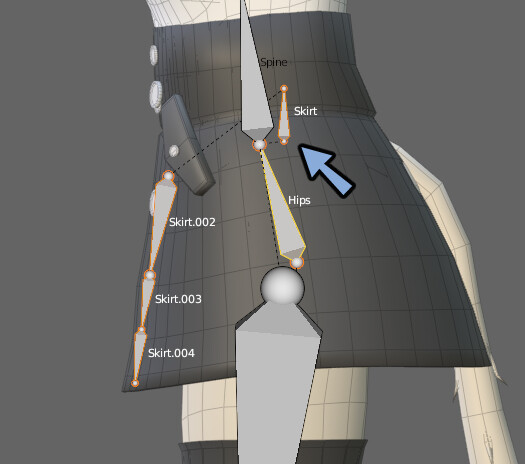
Shift+Dで複製して子ボーンを増やしていきます。
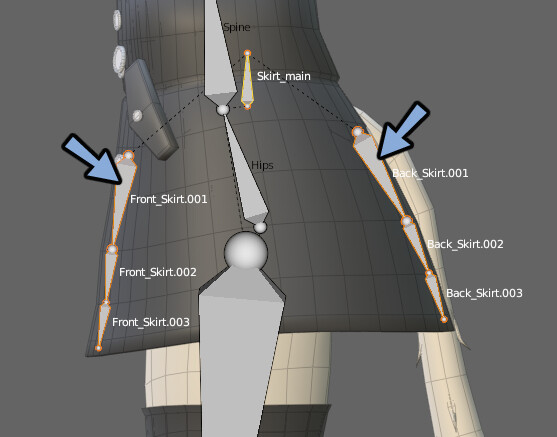
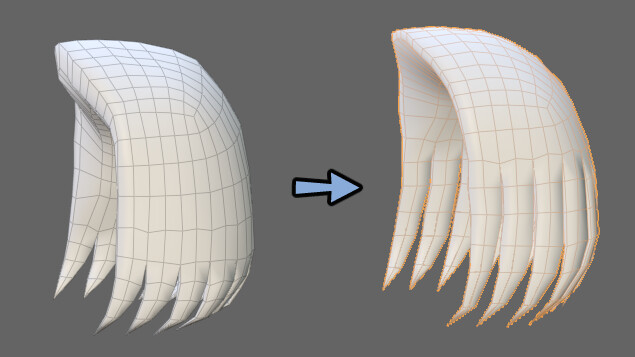
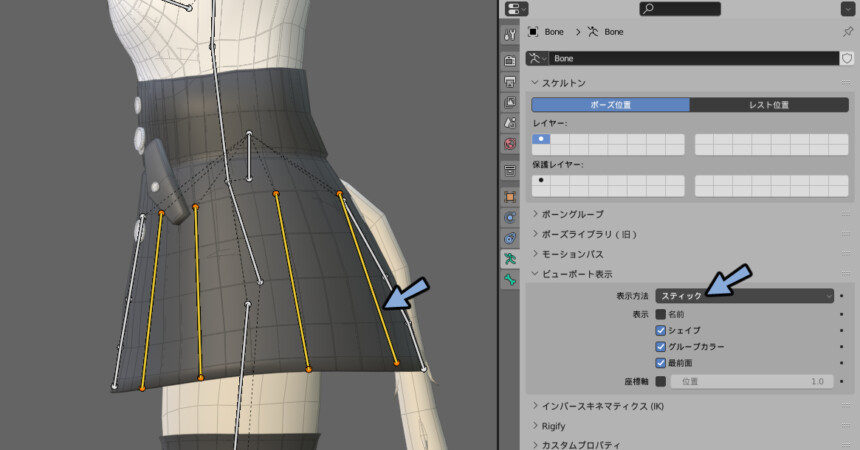
スカートは形が複雑になります。
ビューポート表示で表示方法をスティックなどに変えて調節します。
この手順で胸やスカートにもボーンを入れます。
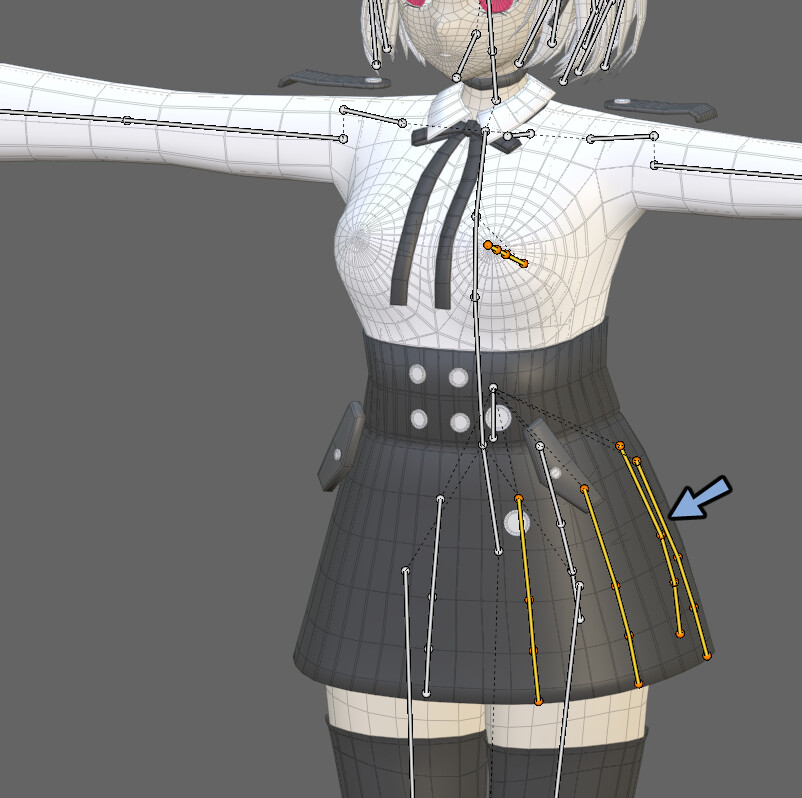
ボーンを入れる時に気付いた形のミスがあれば修正します。
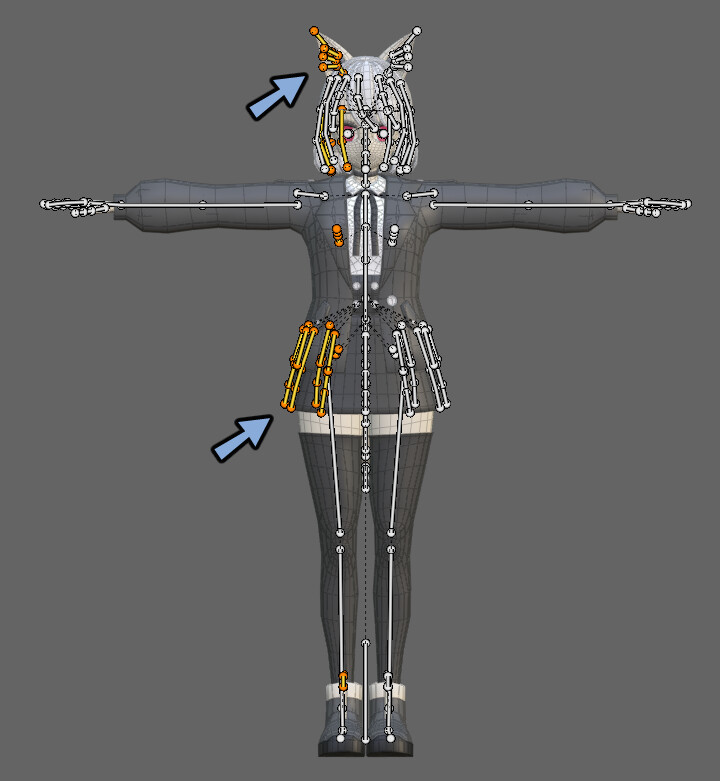
これで片側のボーン追加が完了です。
ボーンの左右対称化
追加した左右対称の名前の後ろに.Lか.Rを付けます。
正面図から見て右側にあれば.Lです。
ボーンの名前はボーンを選択 → ボーンプロパティより変えることができます。
全ての左右対称ボーンの名前の最後に.Lか.Rをつけます。
Aキーで全選択 → アーマチュア → 対称化を選択。
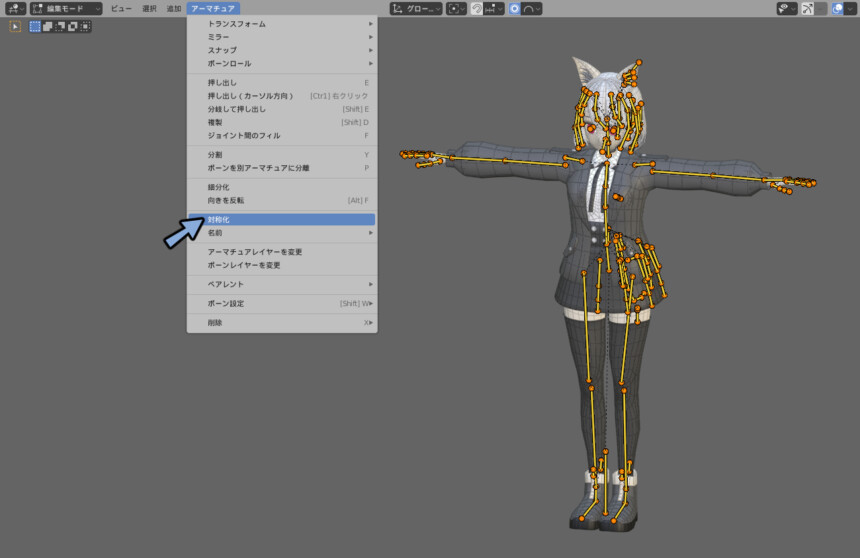
これで.Lか.Rの名前のついたボーンのもう片側が生成されます。
名前は自動で.Lか.Rが割り当てられます。
表示方法をワイヤーフレームに変更。
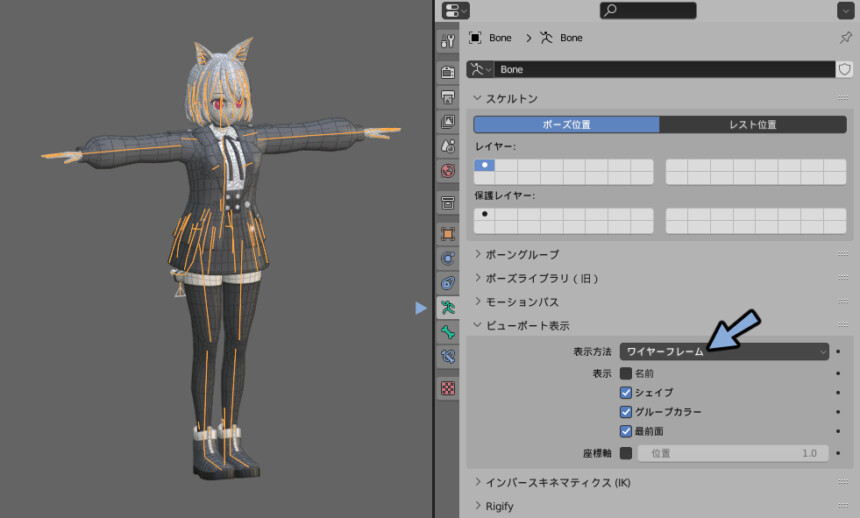
ボーンのミスが無いかを確認します。
これでキャラモデルに髪や服ボーンの追加が完了です。
まとめ
今回はキャラモデルに髪や服のボーンを追加する方法を解説しました。
・左右非対称のボーンは普通に作る。
・左右対称ボーンは片側だけ作って対称化。
このボーンを使ってモデルを動かすにはウエイトペイントが必要です。
その方法はこちらで解説しています。
【Blender3.1】ウエイトペイントの方法(まとめ)
ぜひこちらもご覧ください。

コメント
まとめの下の【Blender3.1】ウエイトペイントの方法(まとめ)へのリンクが間違っています
ありがとうございます。
修正しました。