はじめに
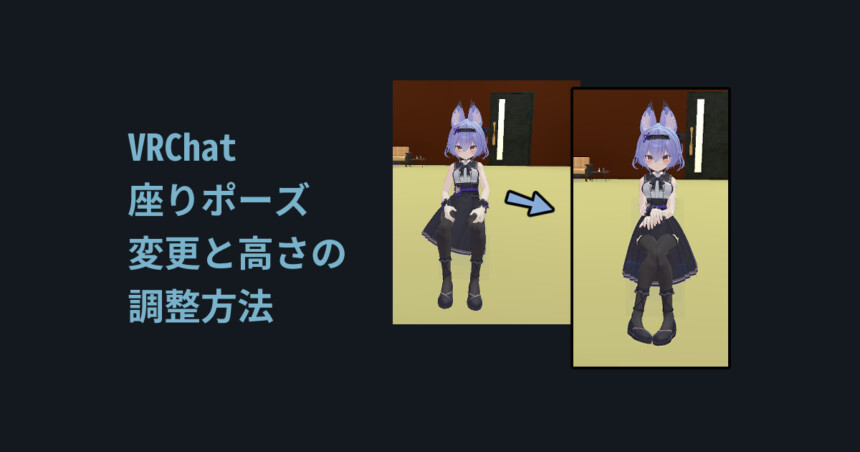
今回は座ってる時のポーズを変更する方法を紹介します。
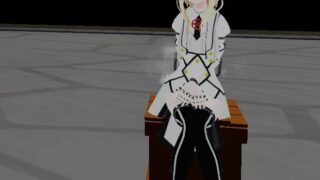
変更するのはVRChat上の椅子オプジェクトに座った際のポーズです。

VRChatのしゃがんだ状態のポーズを変えたい方はこちらをご覧ください。
前提条件
下記の2つを使えることを前提に進めます。
・VRC Avator Descriptor
・Playable Layers
使い方はこちらをご覧ください。
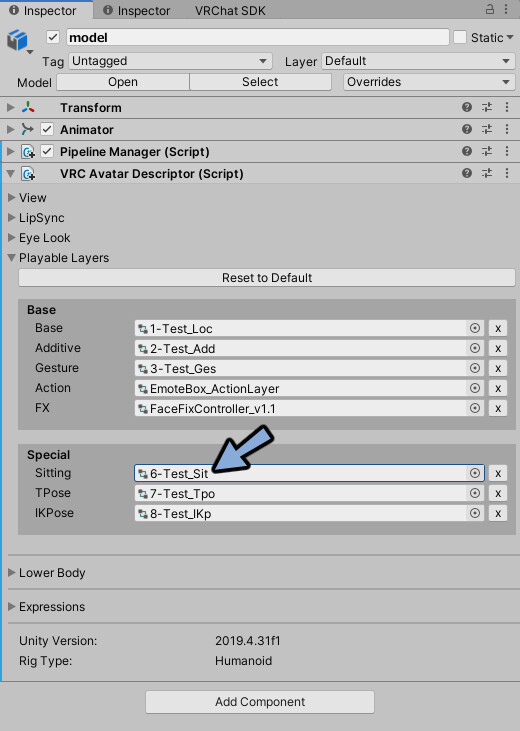
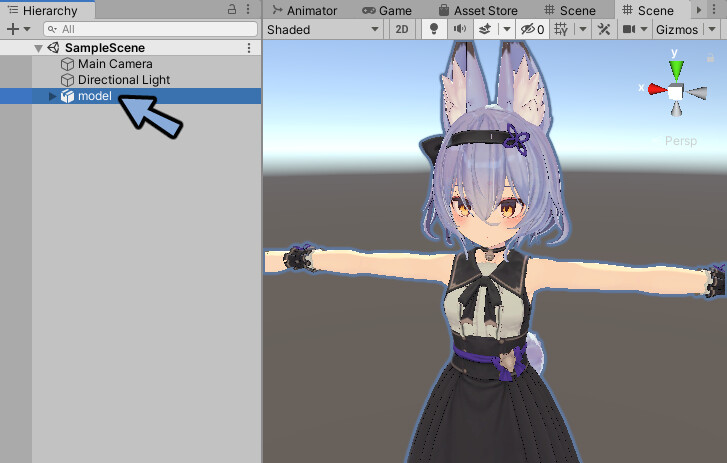
下記のようなVRC Avator Descriptorに設定された状態で始めます。
座りアニメーションの用意
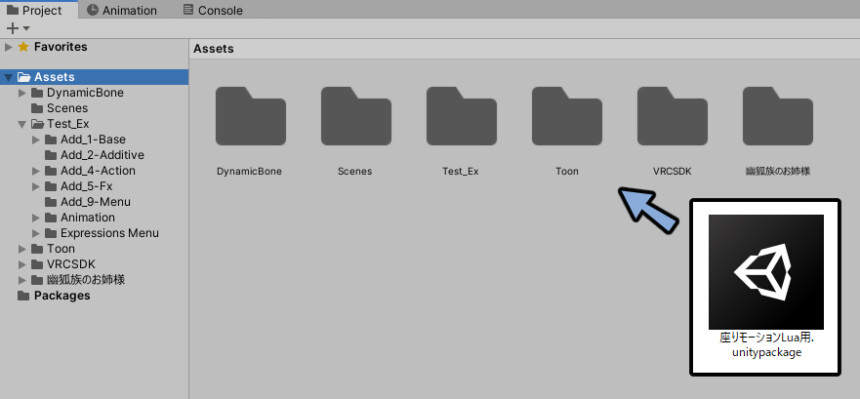
こちらのBoothにアクセス。
無料ダウンロードを押します。
.unitypackageをProjectにドラッグ&ドロップ。
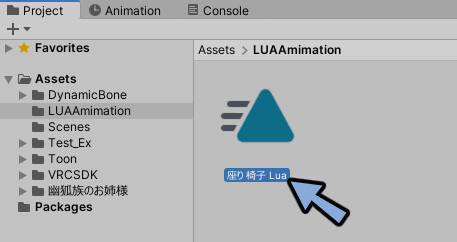
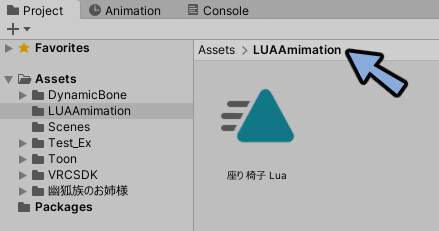
LUAAmimationを開きます。
これでアニメーションの用意が完了です。
オリジナルの座りアニメーションを作りたい方はこちらをご覧ください。

Sittingの設定
Hierarchyでアバターを選択。
VRC Avatar Descriptor → Playable Layersを開きます。
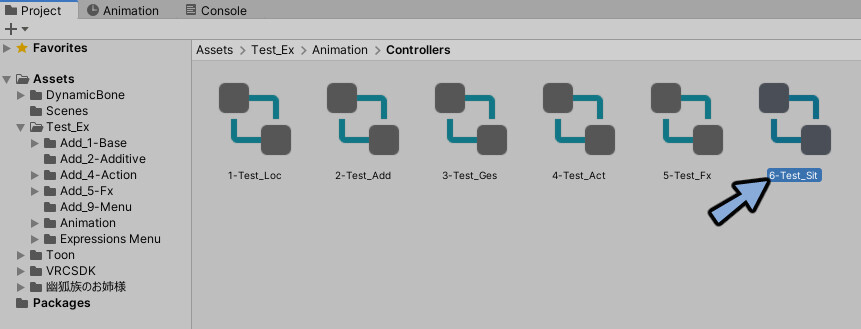
Sittingに割り当てたコントローラーをクリック。
Projectで強調表示されたコントローラーをダブルクリック。
するとVRChat側が用意した座り状態の設定があります。
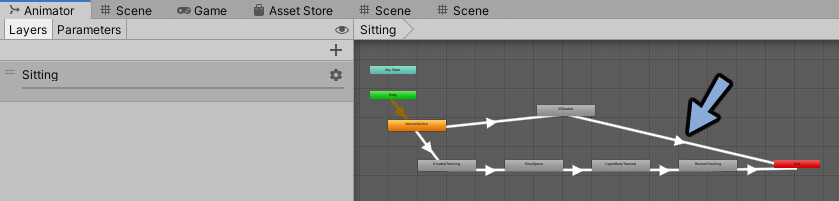
座りのアニメーションを変更する場合はこの3つの箱を編集する必要があります。
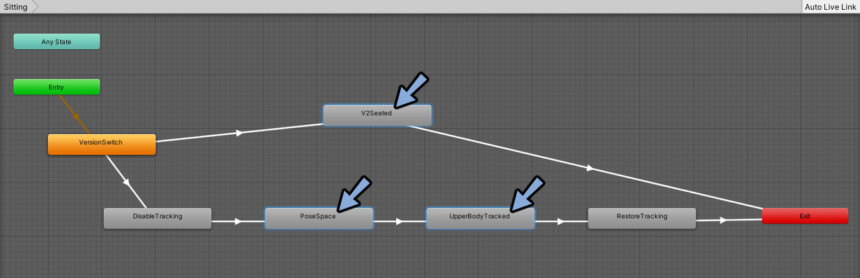
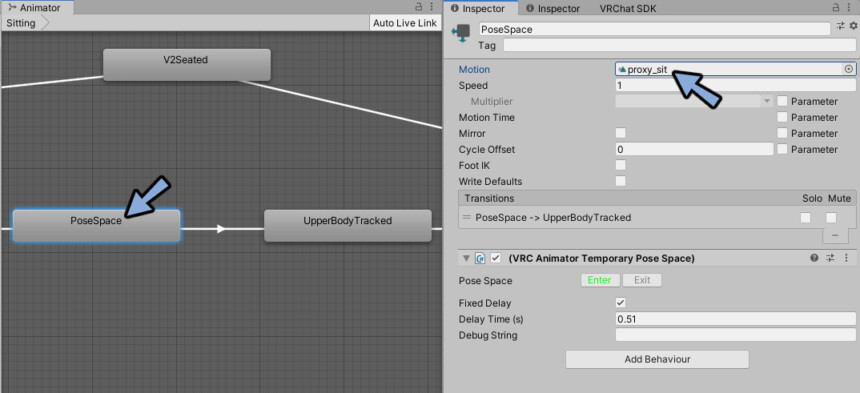
まずPoseSpaceをクリック。
InspectorのMotionを確認。
初期状態の座りアニメーションが入ってます。
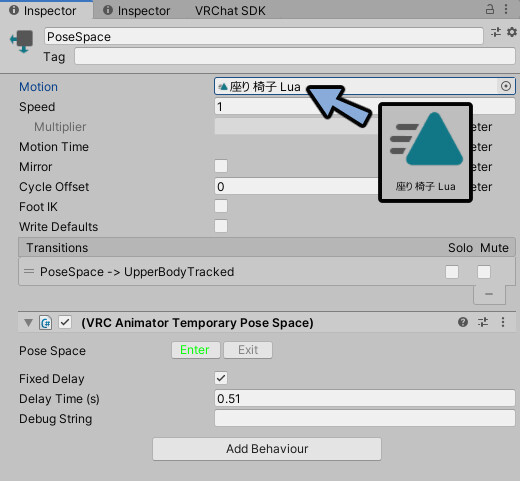
Projectで先ほどDLしたアニメーションを表示。
Motionの所へドラッグ&ドロップ。
座りのアニメーションを差し替えます。
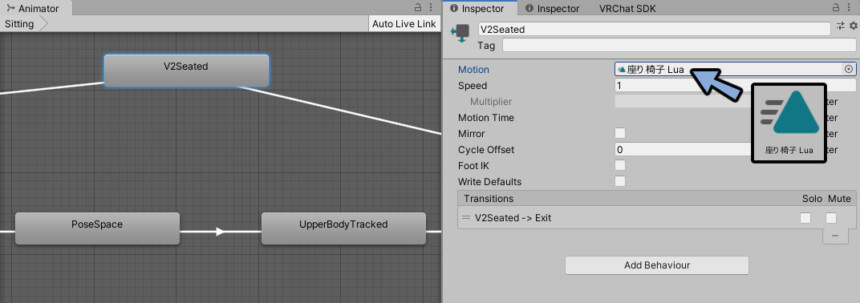
同様にV2Seatedを選択。
Motionの座りのアニメーションを差し替え。
UpperBody Trackedを選択。
Motionの座りのアニメーションを差し替え。
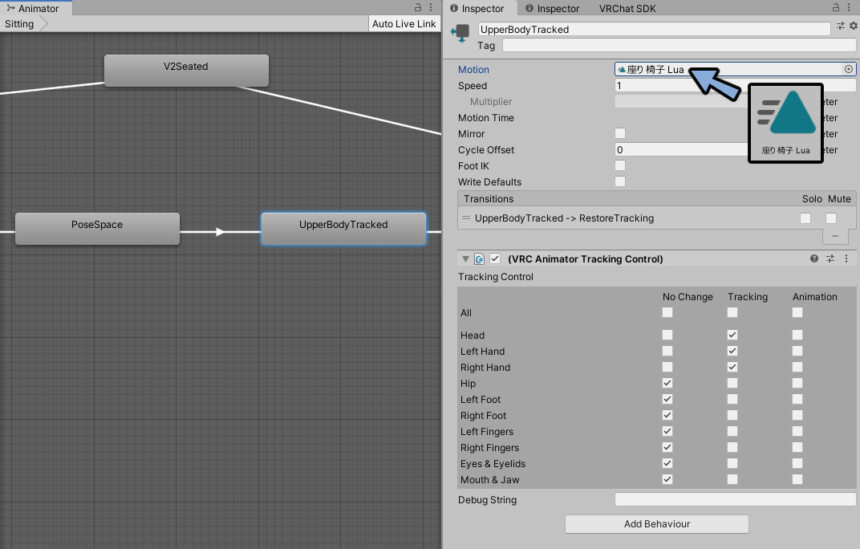
VRChatにアップロード。
これで座りアニメーションを差し替える事ができました。
高さの調整
小さいアバターを使うと椅子と高さが合いません。
この場合はアニメーションファイルを修正します。
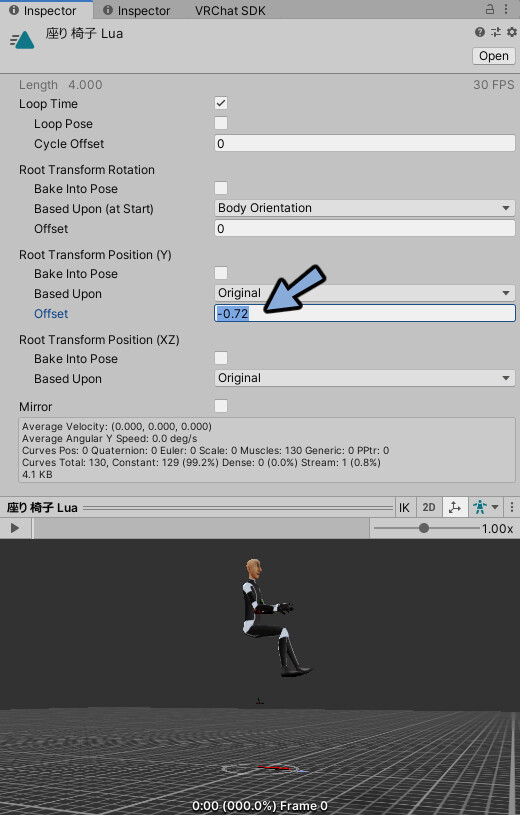
Projectで座りアニメーションを選択。
Inspectorを確認。
Root Transform Position (Y)のOffsetの数値を調整。
これで高さが変わります。
VRChatにアップロード。
高さが上がり椅子から浮きました。
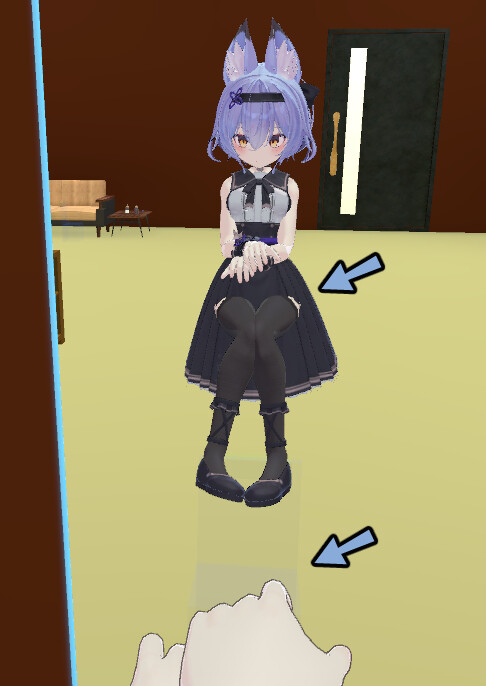
これで高さの調整が完了です。
まとめ
今回は座りポーズの変更方法を紹介しました。
Avatar3.0の使い方全容はこちらで解説しています。
ぜひこちらもご覧ください。
コメント