はじめに
今回はUnityにFBXモデルを読み込む方法を紹介します。
読み込み作業 → データチェックの順番に解説します。
Blenderのfbxの書き出し方はこちらをご覧ください。
fbxの読み込み
Unityを立ち上げ。
Projectの中のアセットを選択。
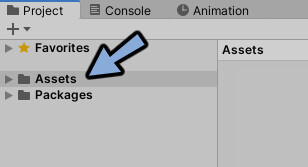
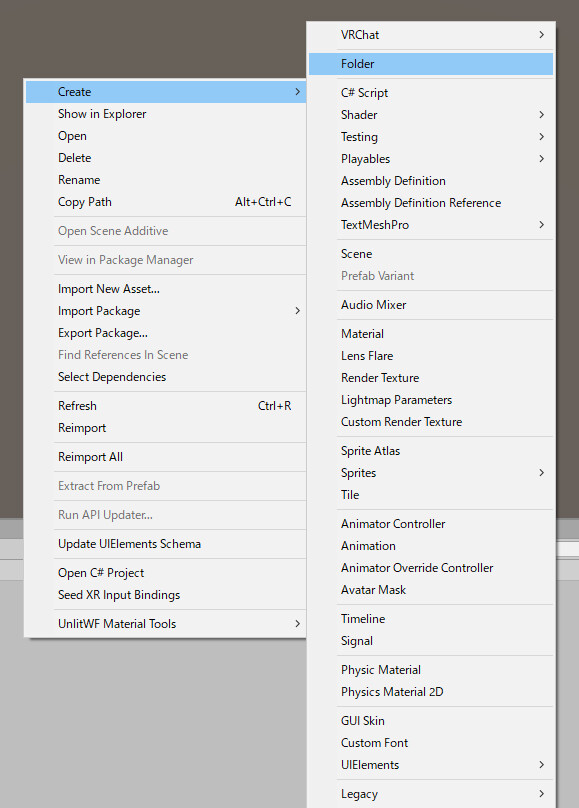
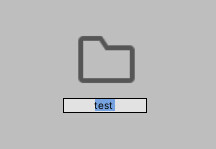
Assetの所を右クリック。
Create → Folderを選択。
任意の名前を付けます。
ダブルクリックでフォルダの中に入ります。
ここにFbxファイルをドラッグ&ドロップで読み込み。
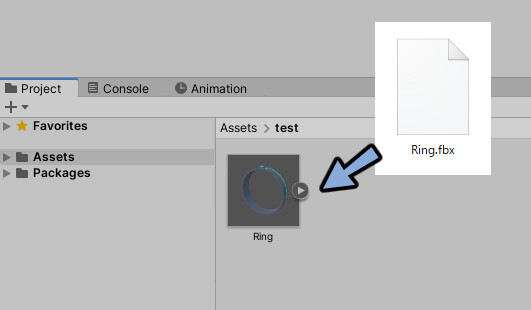
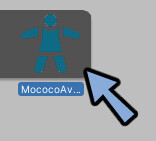
Projectに読み込んだモデルデータ選択。
Hierarchyにドラッグ&ドロップ。
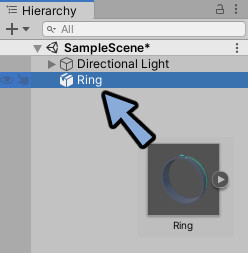
Hierarchyのモデル名をダブルクリック。
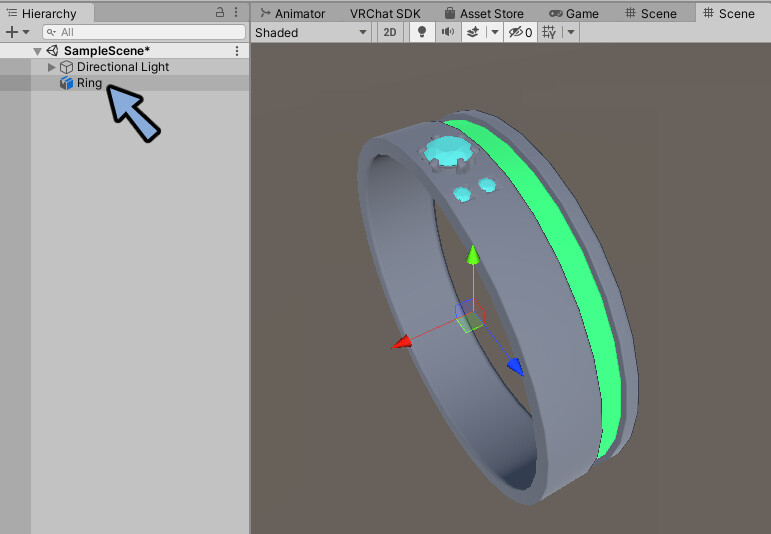
Sceneでモデルを確認します。
これでfbxモデルの読み込みが完了です。
データチェック
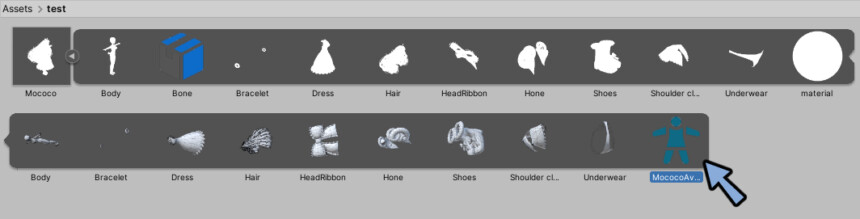
Projectの中のモデルを選択。
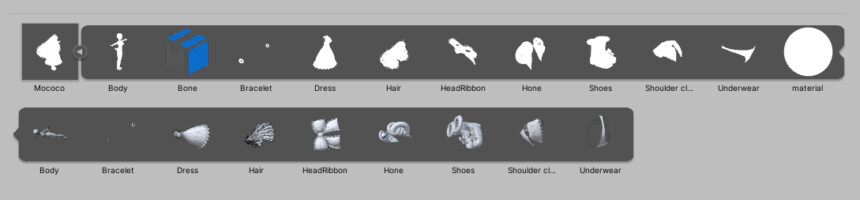
▶ボタンを押すと書き出されたデータの中身が確認できます。
ここに必要なデータが正しく書き出されてるか確認してください。

キャラクターモデルを読み込んだ場合はこのようになります。
複数に分かれたメッシュデータ(大量)、ボーンデータ、マテリアルの3つが読み込まれてます。
キャラクターの場合はアバターデータが必要になります。
こちらはFbxの書き出しでは無くUnity上で作る必要があります。
キャラクターモデルの読み込み
読み込んだキャラクターモデルを選択。

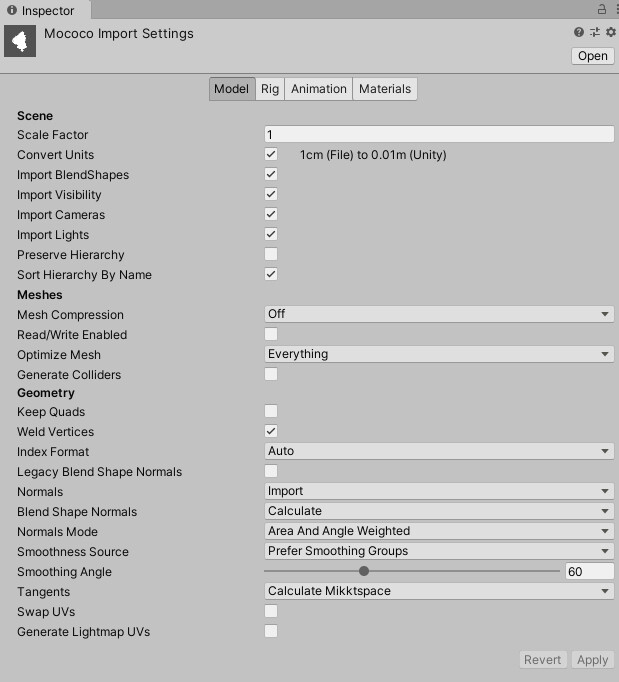
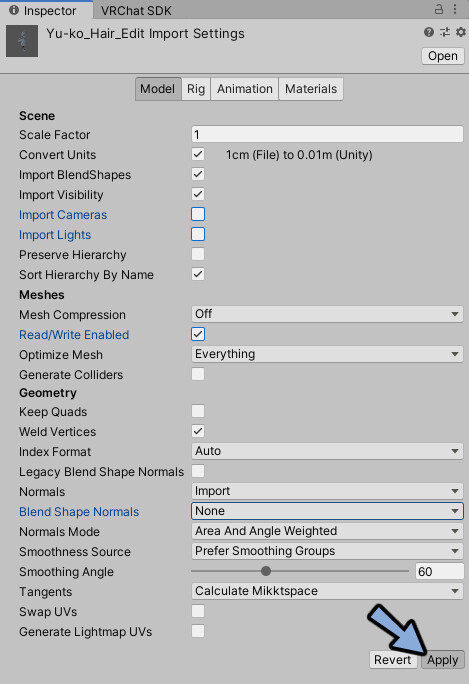
Inspectorを見ます。
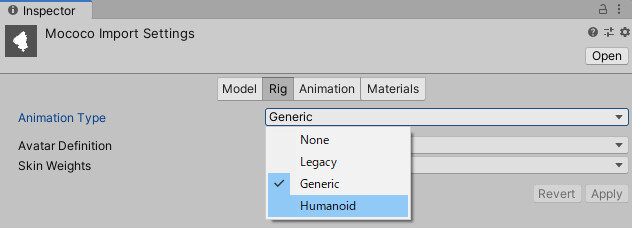
Rigを選択。
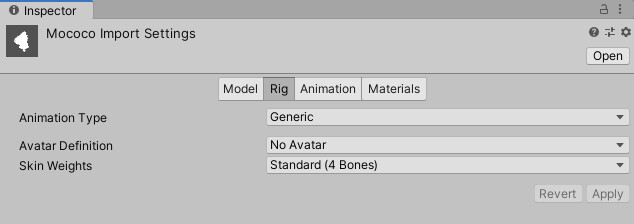
Animation TypeをHumanoidに変更。
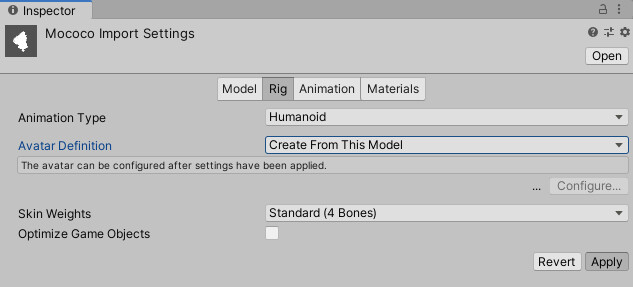
Avatar DefinitionがCreate From This Modelになってる事を確認。
Applyを押します。
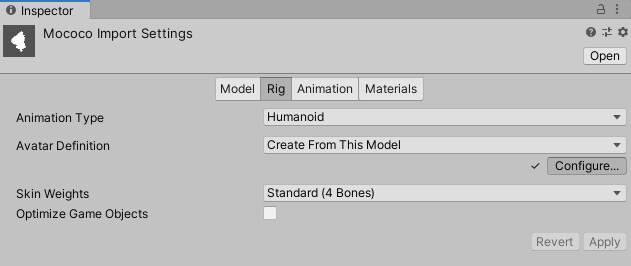
Configure…を押します。
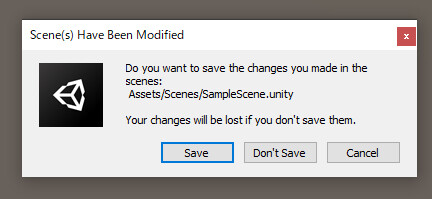
何かが出てくるのでSaveボタンを押します。
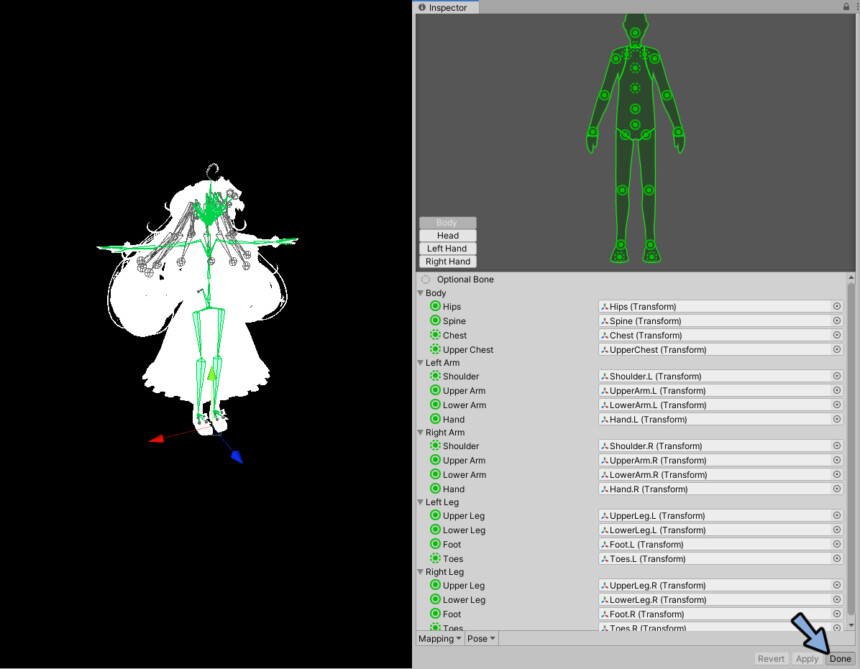
アバターのボーンを設定します。
設定が完了したらDoneを押します。
これでAvatorデータが作成されました。
VRChat向けのInspector詳細設定
VRChatを想定したInspectorの詳細設定はこちらにまとめてます。
Modelの内容などを細かく設定したい方はこちらをご覧ください。
まとめ
UnityにFBXモデルを読み込む方法を紹介しました。
FBXモデルの更新方法はこちらに載せてます。

VRChat向けの指輪のメイキングの全体はこちらで公開中。
ぜひこちらもご覧ください。
コメント